LT. Packaging
Practical assignment (creative problem solving)
Using the logo you created in Week 1 and the brochure you designed in Week 2, think about your brand and design packaging for your product. Remember that you can decide about the detail of your product. Is it dog biscuits, meat products in a tin, dry pellets or a new and exciting product?
Do your design according to the following steps:
Exploration
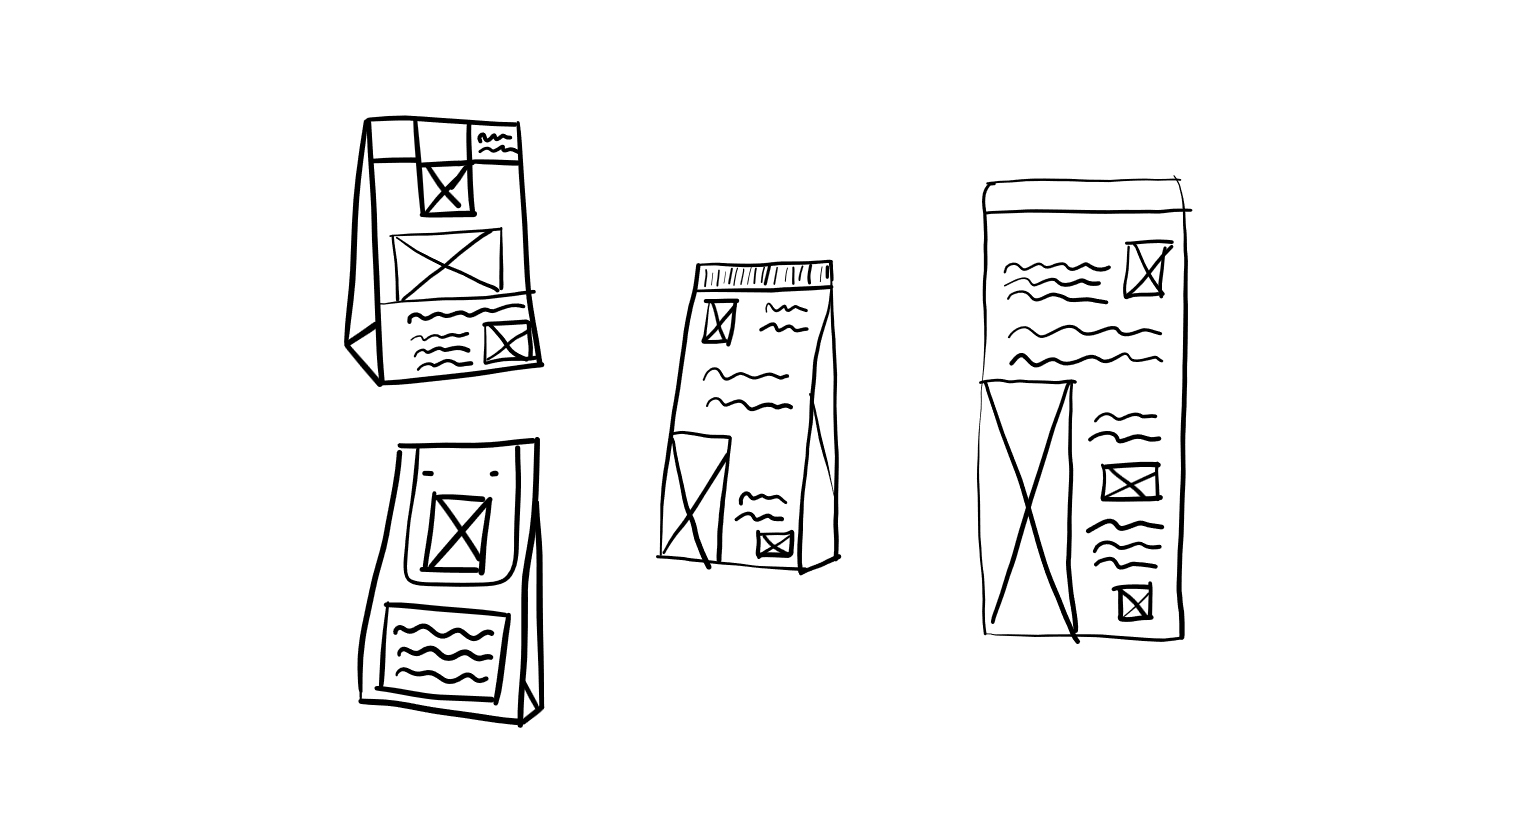
Use sketching techniques to draw thumbnails and hand in your thumbnails as scanned PDFs.
I have some real troubles with my printer when it comes to scanning sketches. And since I have a laptop that I can sketch on I’ve started to make the sketches straight on the laptop.
I have owned dogs in almost 15 years, I’ve worked in several petstores so I have been around dogfood half of my life. So for me it was an easy choice when it comes to what type of packaging.
The four sketches is the same principle but different design. Two of them have an extra piece of paper that is over the top that you can lift up. The other two has a normal packaging.

Brand integration
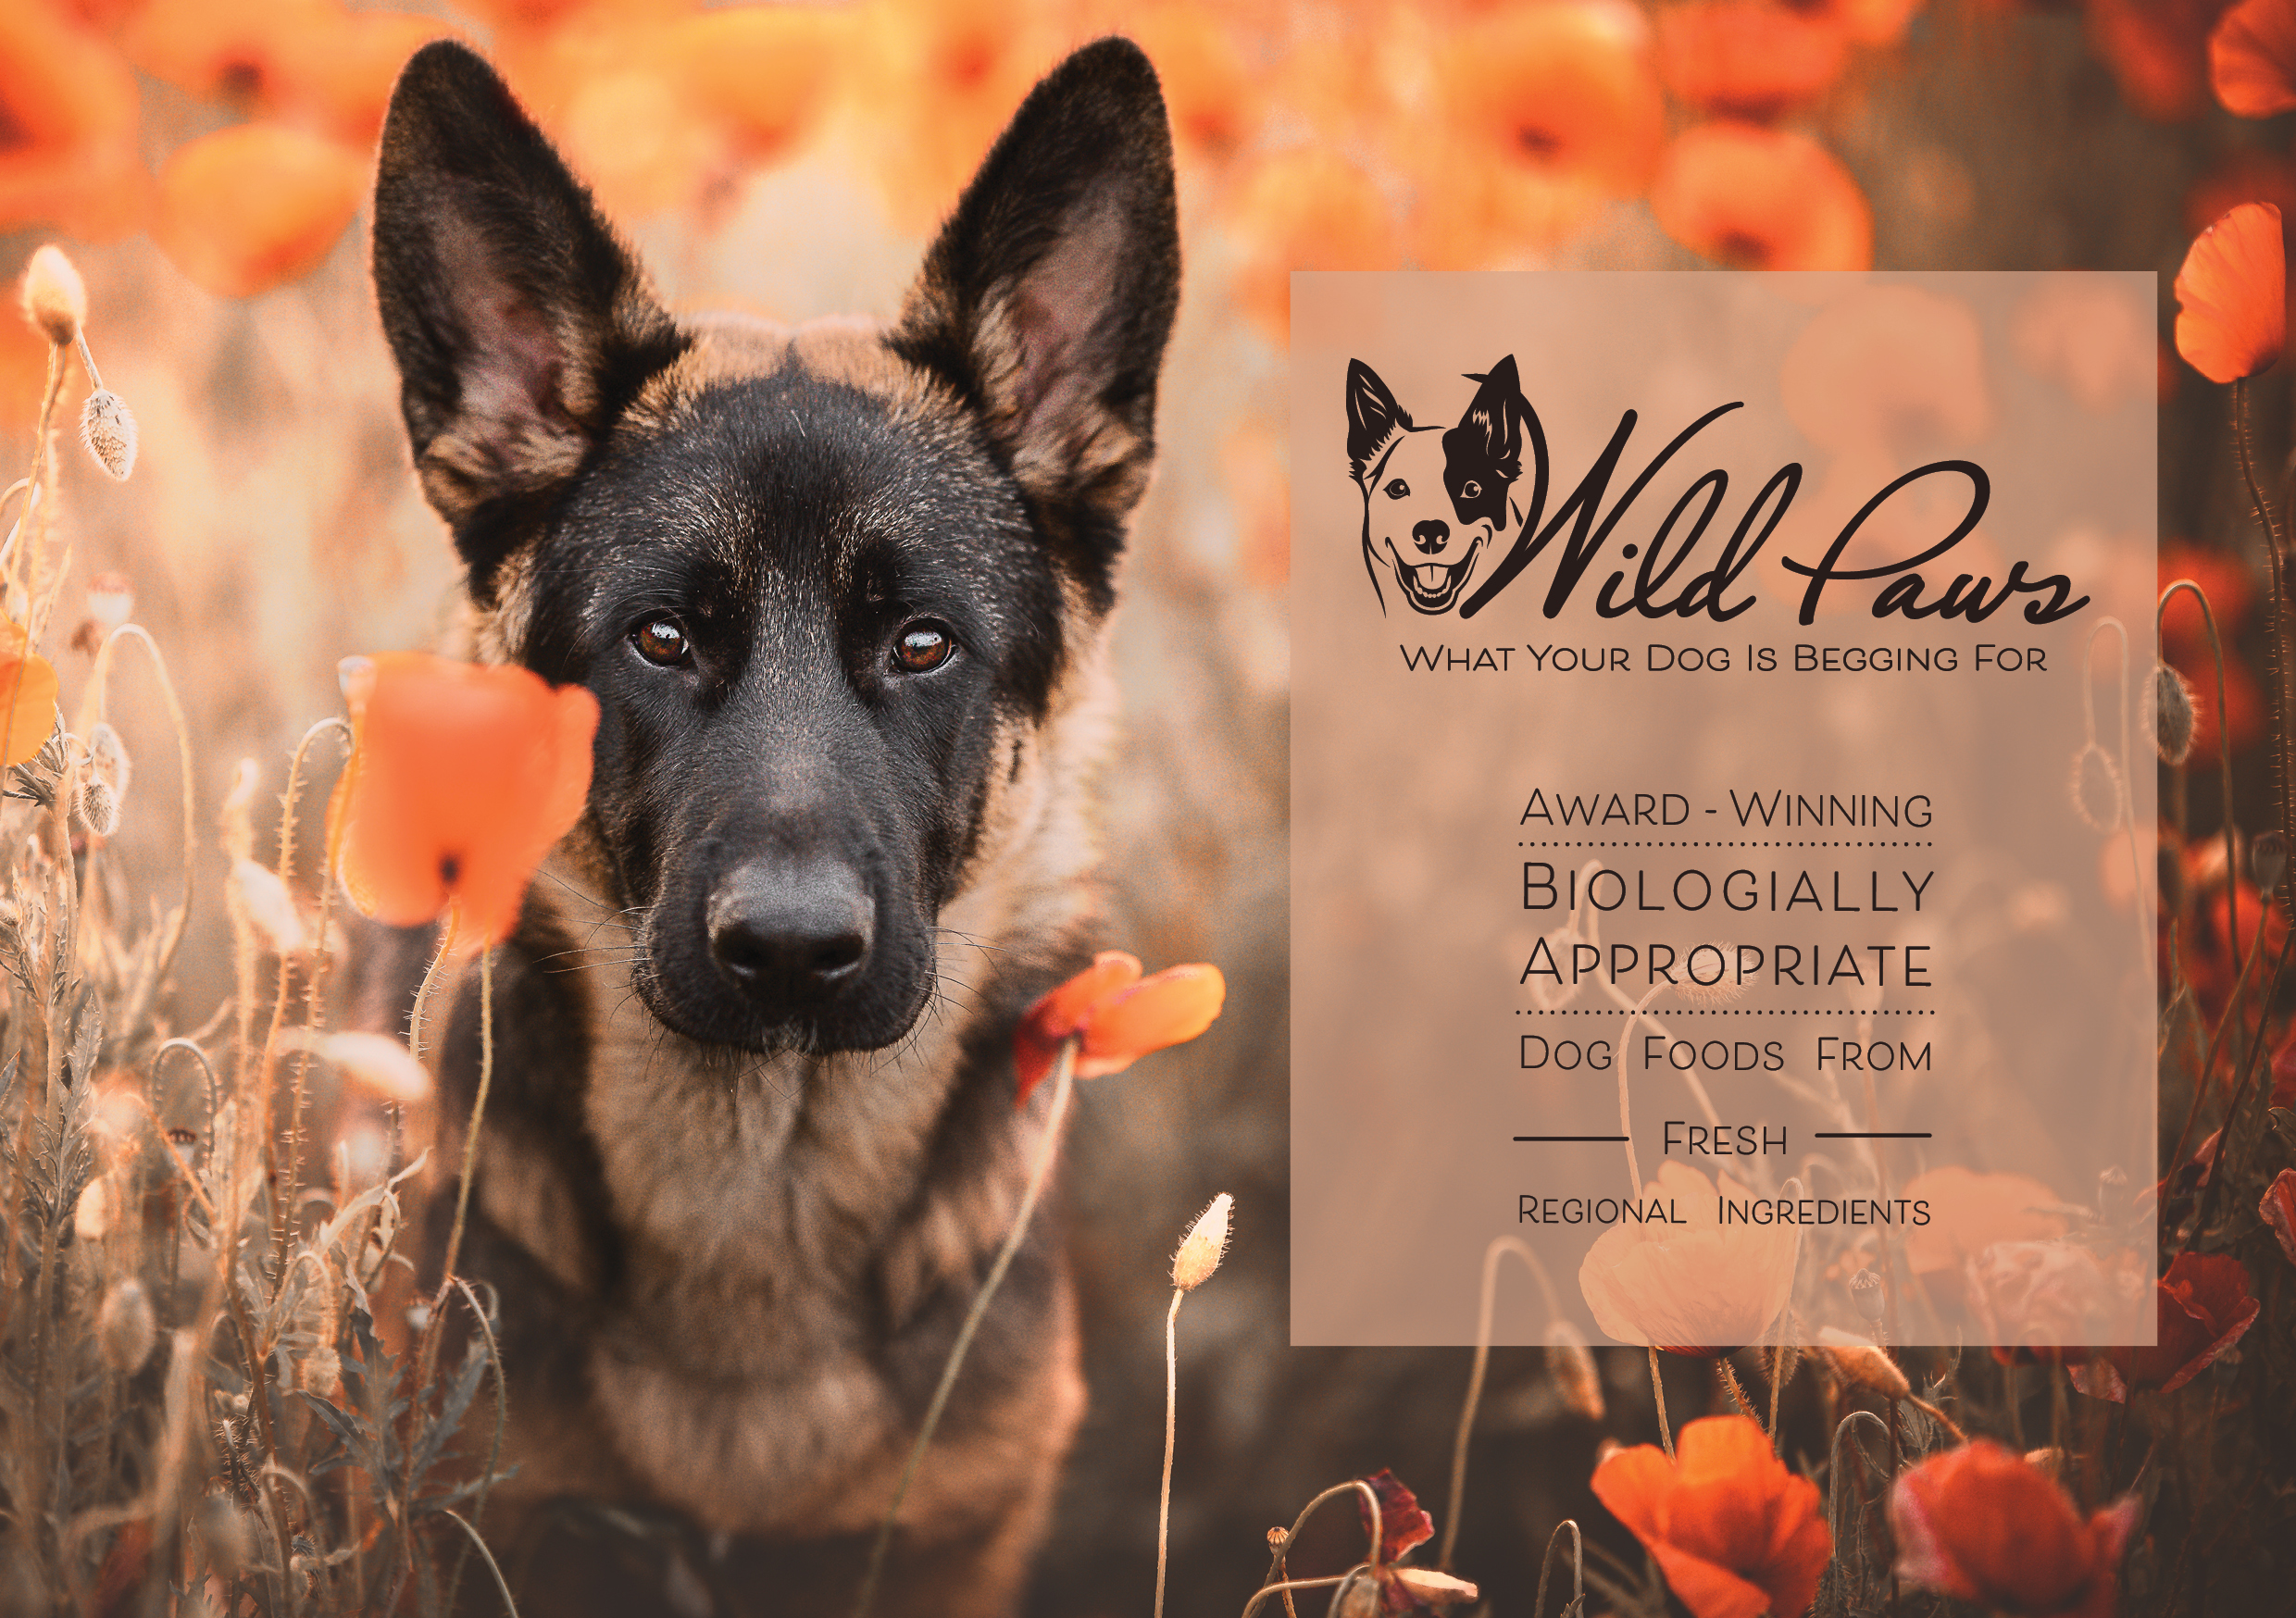
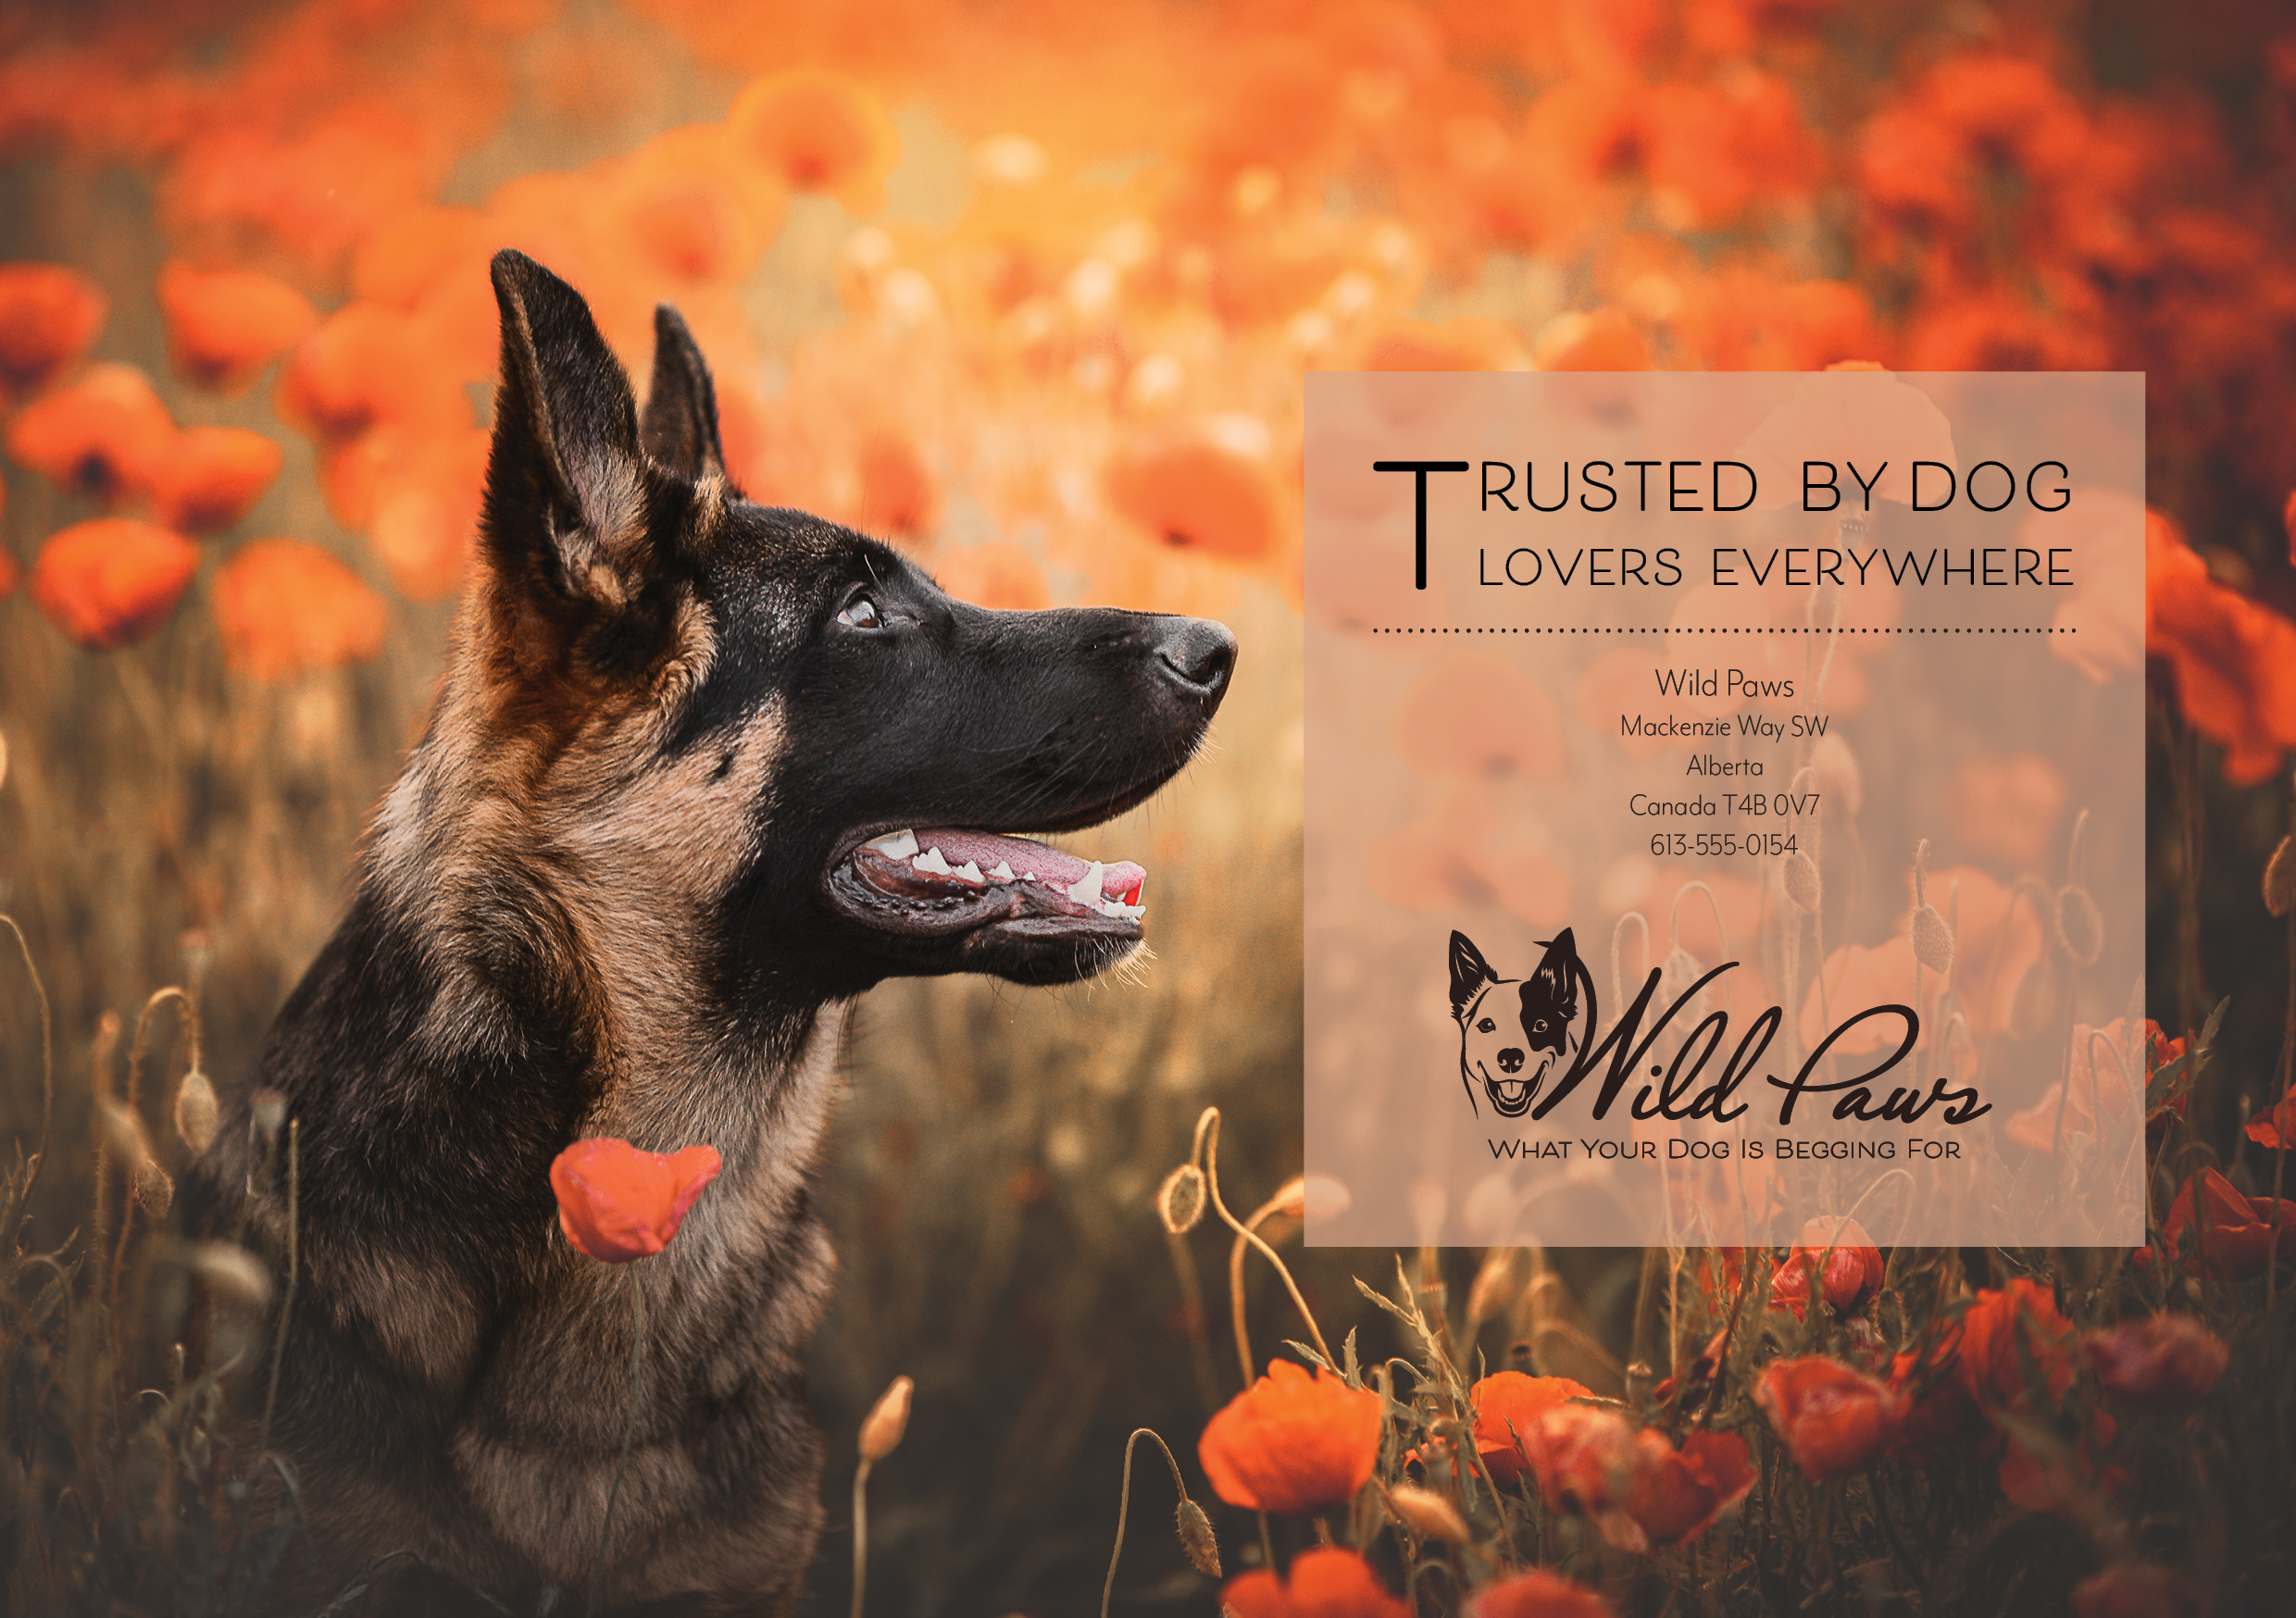
Choose one of your thumbnails and refine your design. Place it next to your brochure and logo and see how you can merge your design with the brand identity. Also, what fundamentals of the brand can you draw from and use in your design? Hand in a picture of your thumbnails, mock-ups, logo and brochure together.
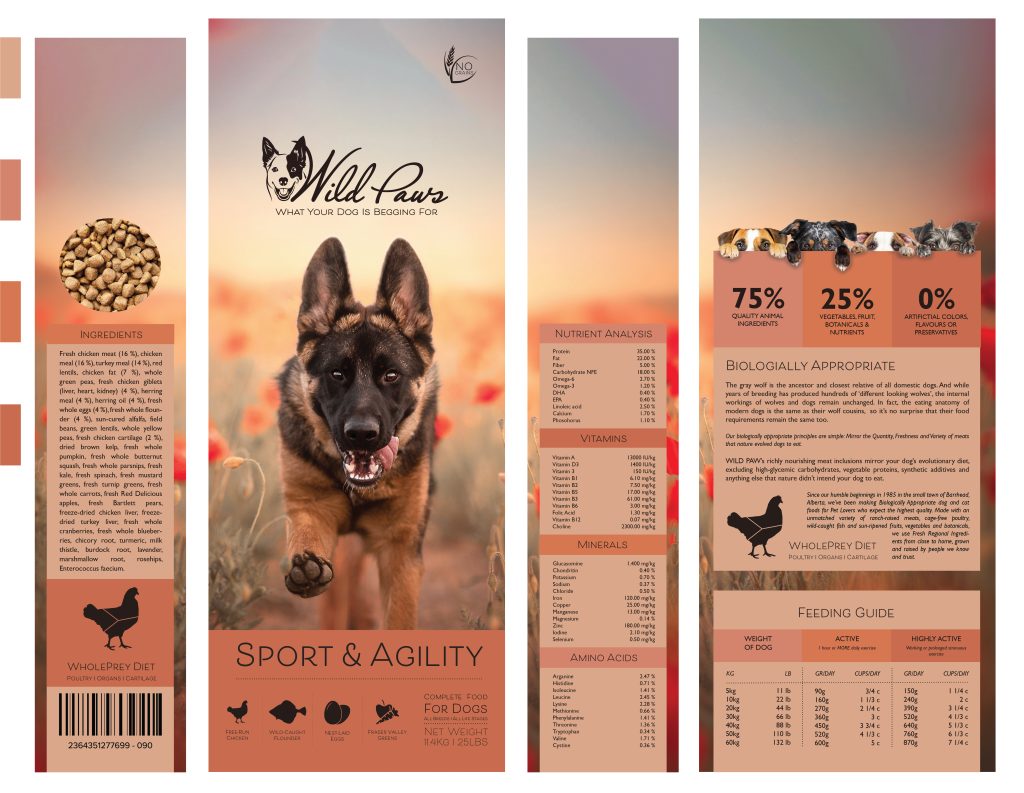
I want to use recycled paper for the bags, and something I really miss on dog foods today is that you actually can see the food inside. So on one of the sides I want to have a window that makes it possible to actually see the size and shapes on the pebbles. The reason that I want this is that I have dog that is medium big size, his main food is raw food. But as treats I use a dry food, so I want to use the smallest size I can find on the pebbles.
Design
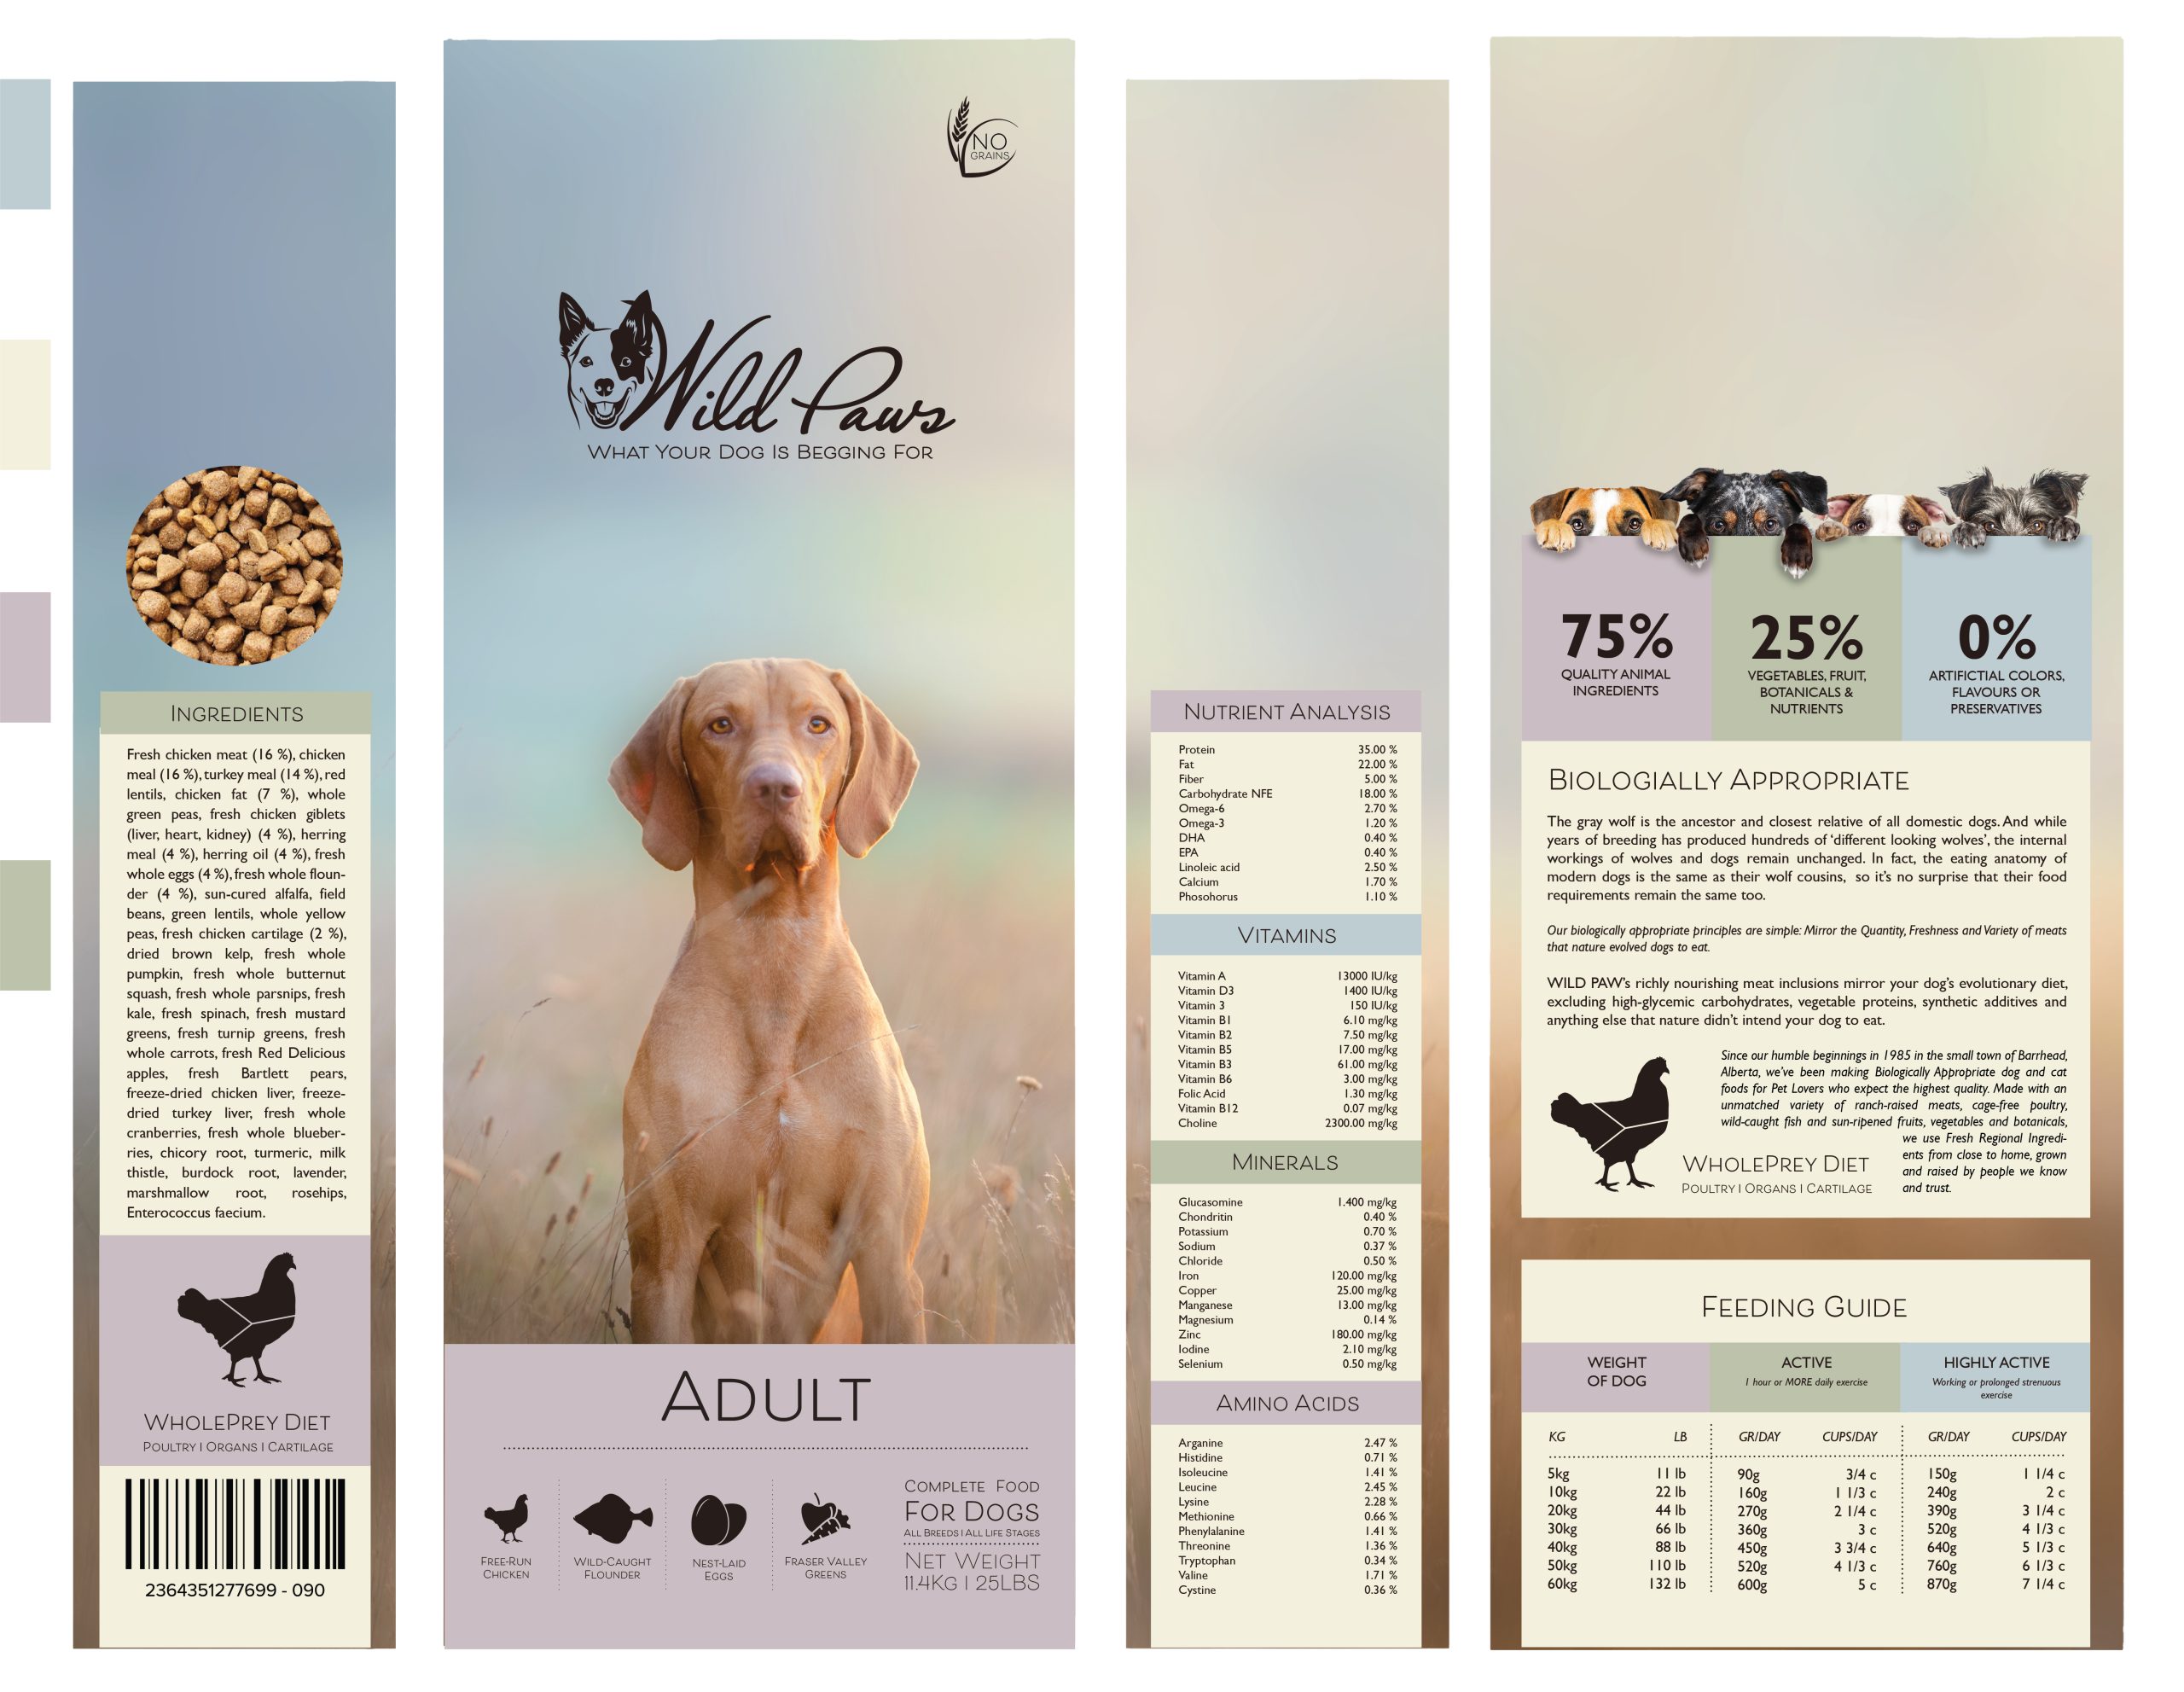
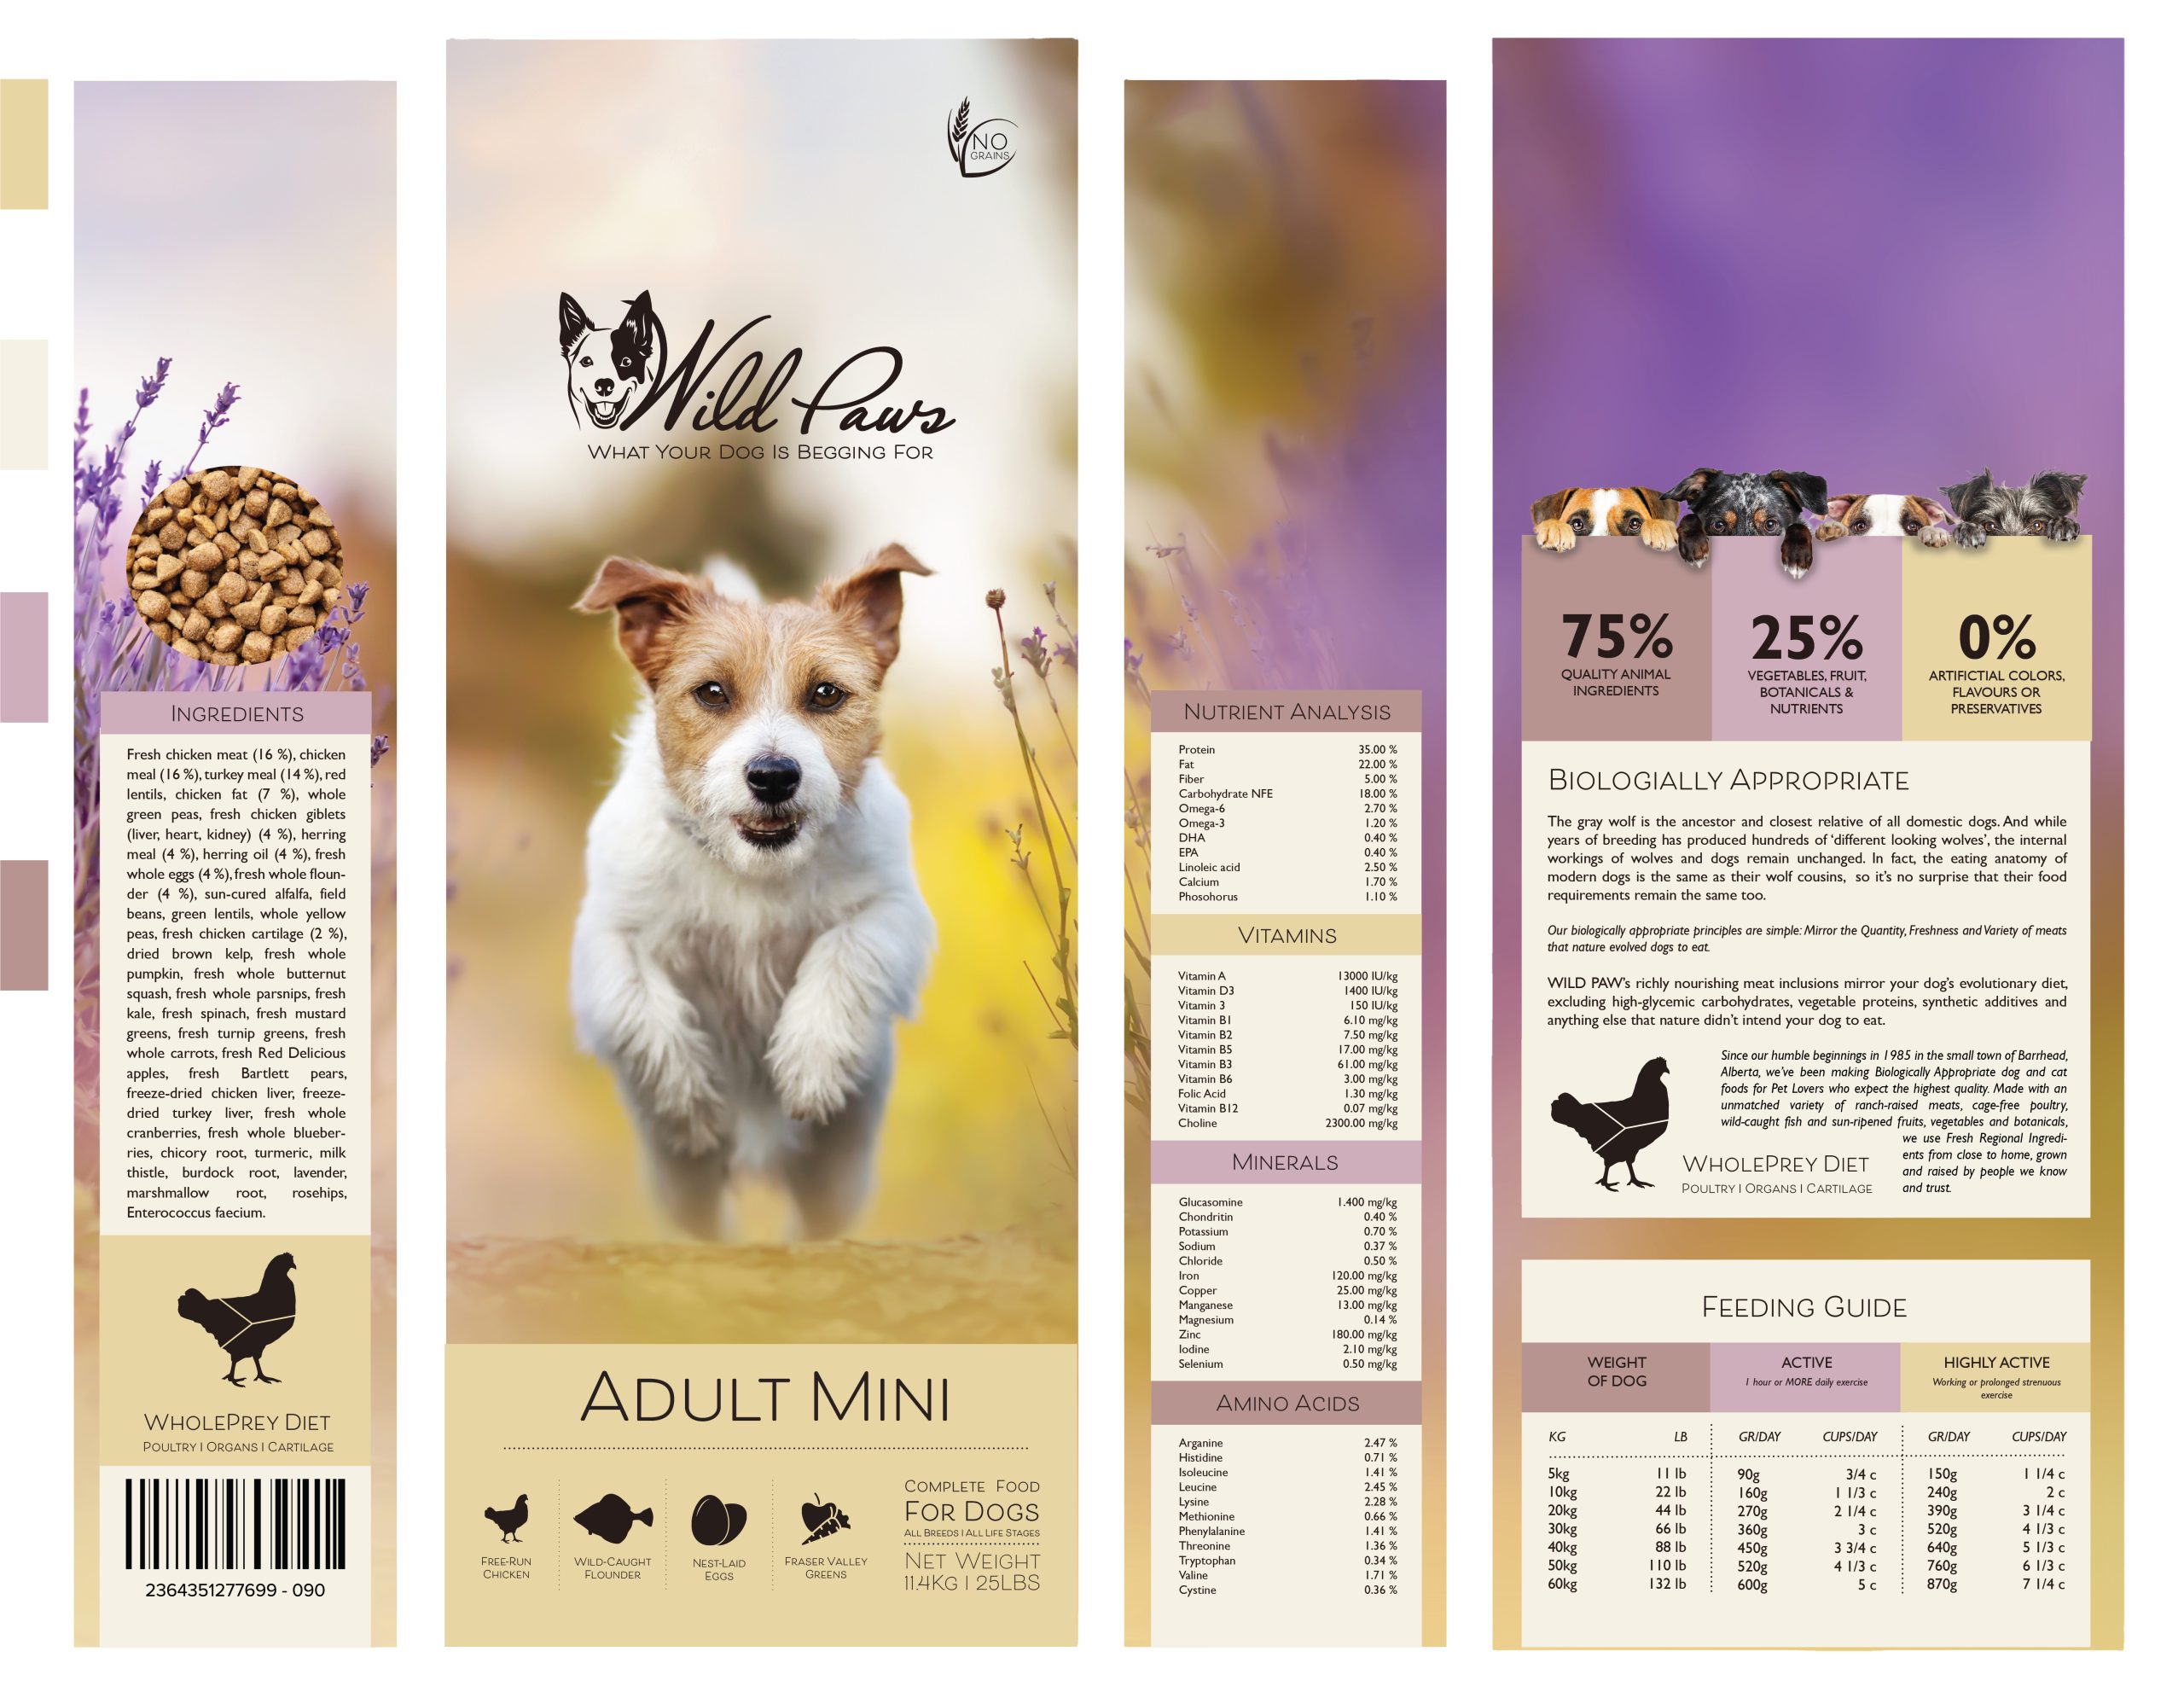
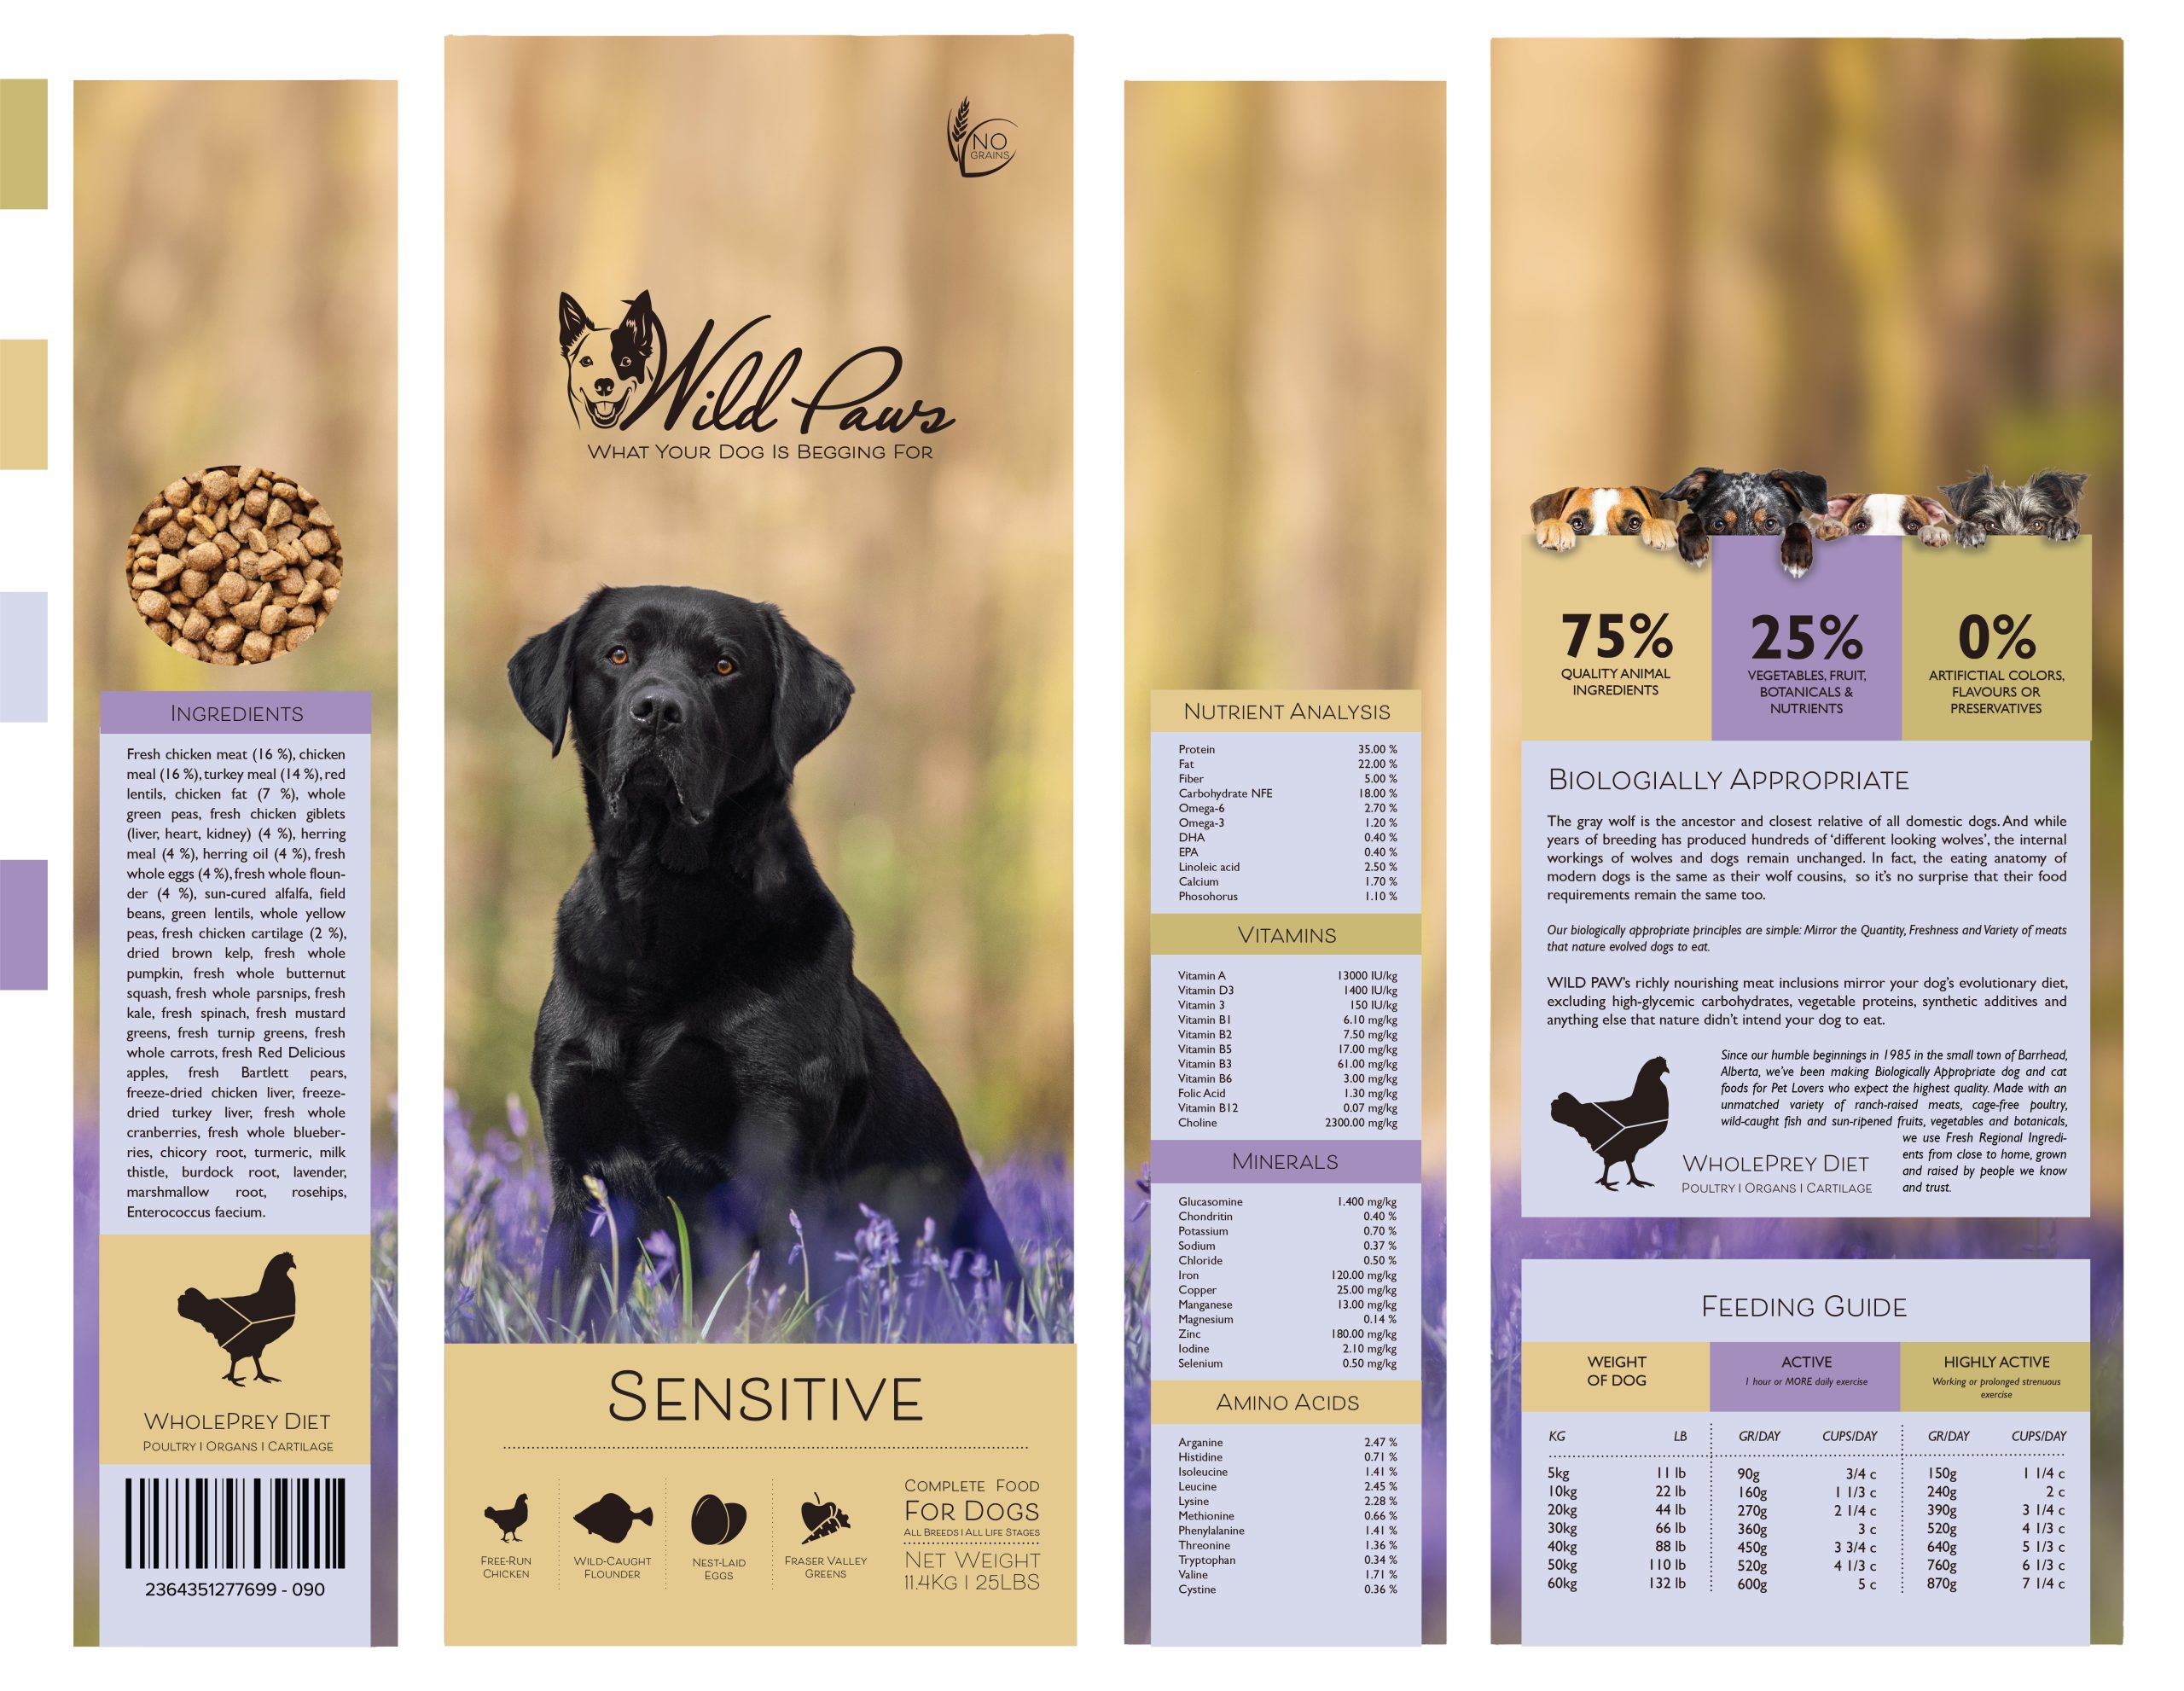
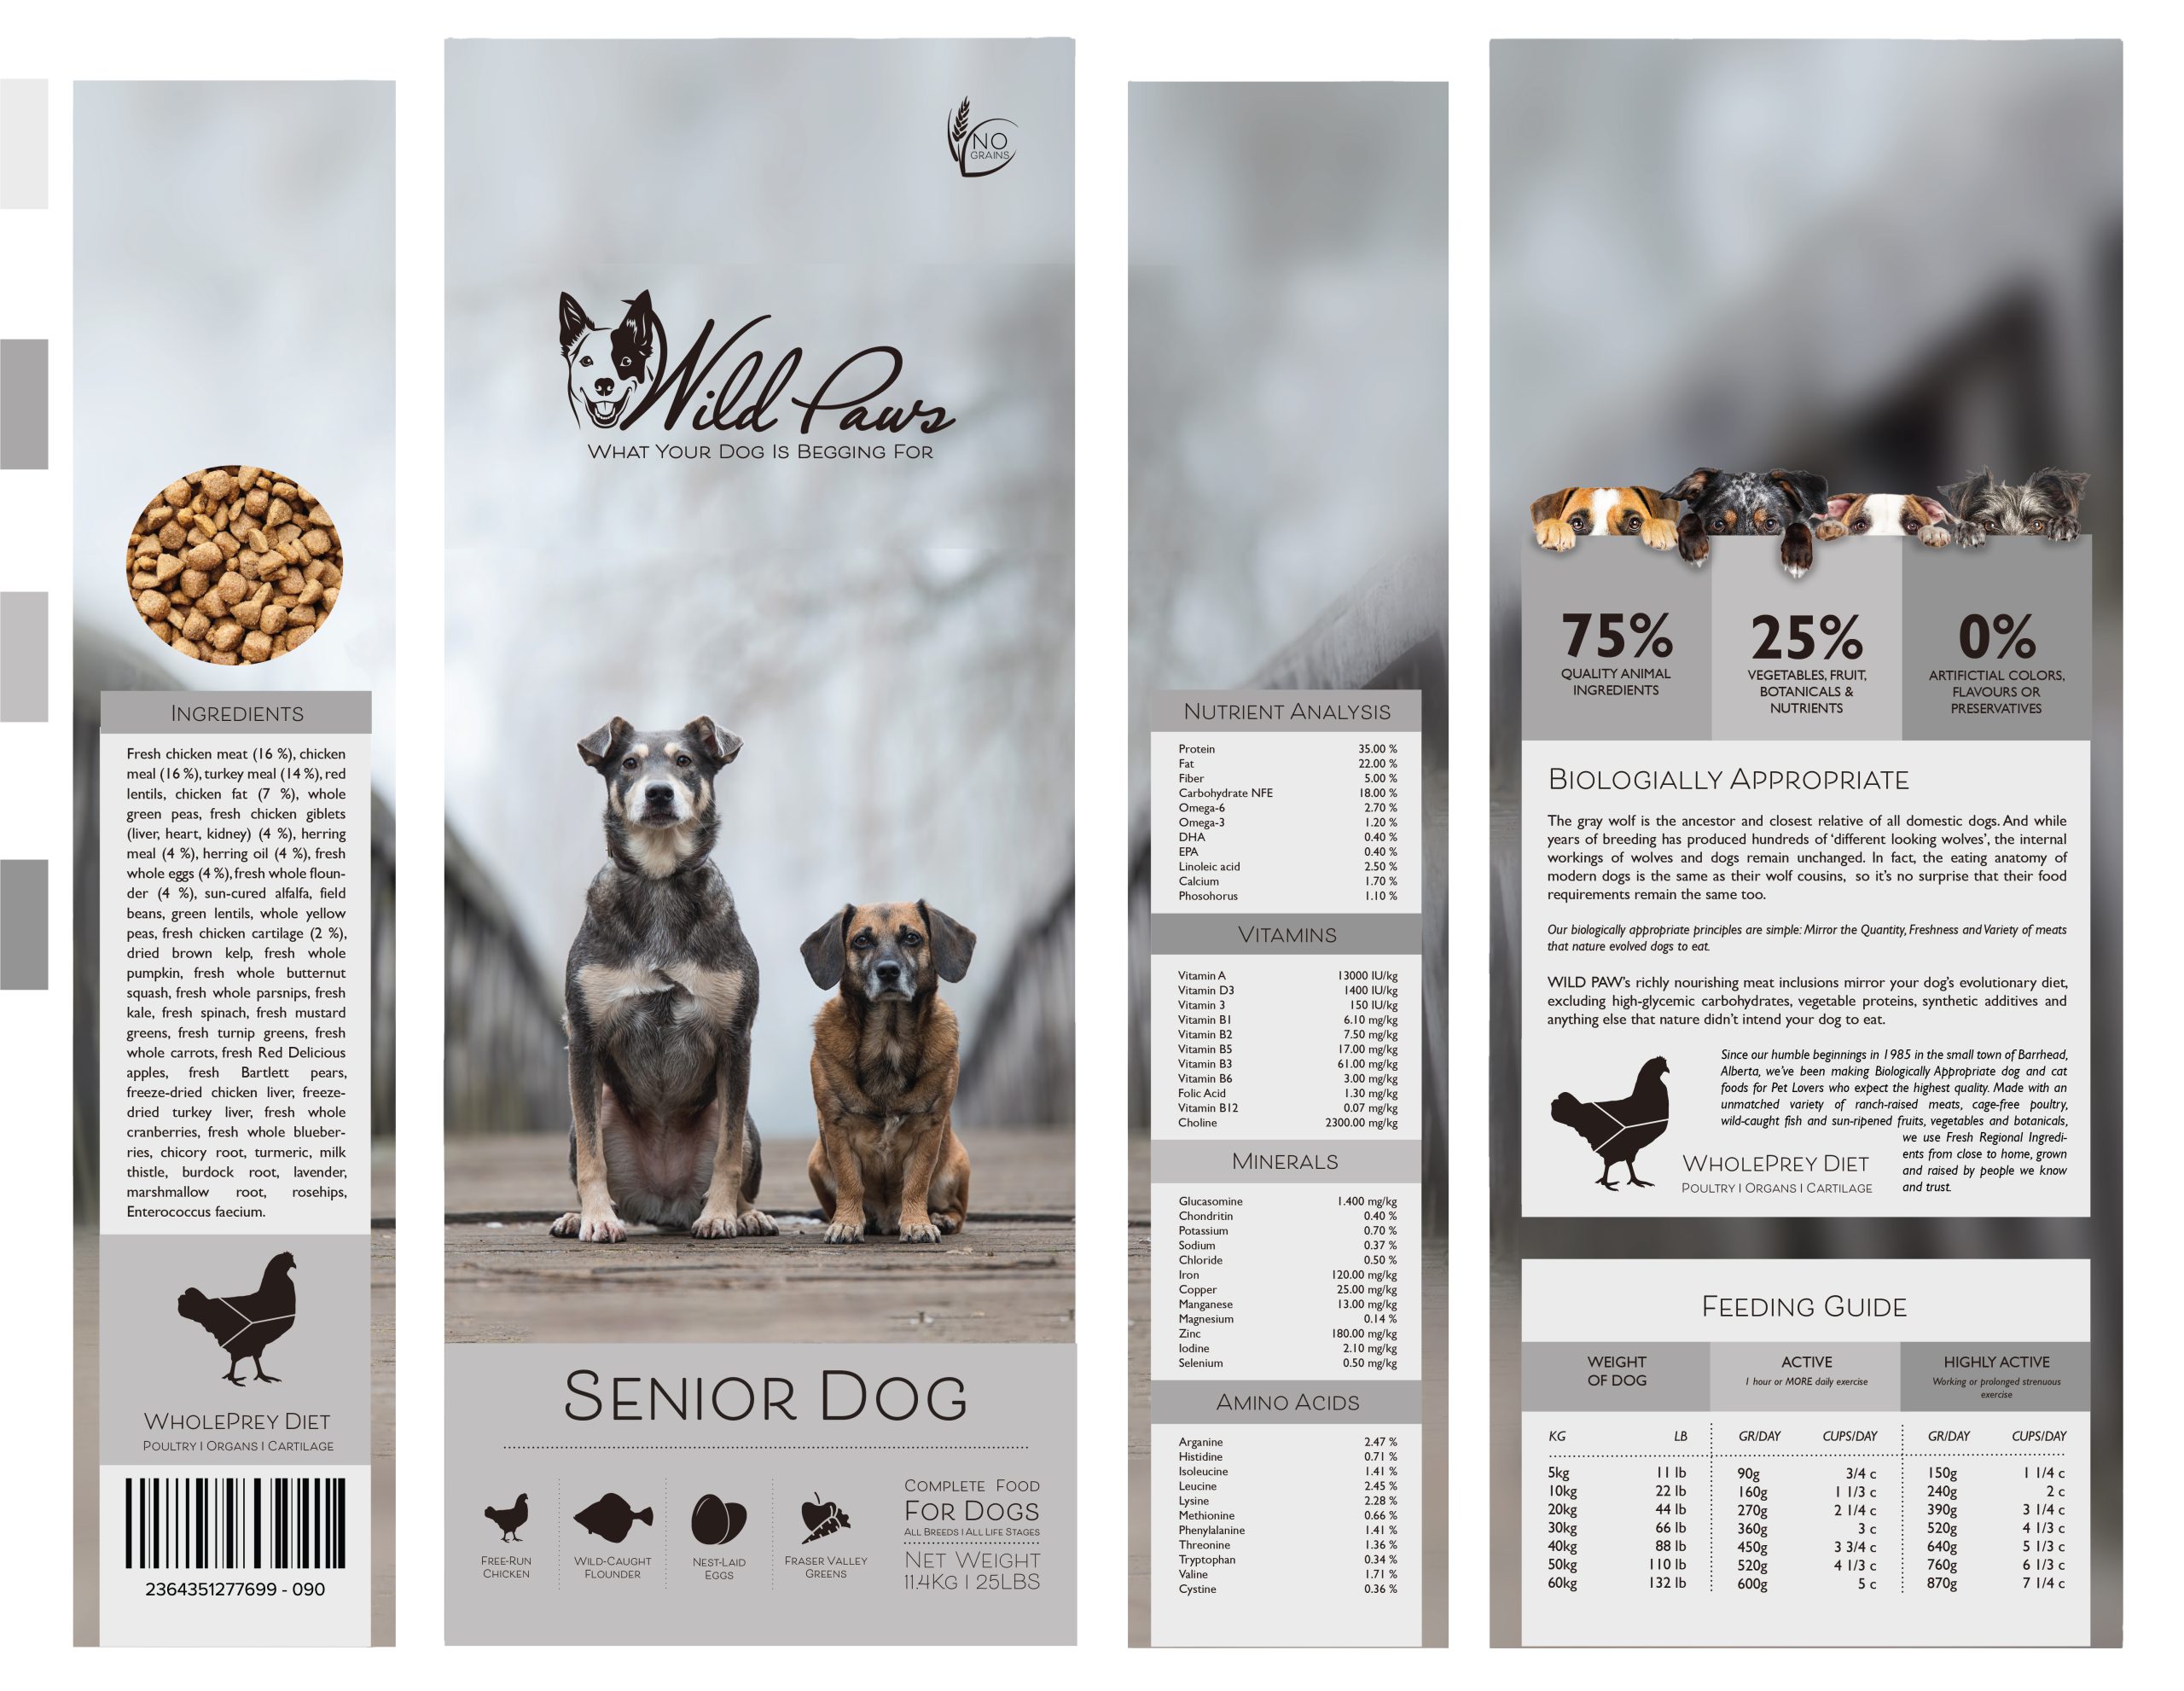
Now design your packaging properly, using any design application of your choice (or a combination of e.g. Photoshop, InDesign and Illustrator). Export the flat design as a PDF.
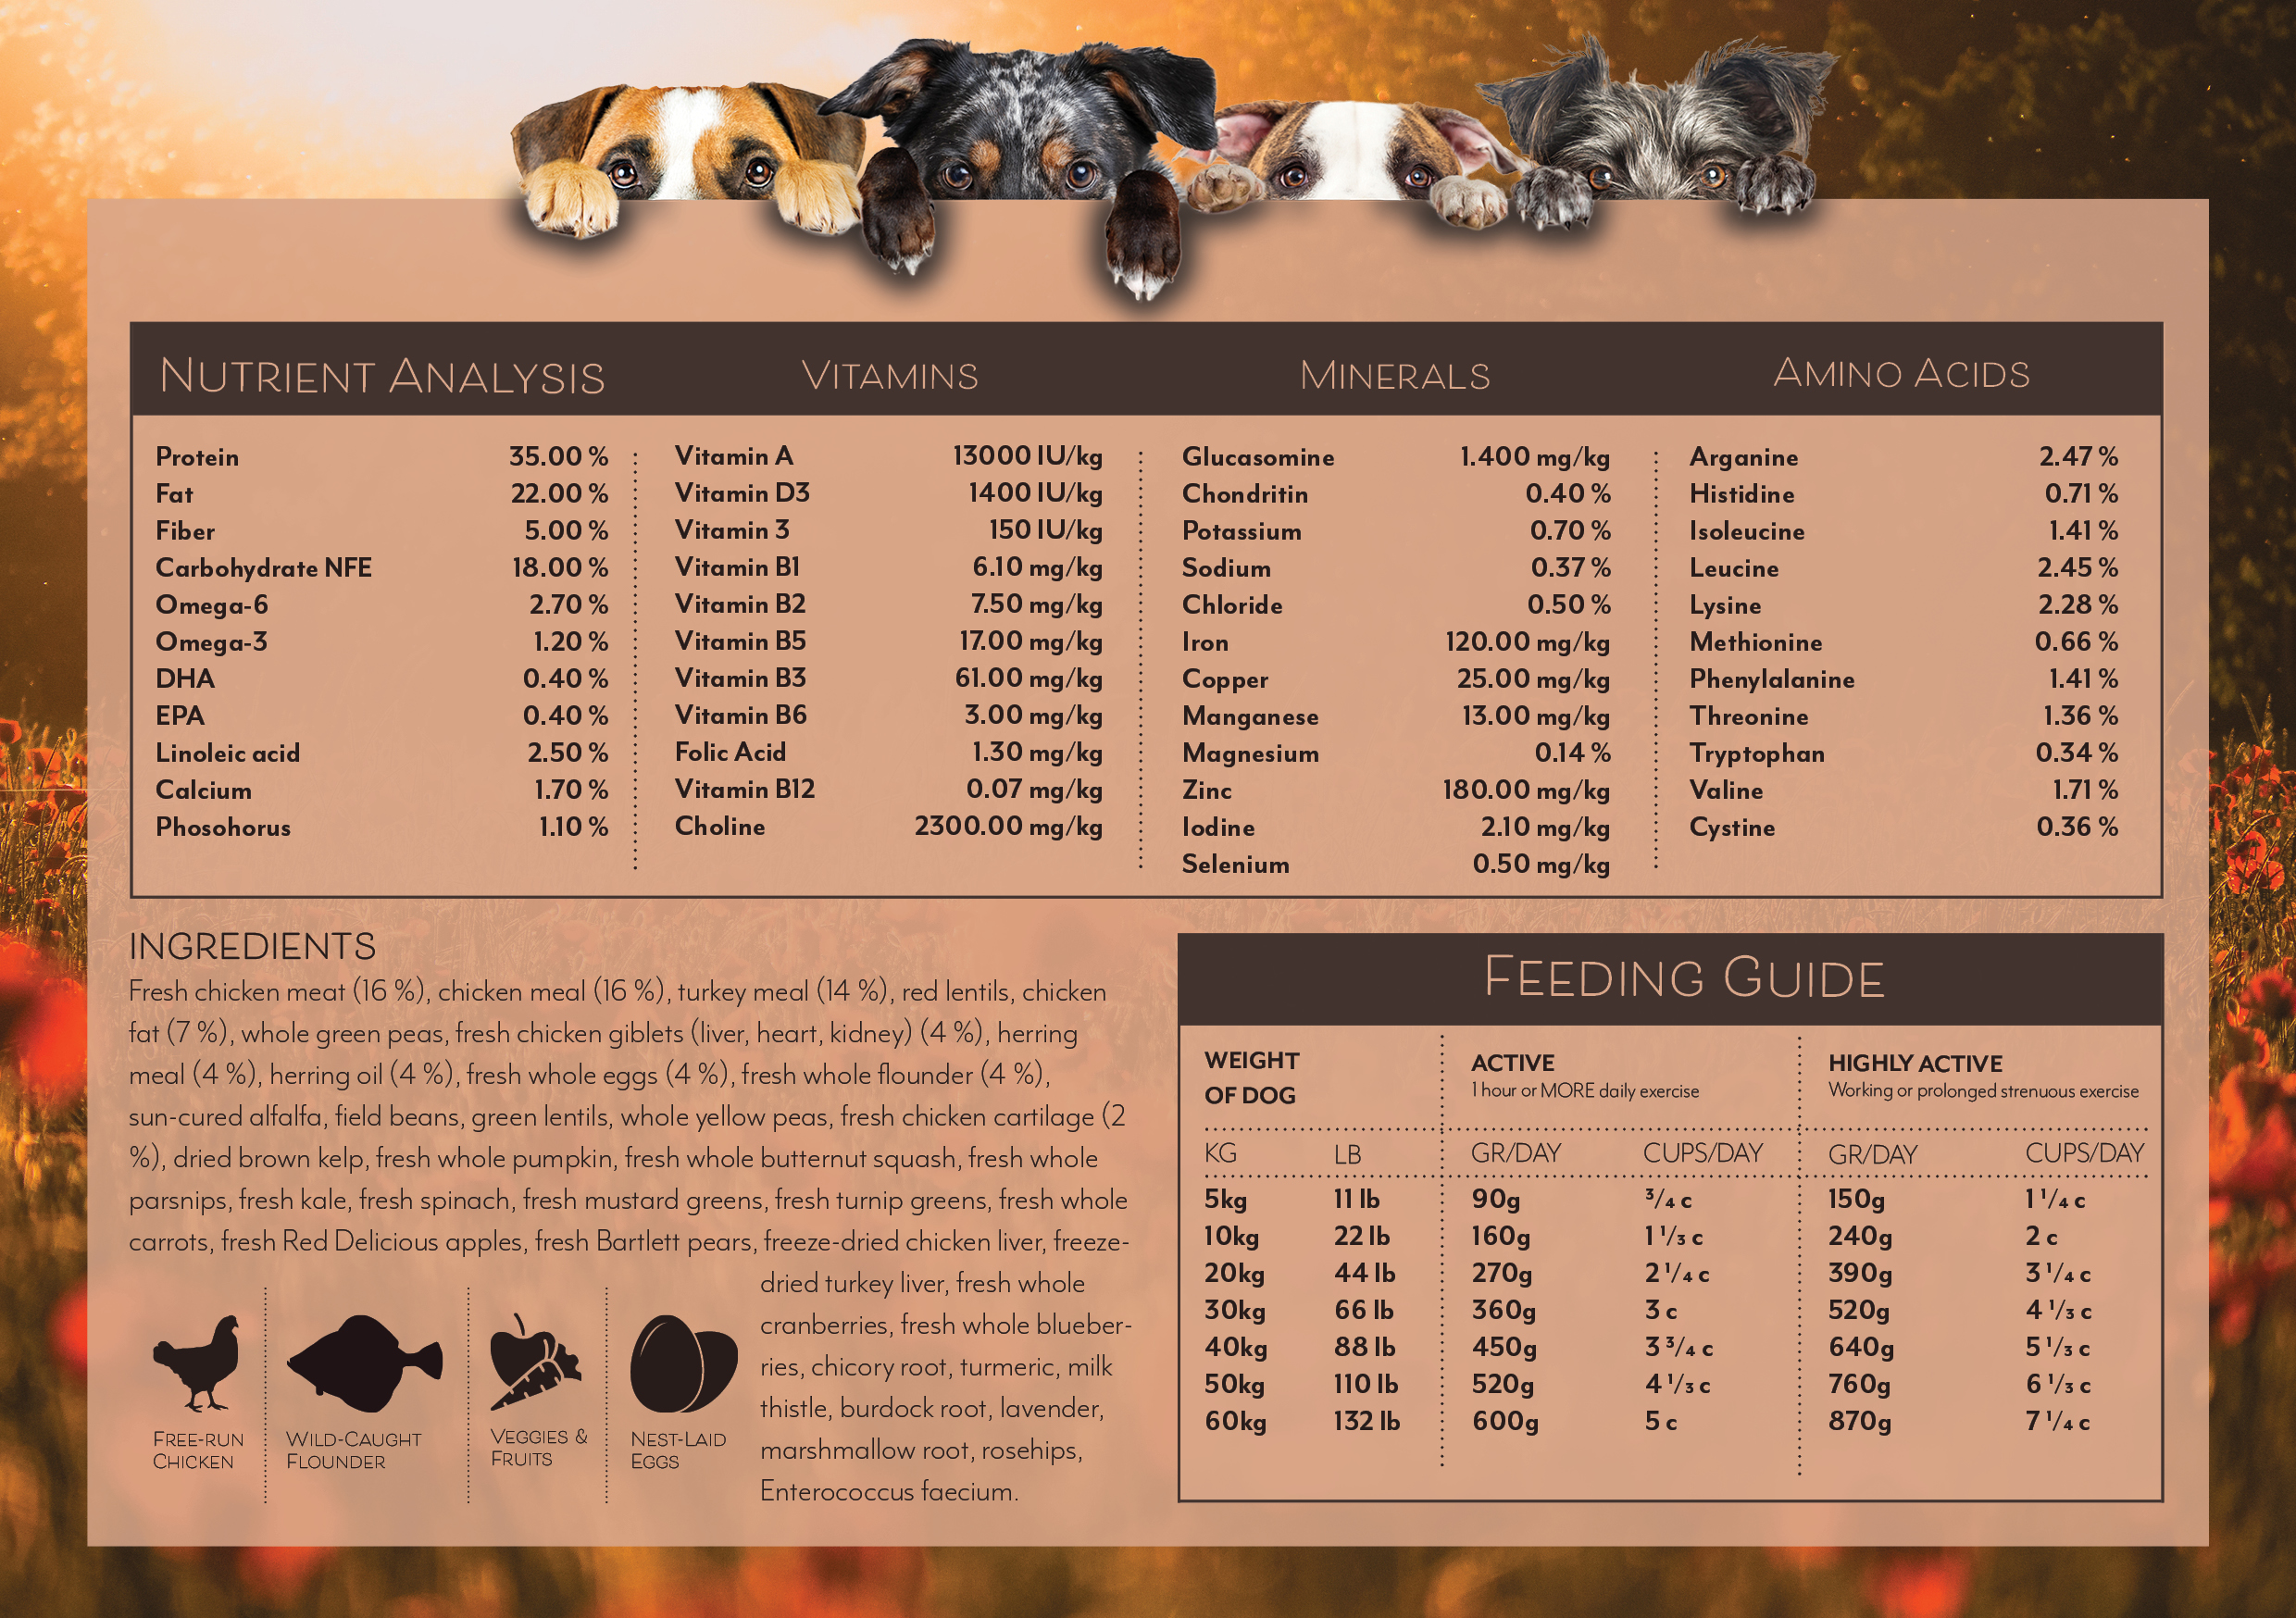
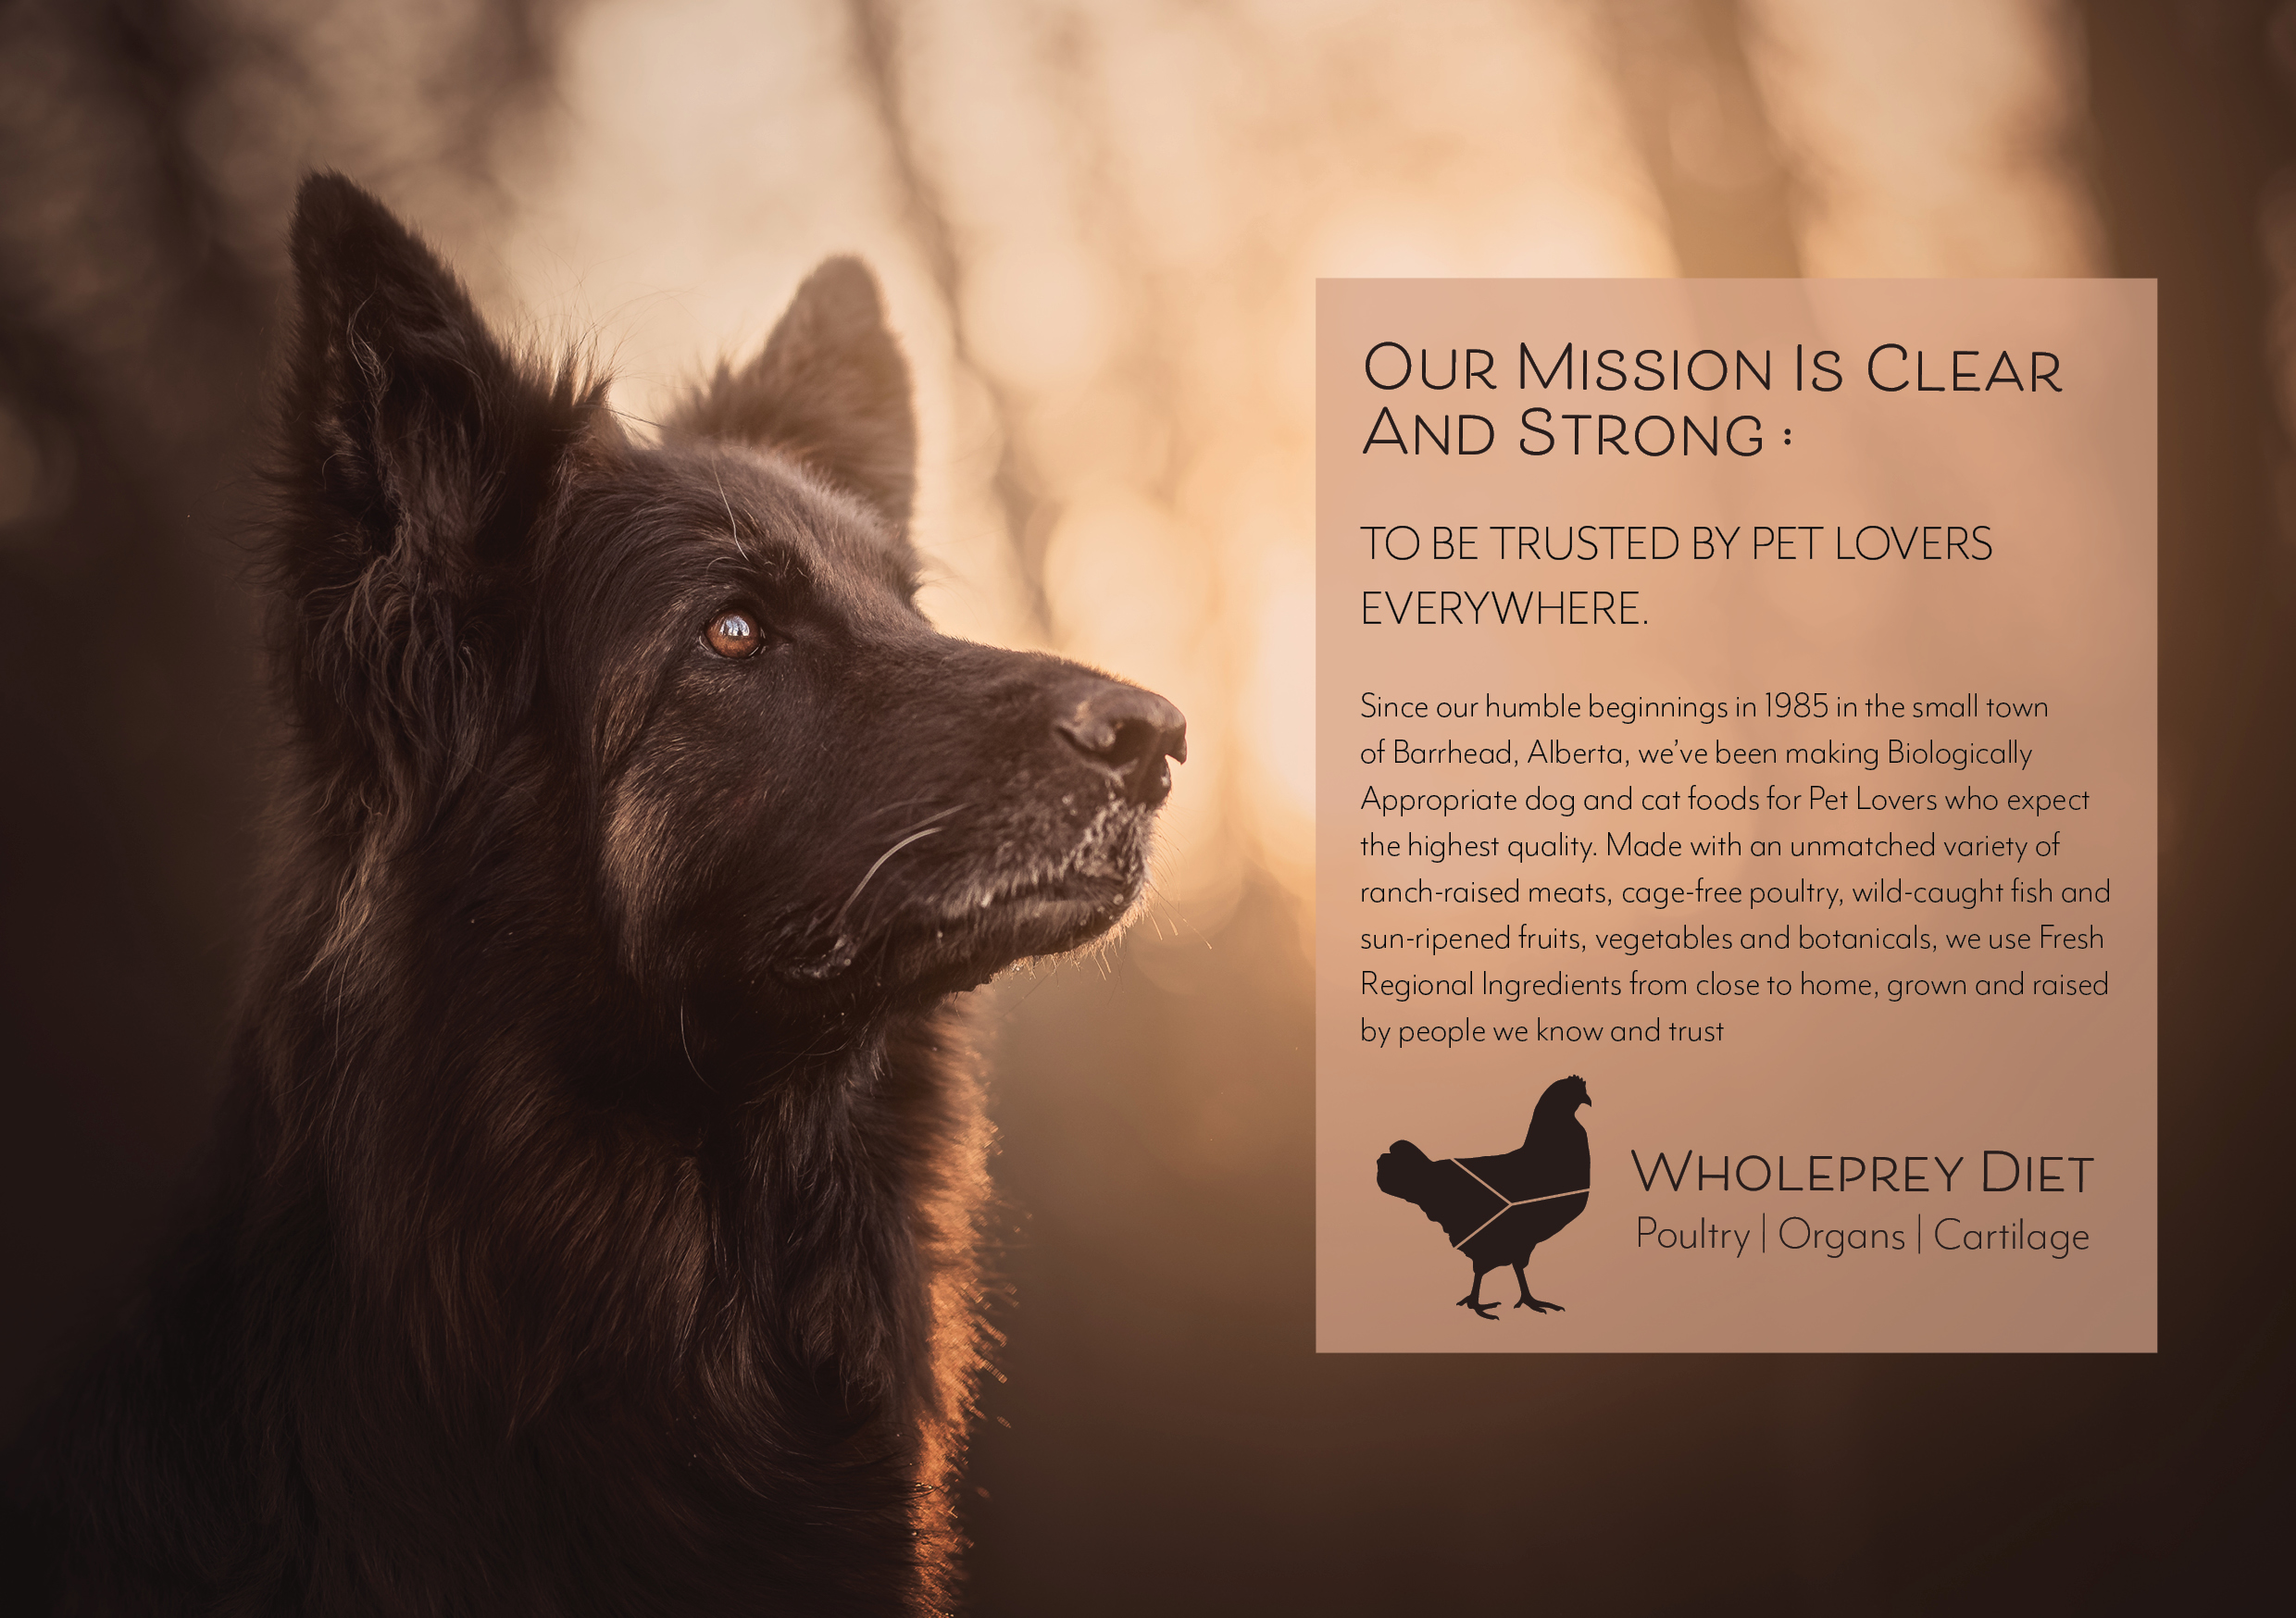
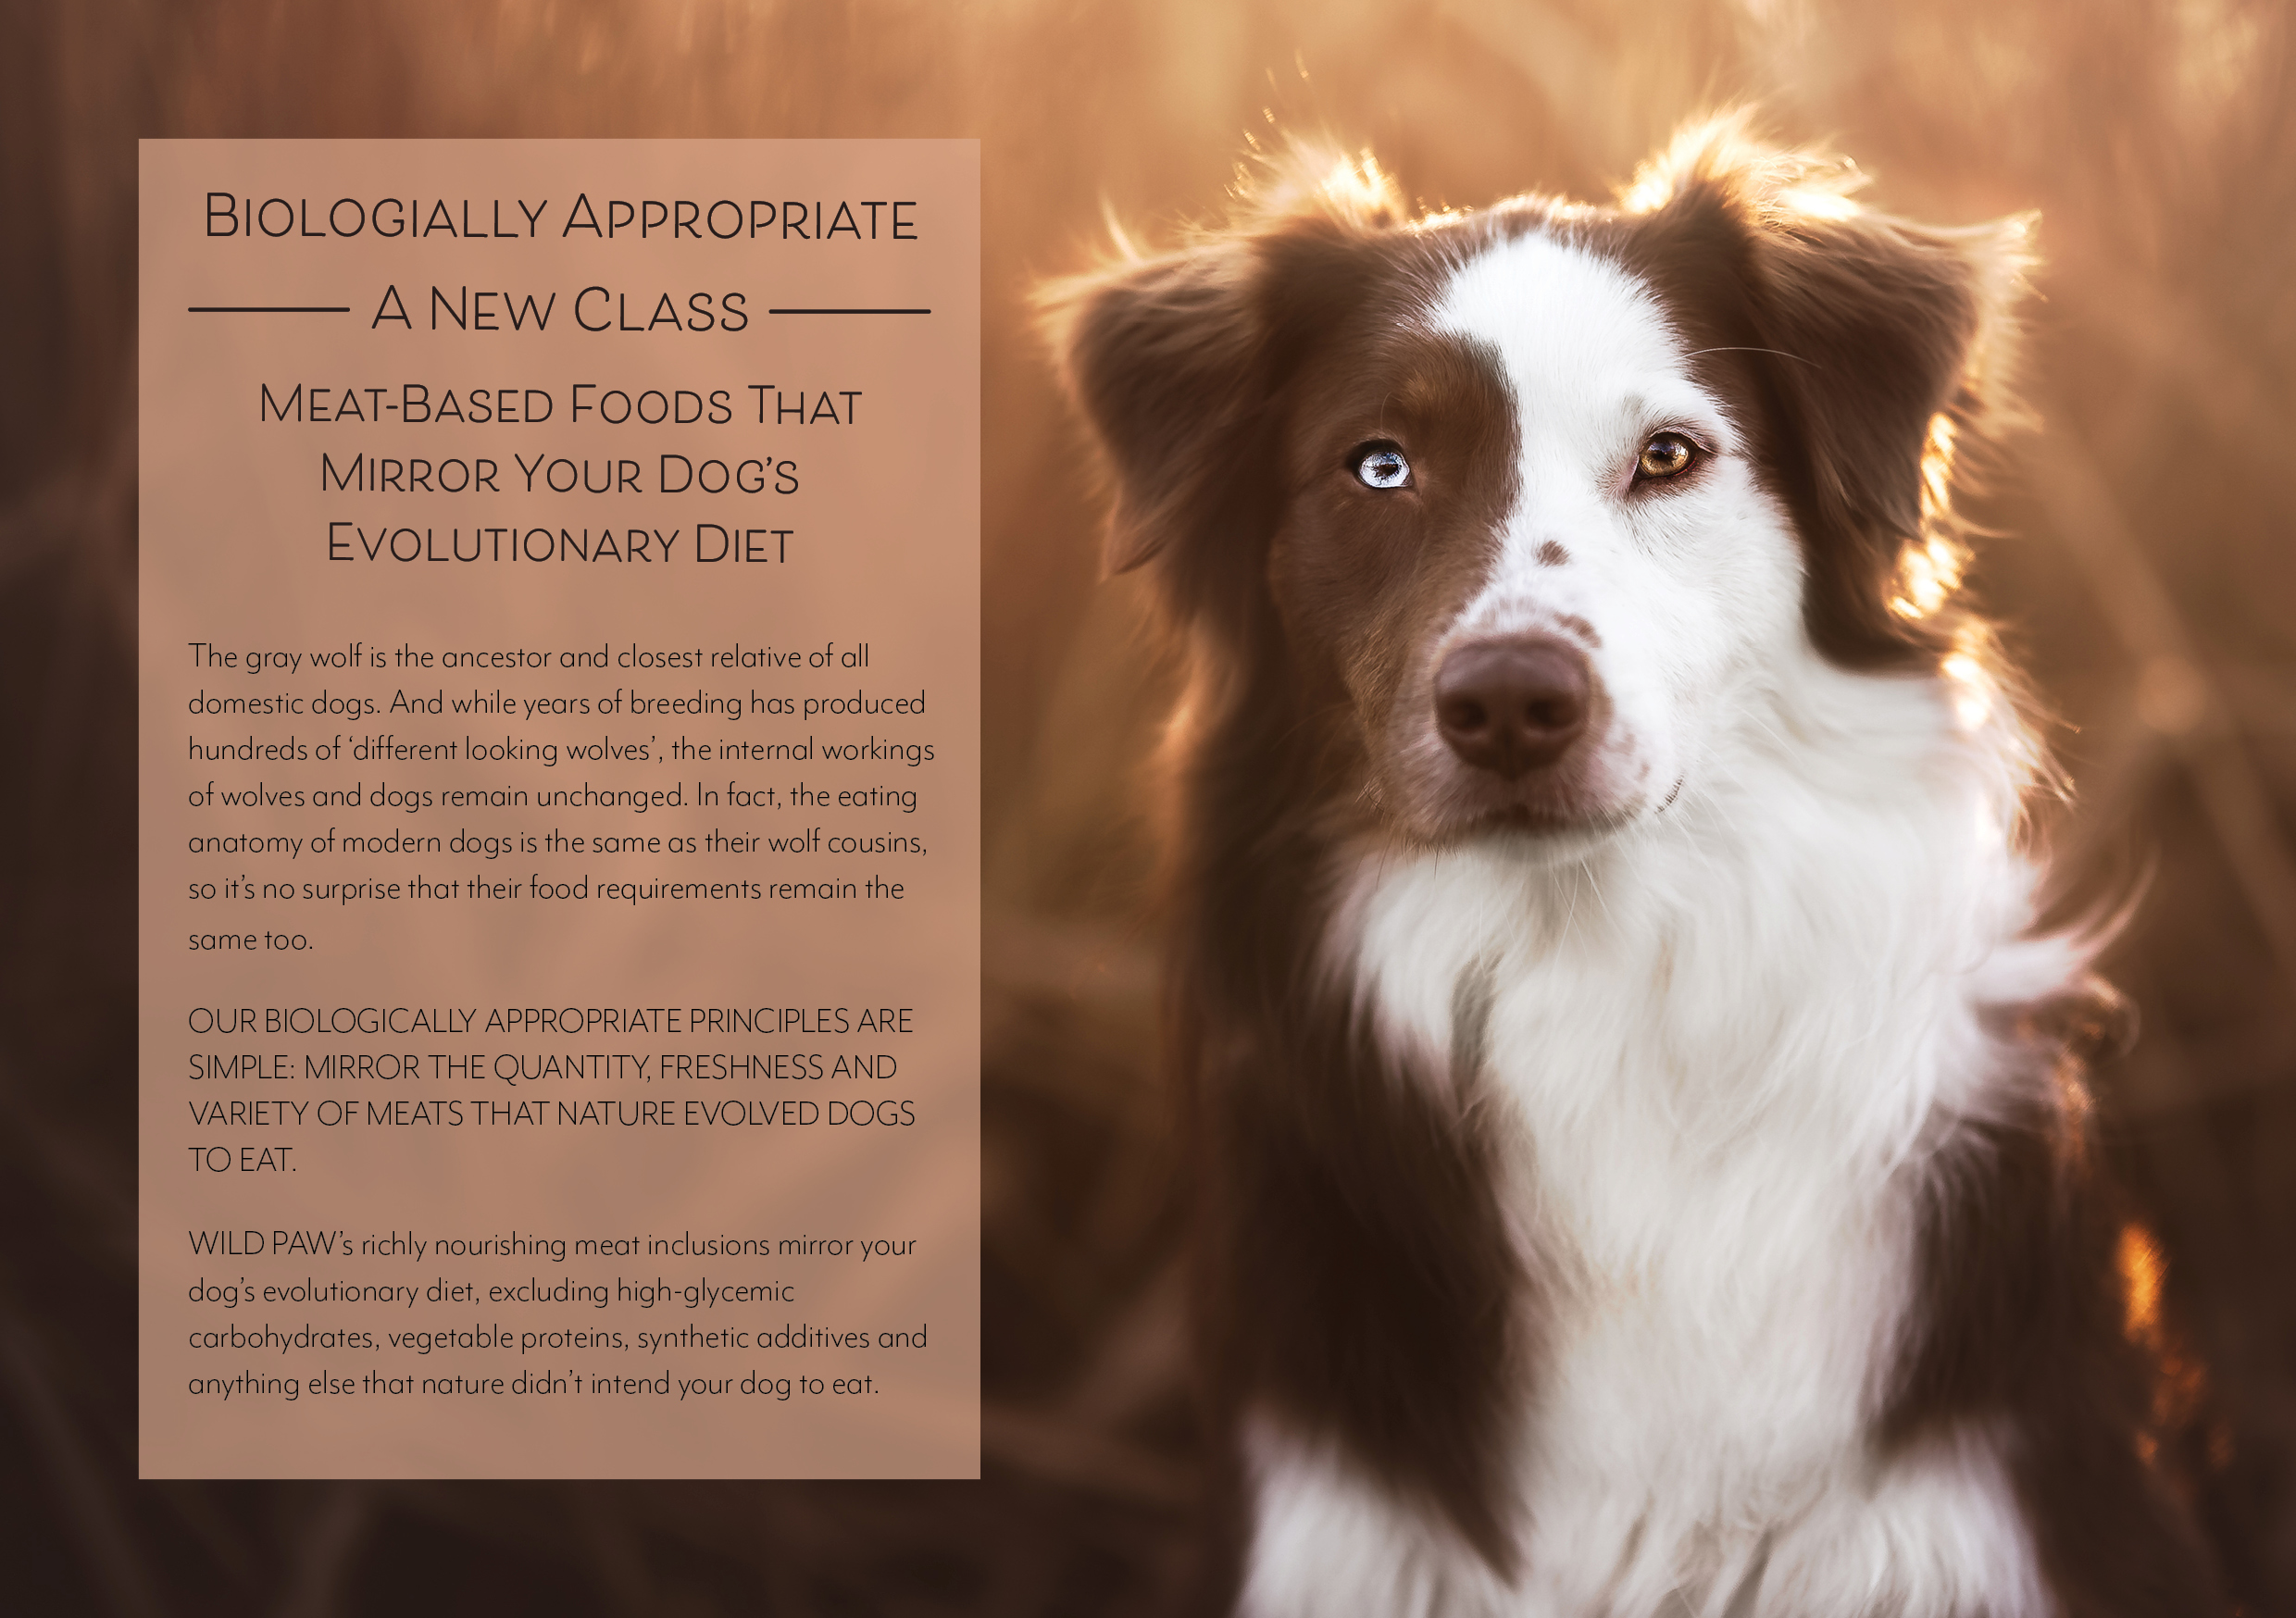
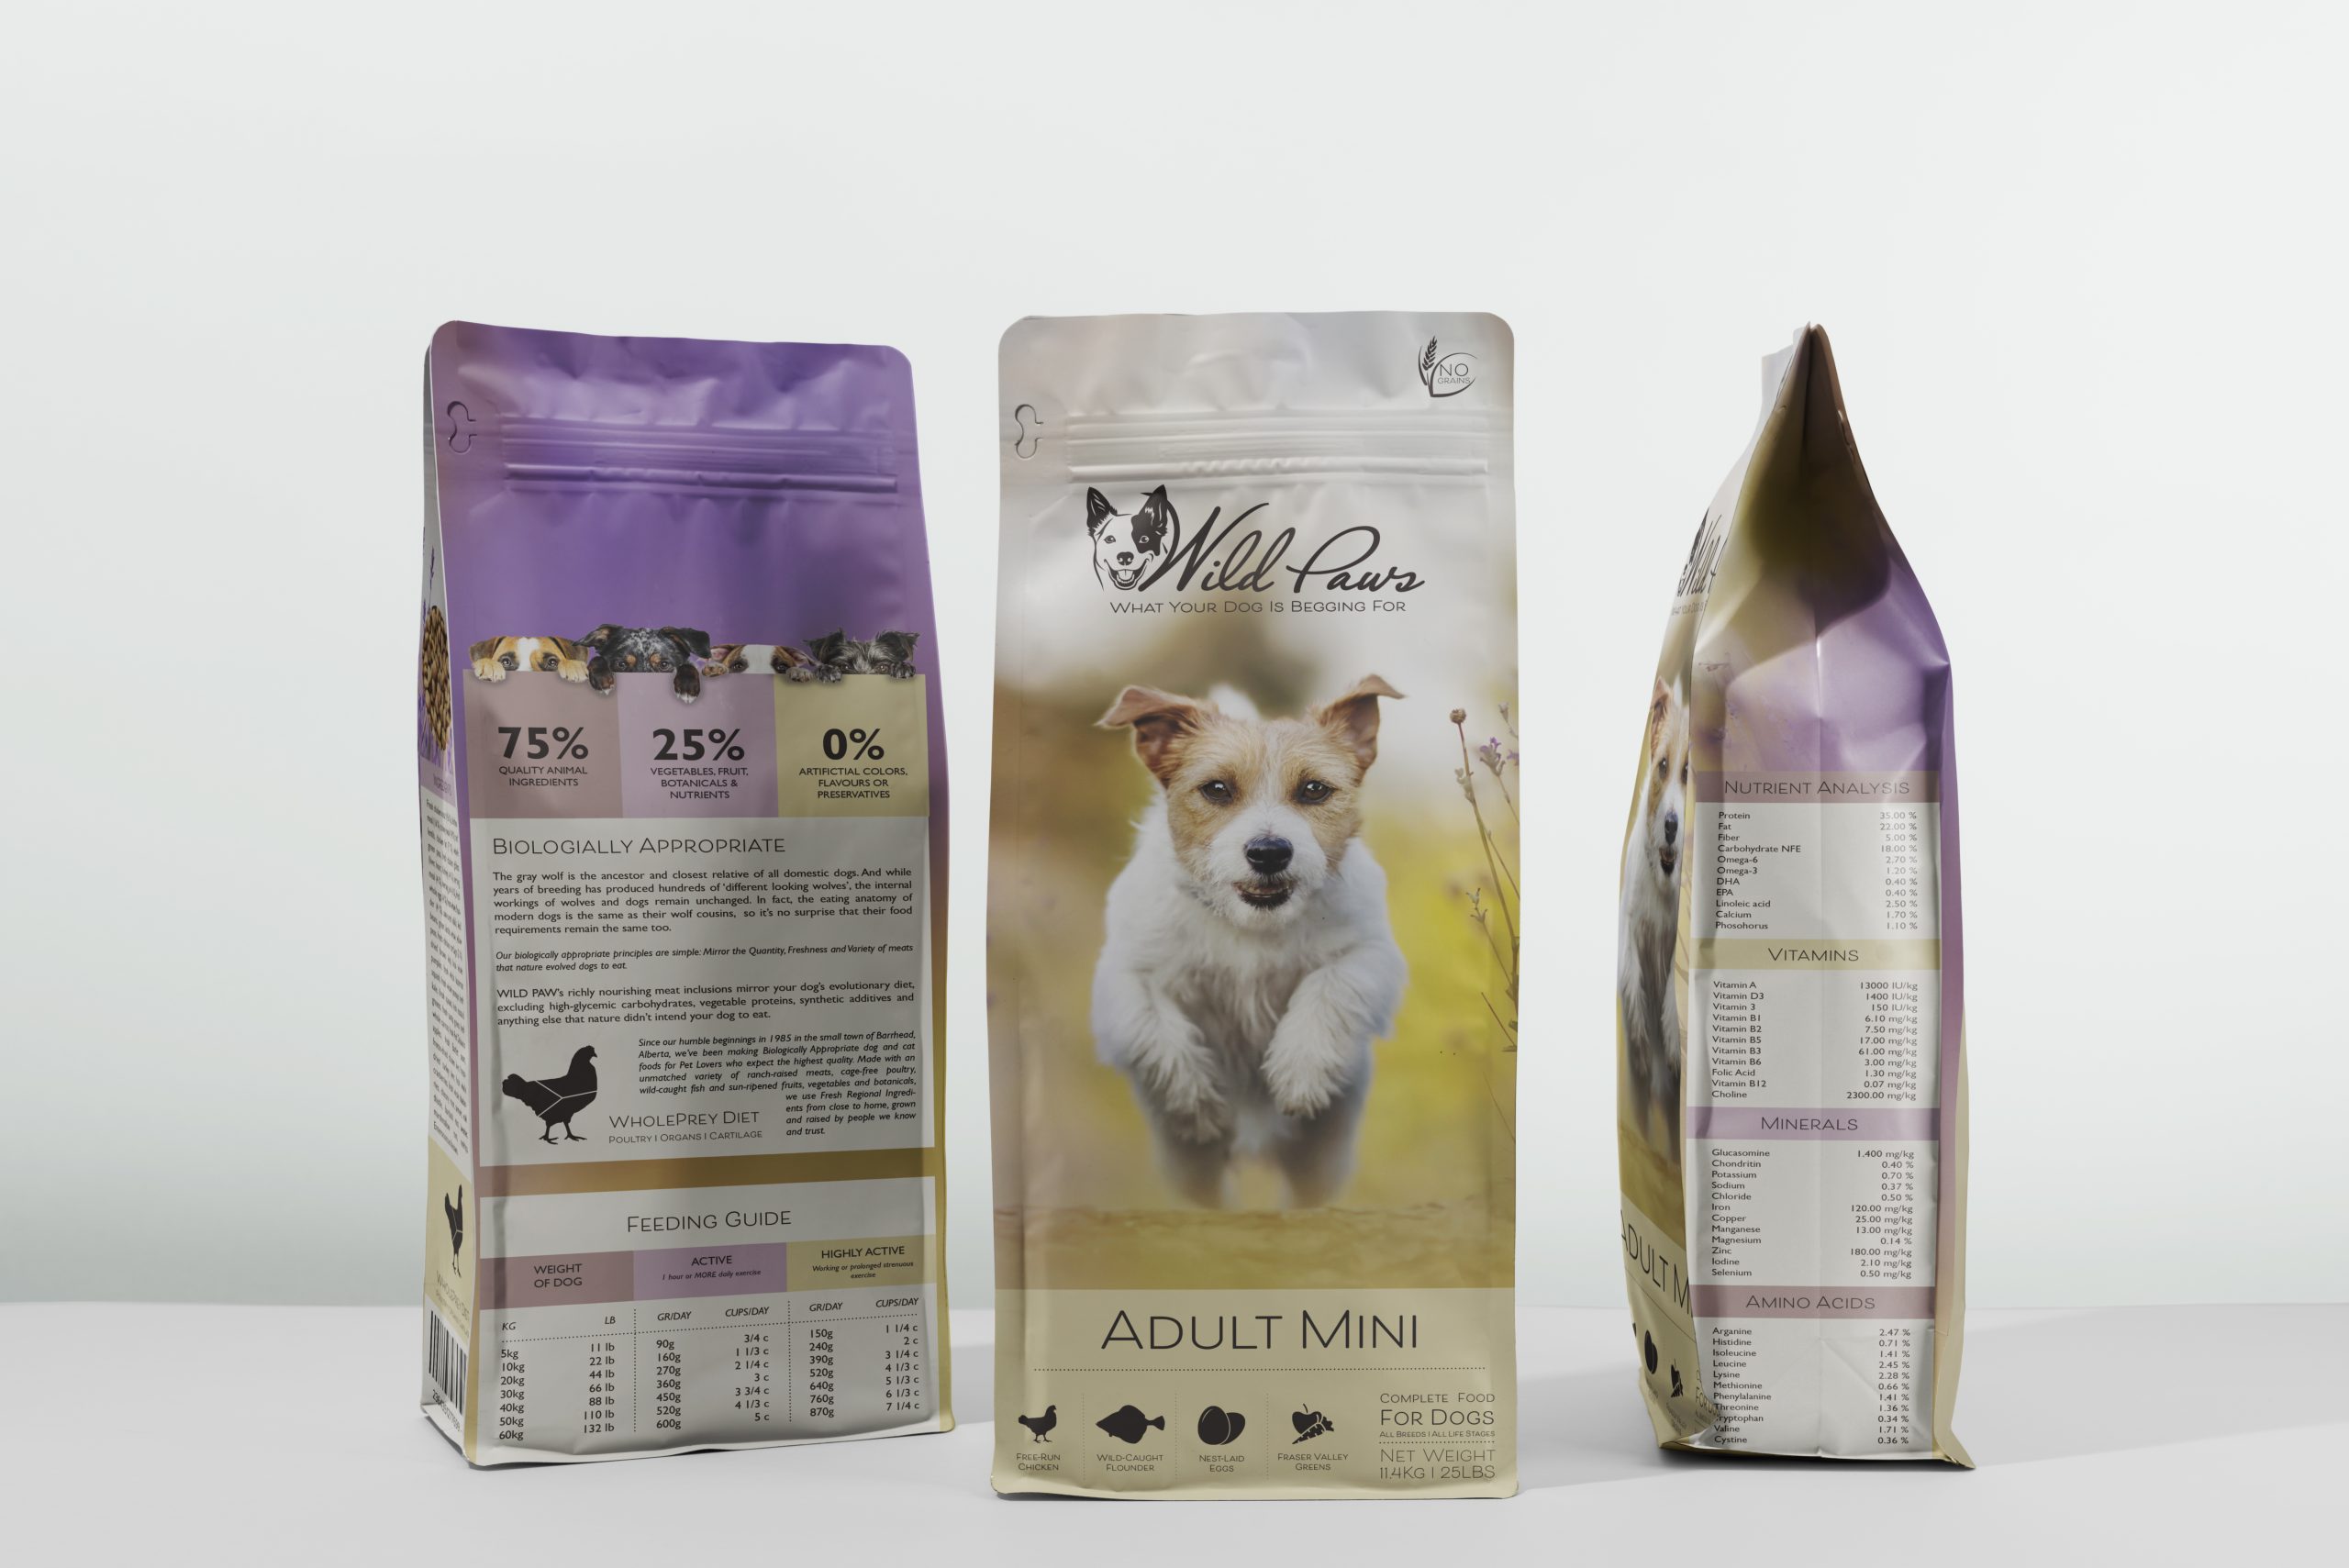
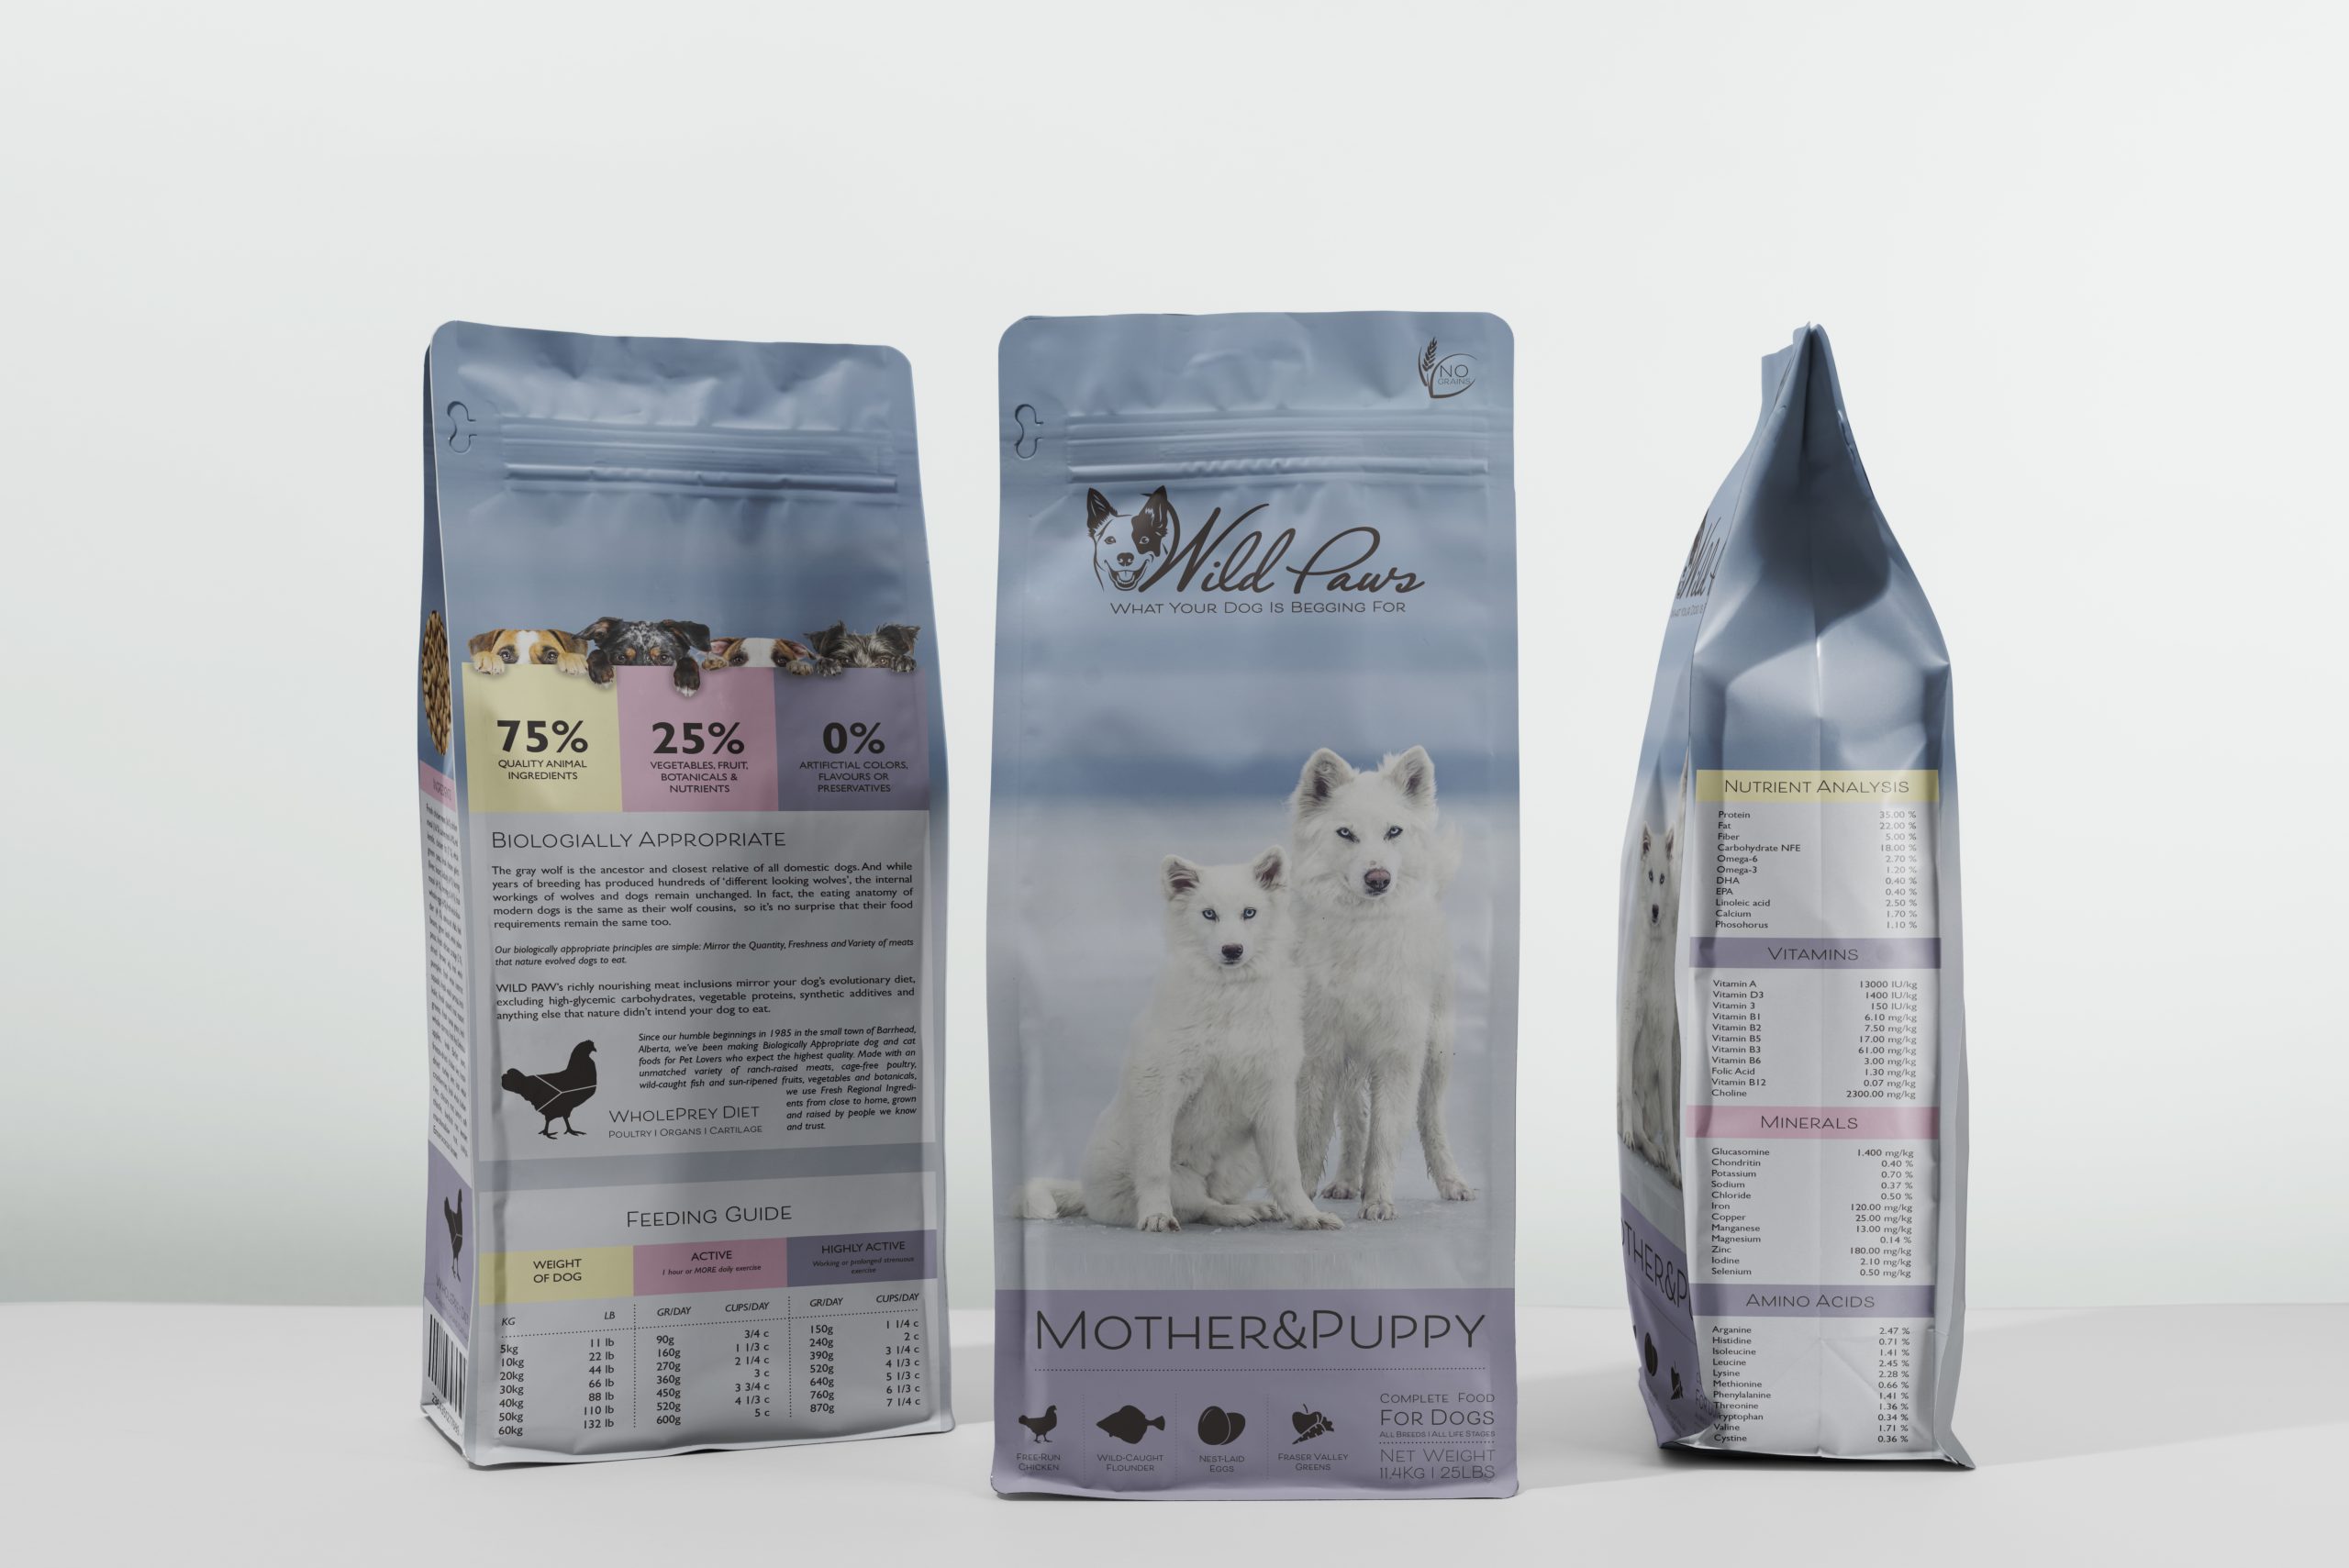
For the design I wanted it to work well together with the logo and the brochure. I also wanted to use the infographic that I made on the last LT with the brochure. I needed to change the size and needed to break the whole infographic apart to place it where I wanted it to be in the design.
Testing
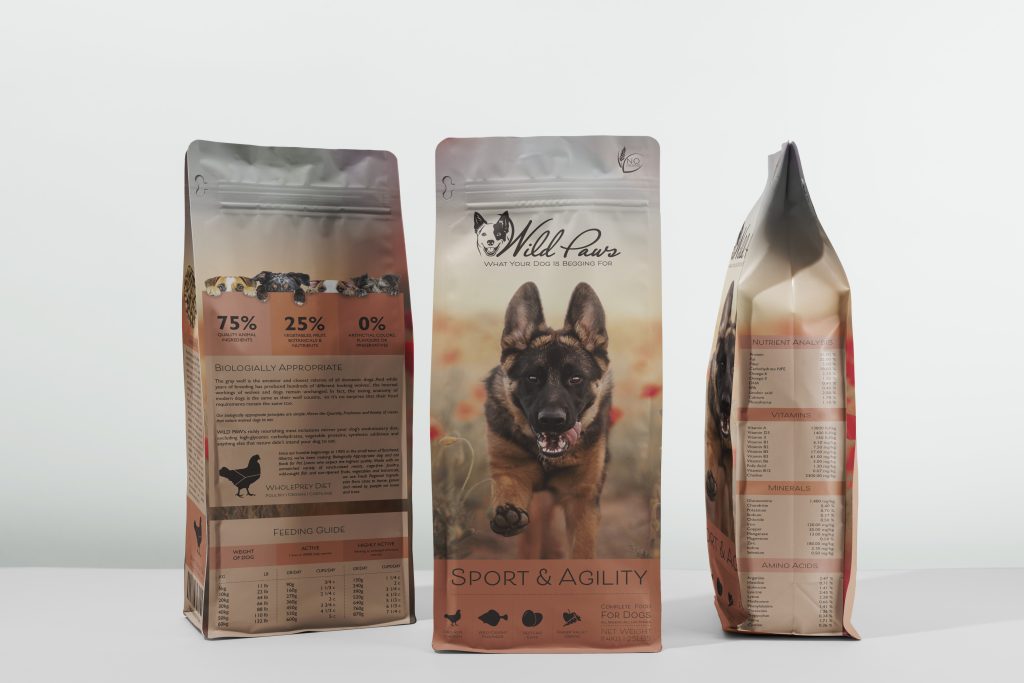
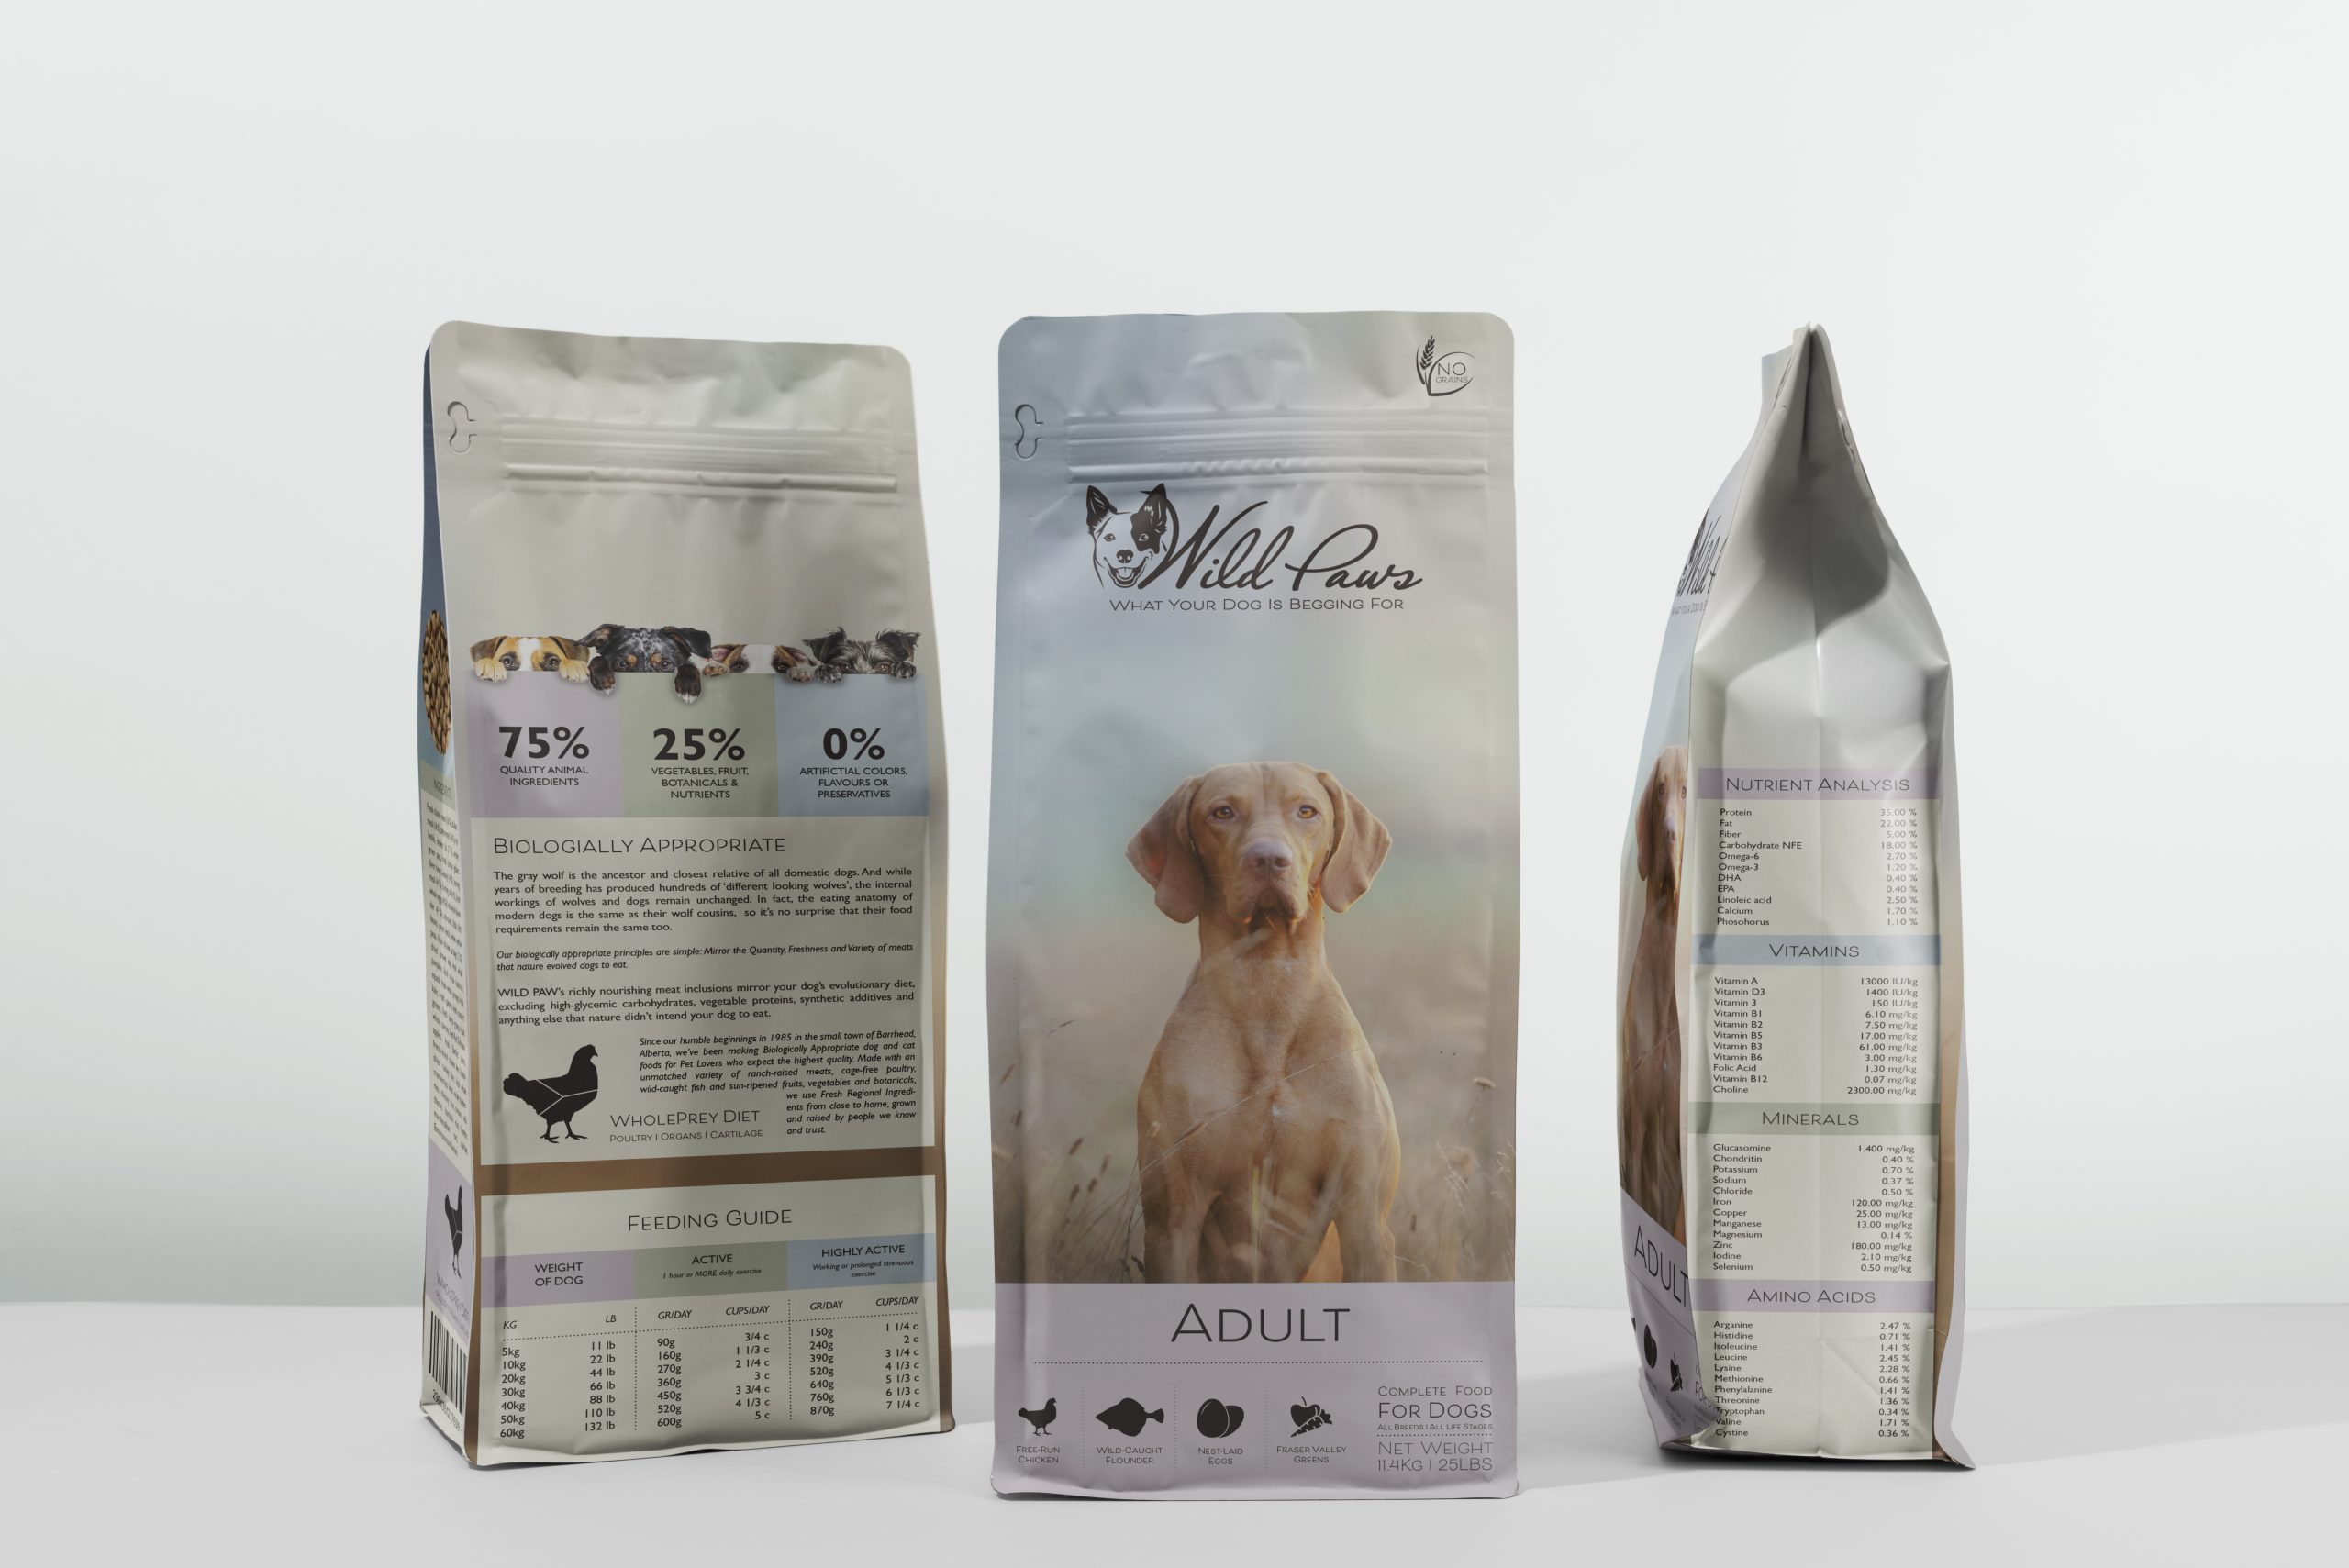
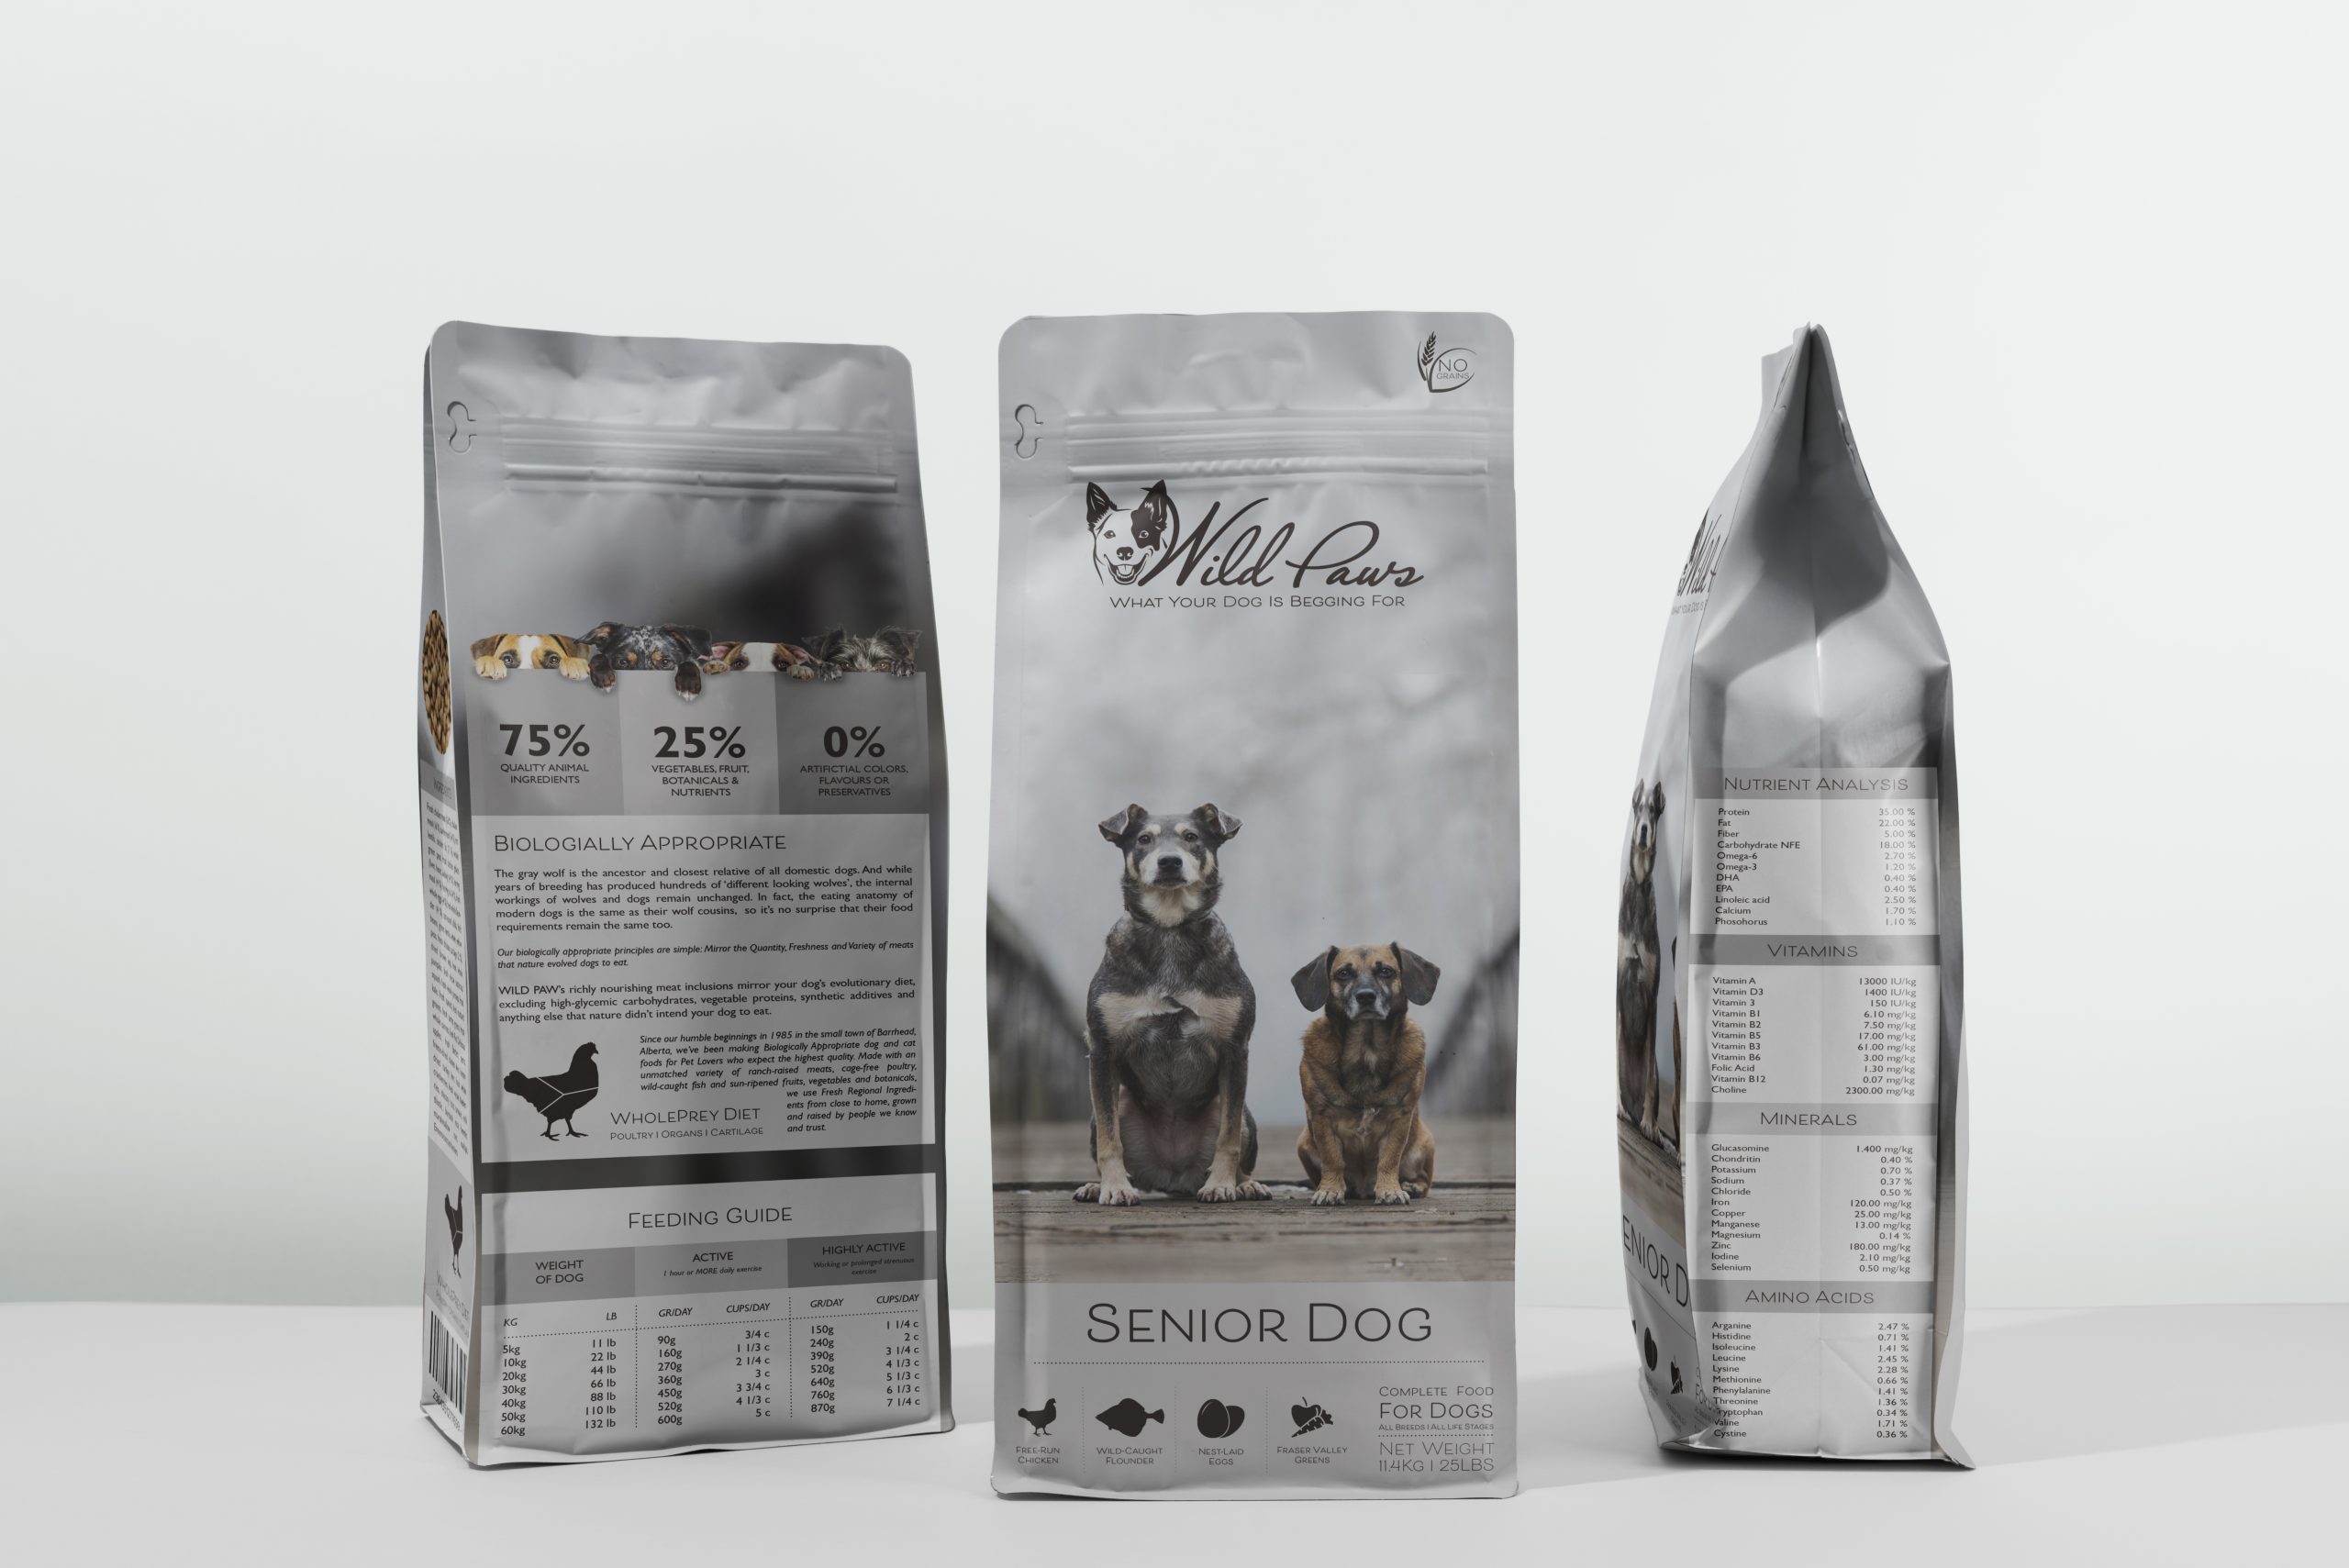
Make a life-size mock-up of your final design and take photographs of it. Remember that you can take more than one photo to show the different angles and sides of the packaging. Here your presentation skills are vital. How do you present the final mock-up in a photo to reflect the true essence of your design?
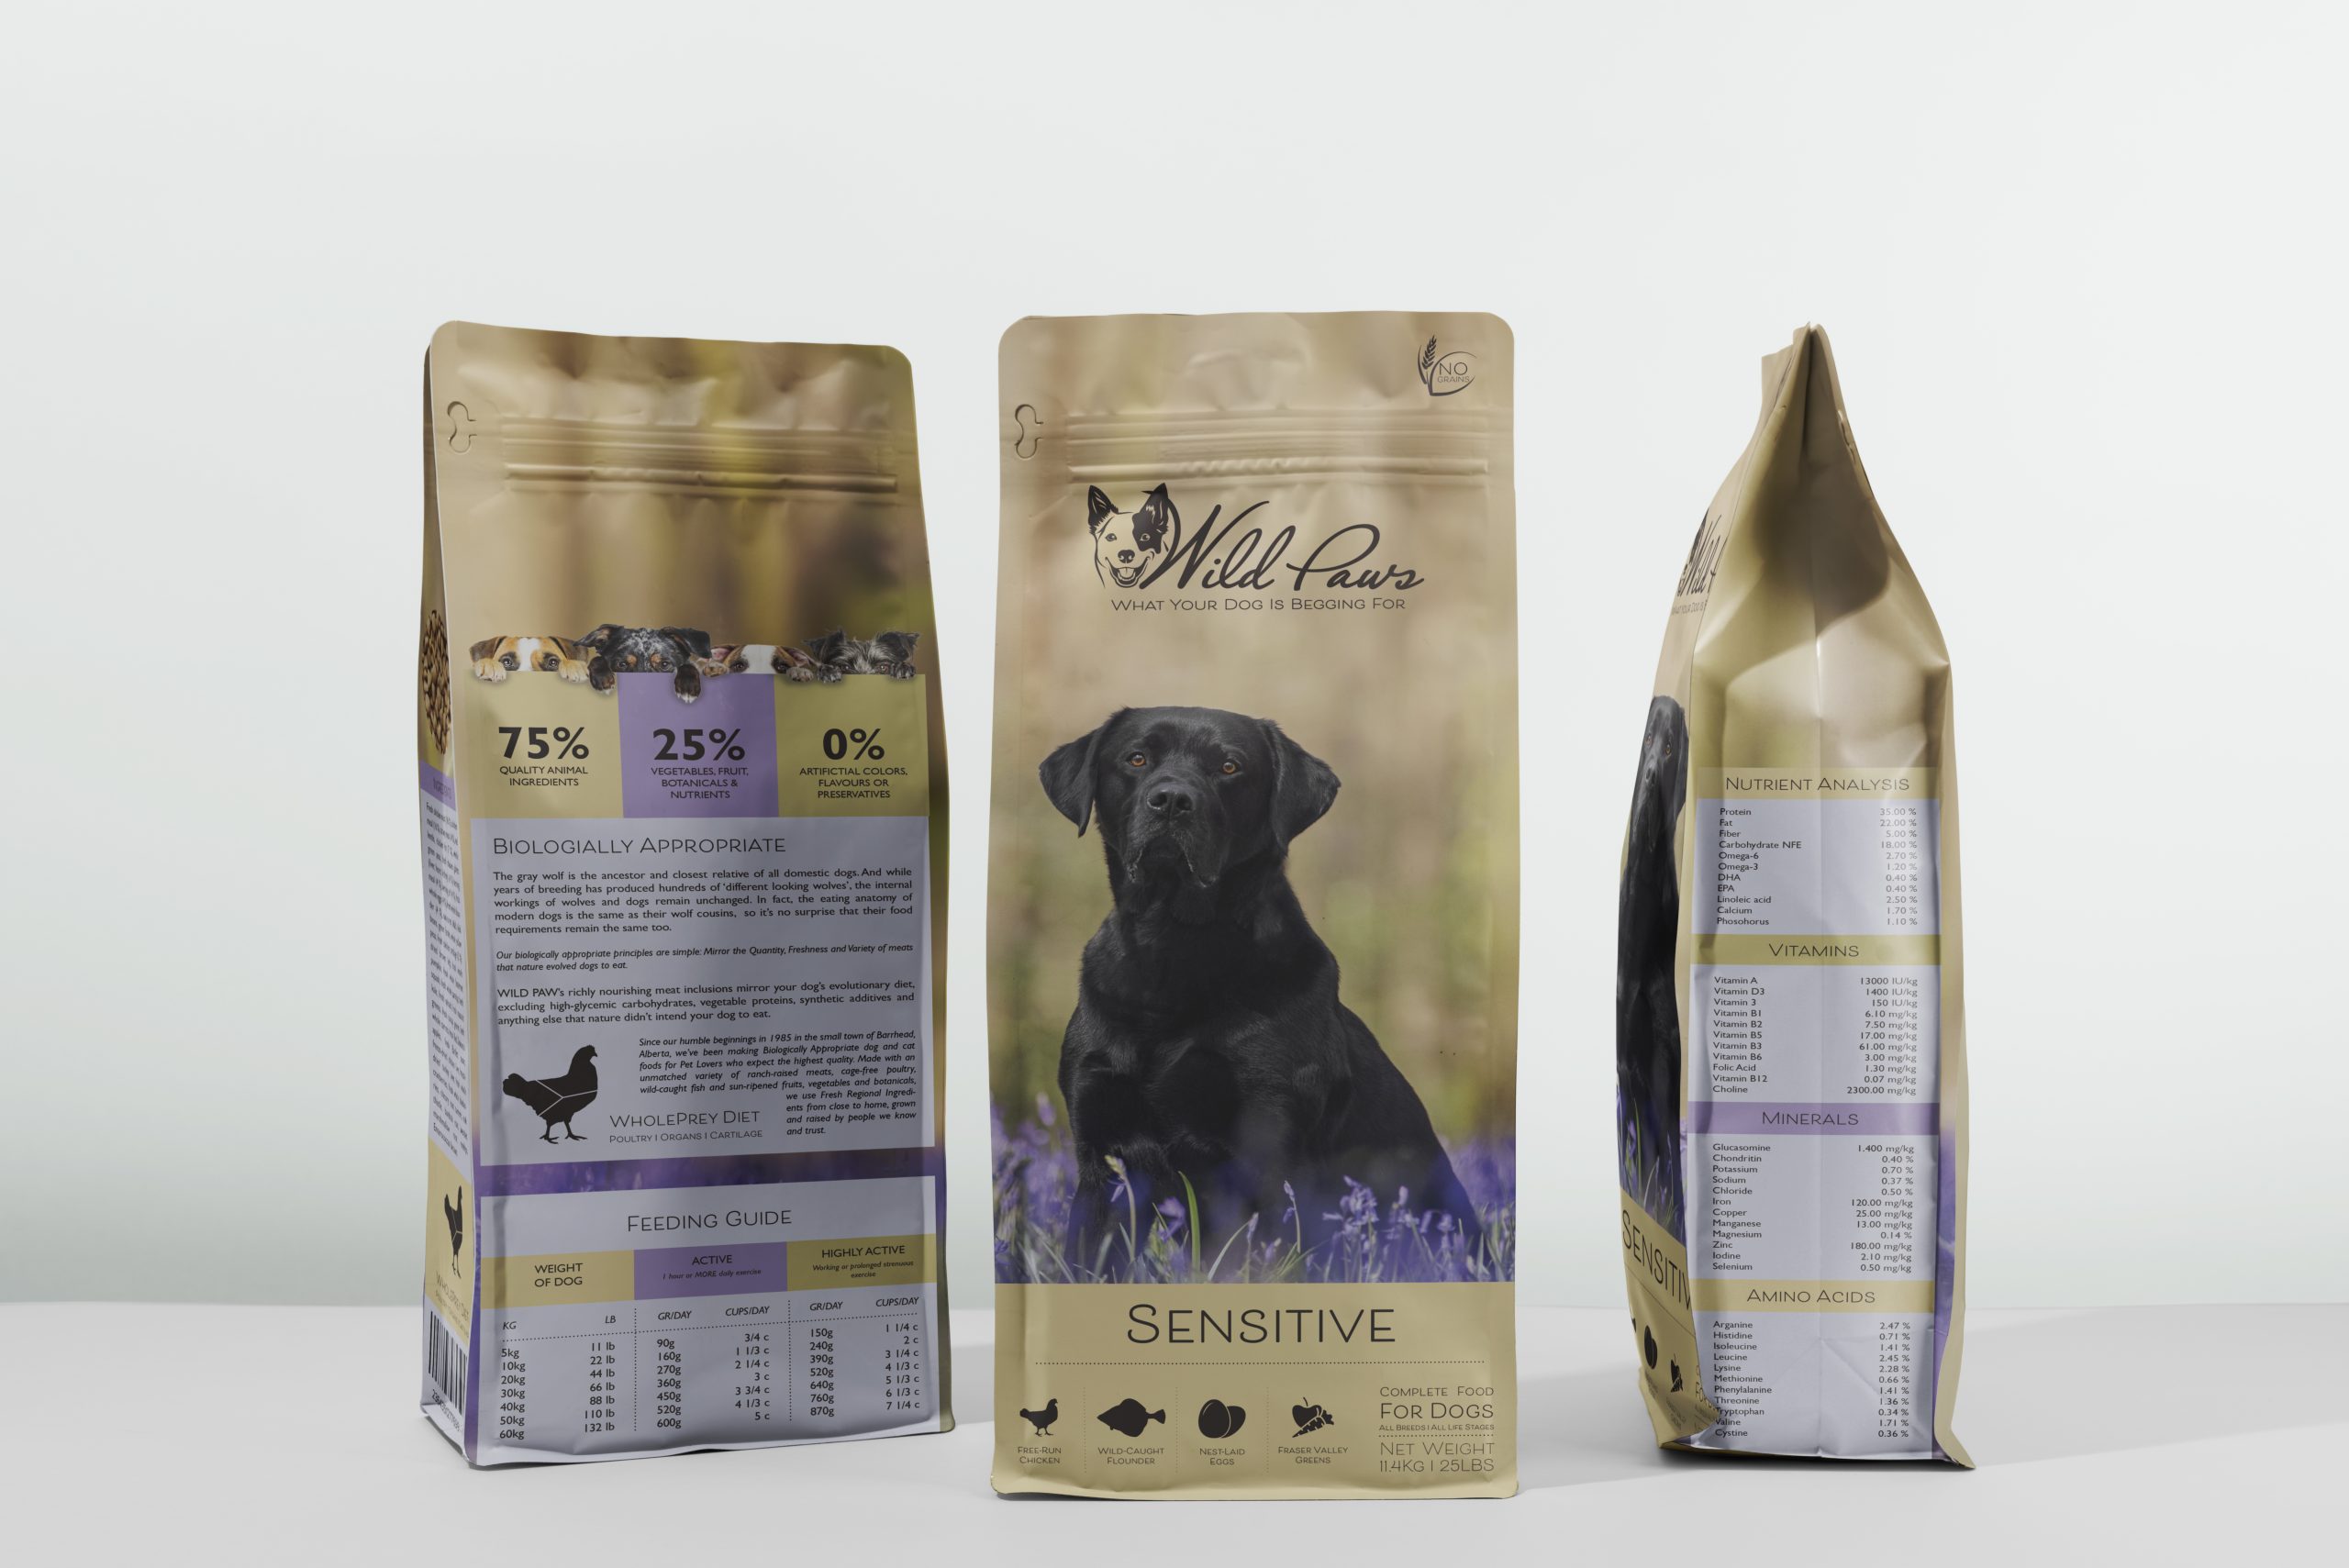
I’ve made a digital mockup of the design.
Presentation
Take pictures of your printed-mockup to show off the various aspects and angles of your packaging. You can also make a digital mock-up*.
When I was finished with the design I wanted to do more, to have a series of products, not just the one that was the main task. The only thing that I changed on the design was the background image the color scheme and the name on the product. I only made these to show a bigger spectrum of products so I didn’t change the text. I also changed the brochure, so the infographic page that I had is gone. But I’ve added new pages that contains every product with infographic on each product. The new brochure is here.