LT 2.1 Digital Workflow
The task
Part 1
1. List the data capacities of the digital equipment you use as a photographer (camera, memory card, computer, backup drives, etc.). Be specific with all items (MB/GB/TB). How often will you need to clean up space on the equipment? Make a list of possible new equipment you need to improve your workflow. If it is listed, you can start saving for it.
-Camera – Sony a7iii
-Lens – Sony FE 24mm f/2.8 G
-Lens – Sigma 105mm f/2,8 DG DN Macro til Sony FE
-Sony NP-FZ100 Battery
-Godox TT350s
-Hahnel Capture control
-Acer ConceptD CM3271K
-Acer ConceptD 7 Ezel Pro – 1TB SSD
-2x 64gb memorycards
-Epson EcoTank ET-8550
-Microsoft family plan – 6×1 TB onedrive storage
-Some external harddrives- unsure how many TB in total
I don’t often clean storage other than formatting my memorycards, I try to do this after almost every photosession i have had so i’m sure i have all of my images on my computer.
2. How do you copy your photos onto your computer or hard drive? Do you clear your memory card afterwards?
I put my memory card in to the slot in my laptop, then drag them over to the folder they are going to. I’m lazy when it comes to formatting the memory card, but when I do I always do it in the camera so I don’t get problems using it later in the camera.
Part 2
LT 2.2 Lightroom
The task
For this task, you must describe and provide examples of how you edit your photographs using Adobe Lightroom (Classic preferred, CC will be OK).
Follow the steps below and document what you’ve done. This task aims to put into practice what you’ve learnt. Any extra time can be spent working on your course assignment.
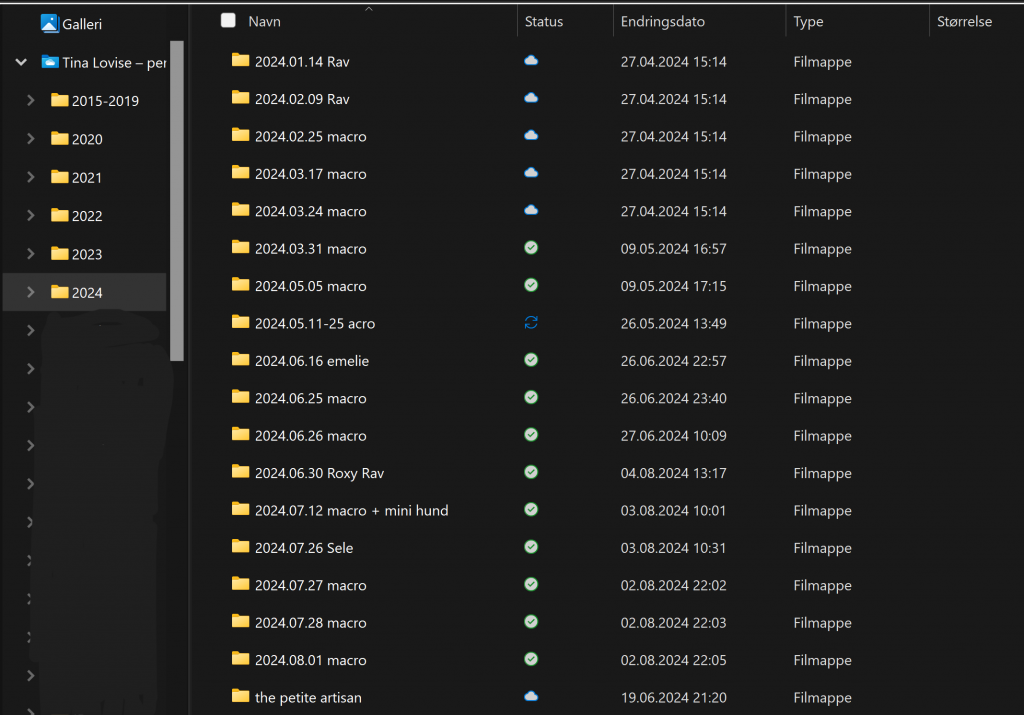
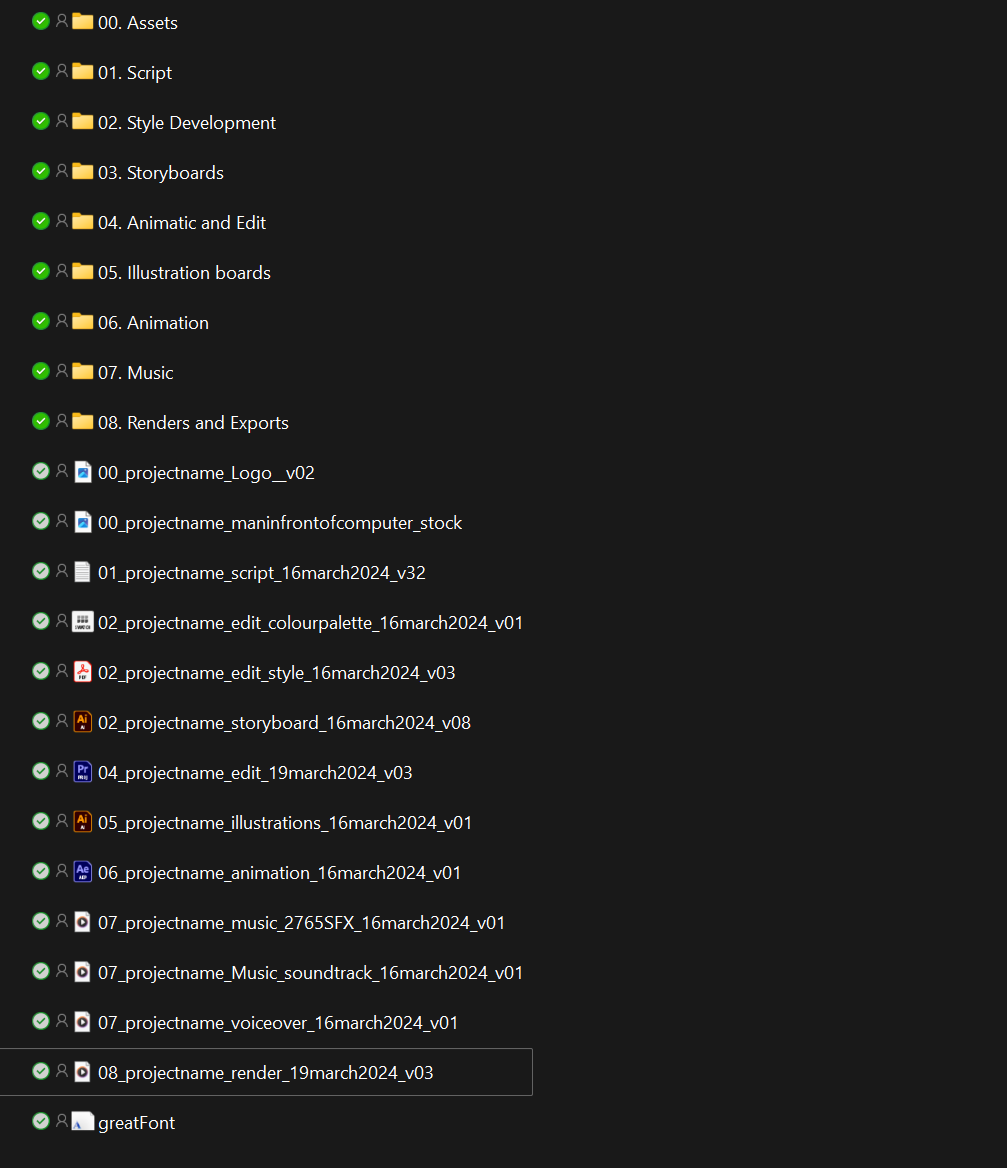
- Create an LR catalogue for your course assignment photographs once you are preparing to edit your photos. Refer to the folder structure you described in the digital workflow lesson task.
- Import your photos once the catalogue has been created.
- Use the basic steps you learned in the LR ‘Develop’ section to edit a photograph from your library.
- Practise synchronising settings between a series of photographs from the same import.
- Export one or more of your photographs from the course assignment library and upload them to your blog along with the original photograph. Describe briefly what you have done.
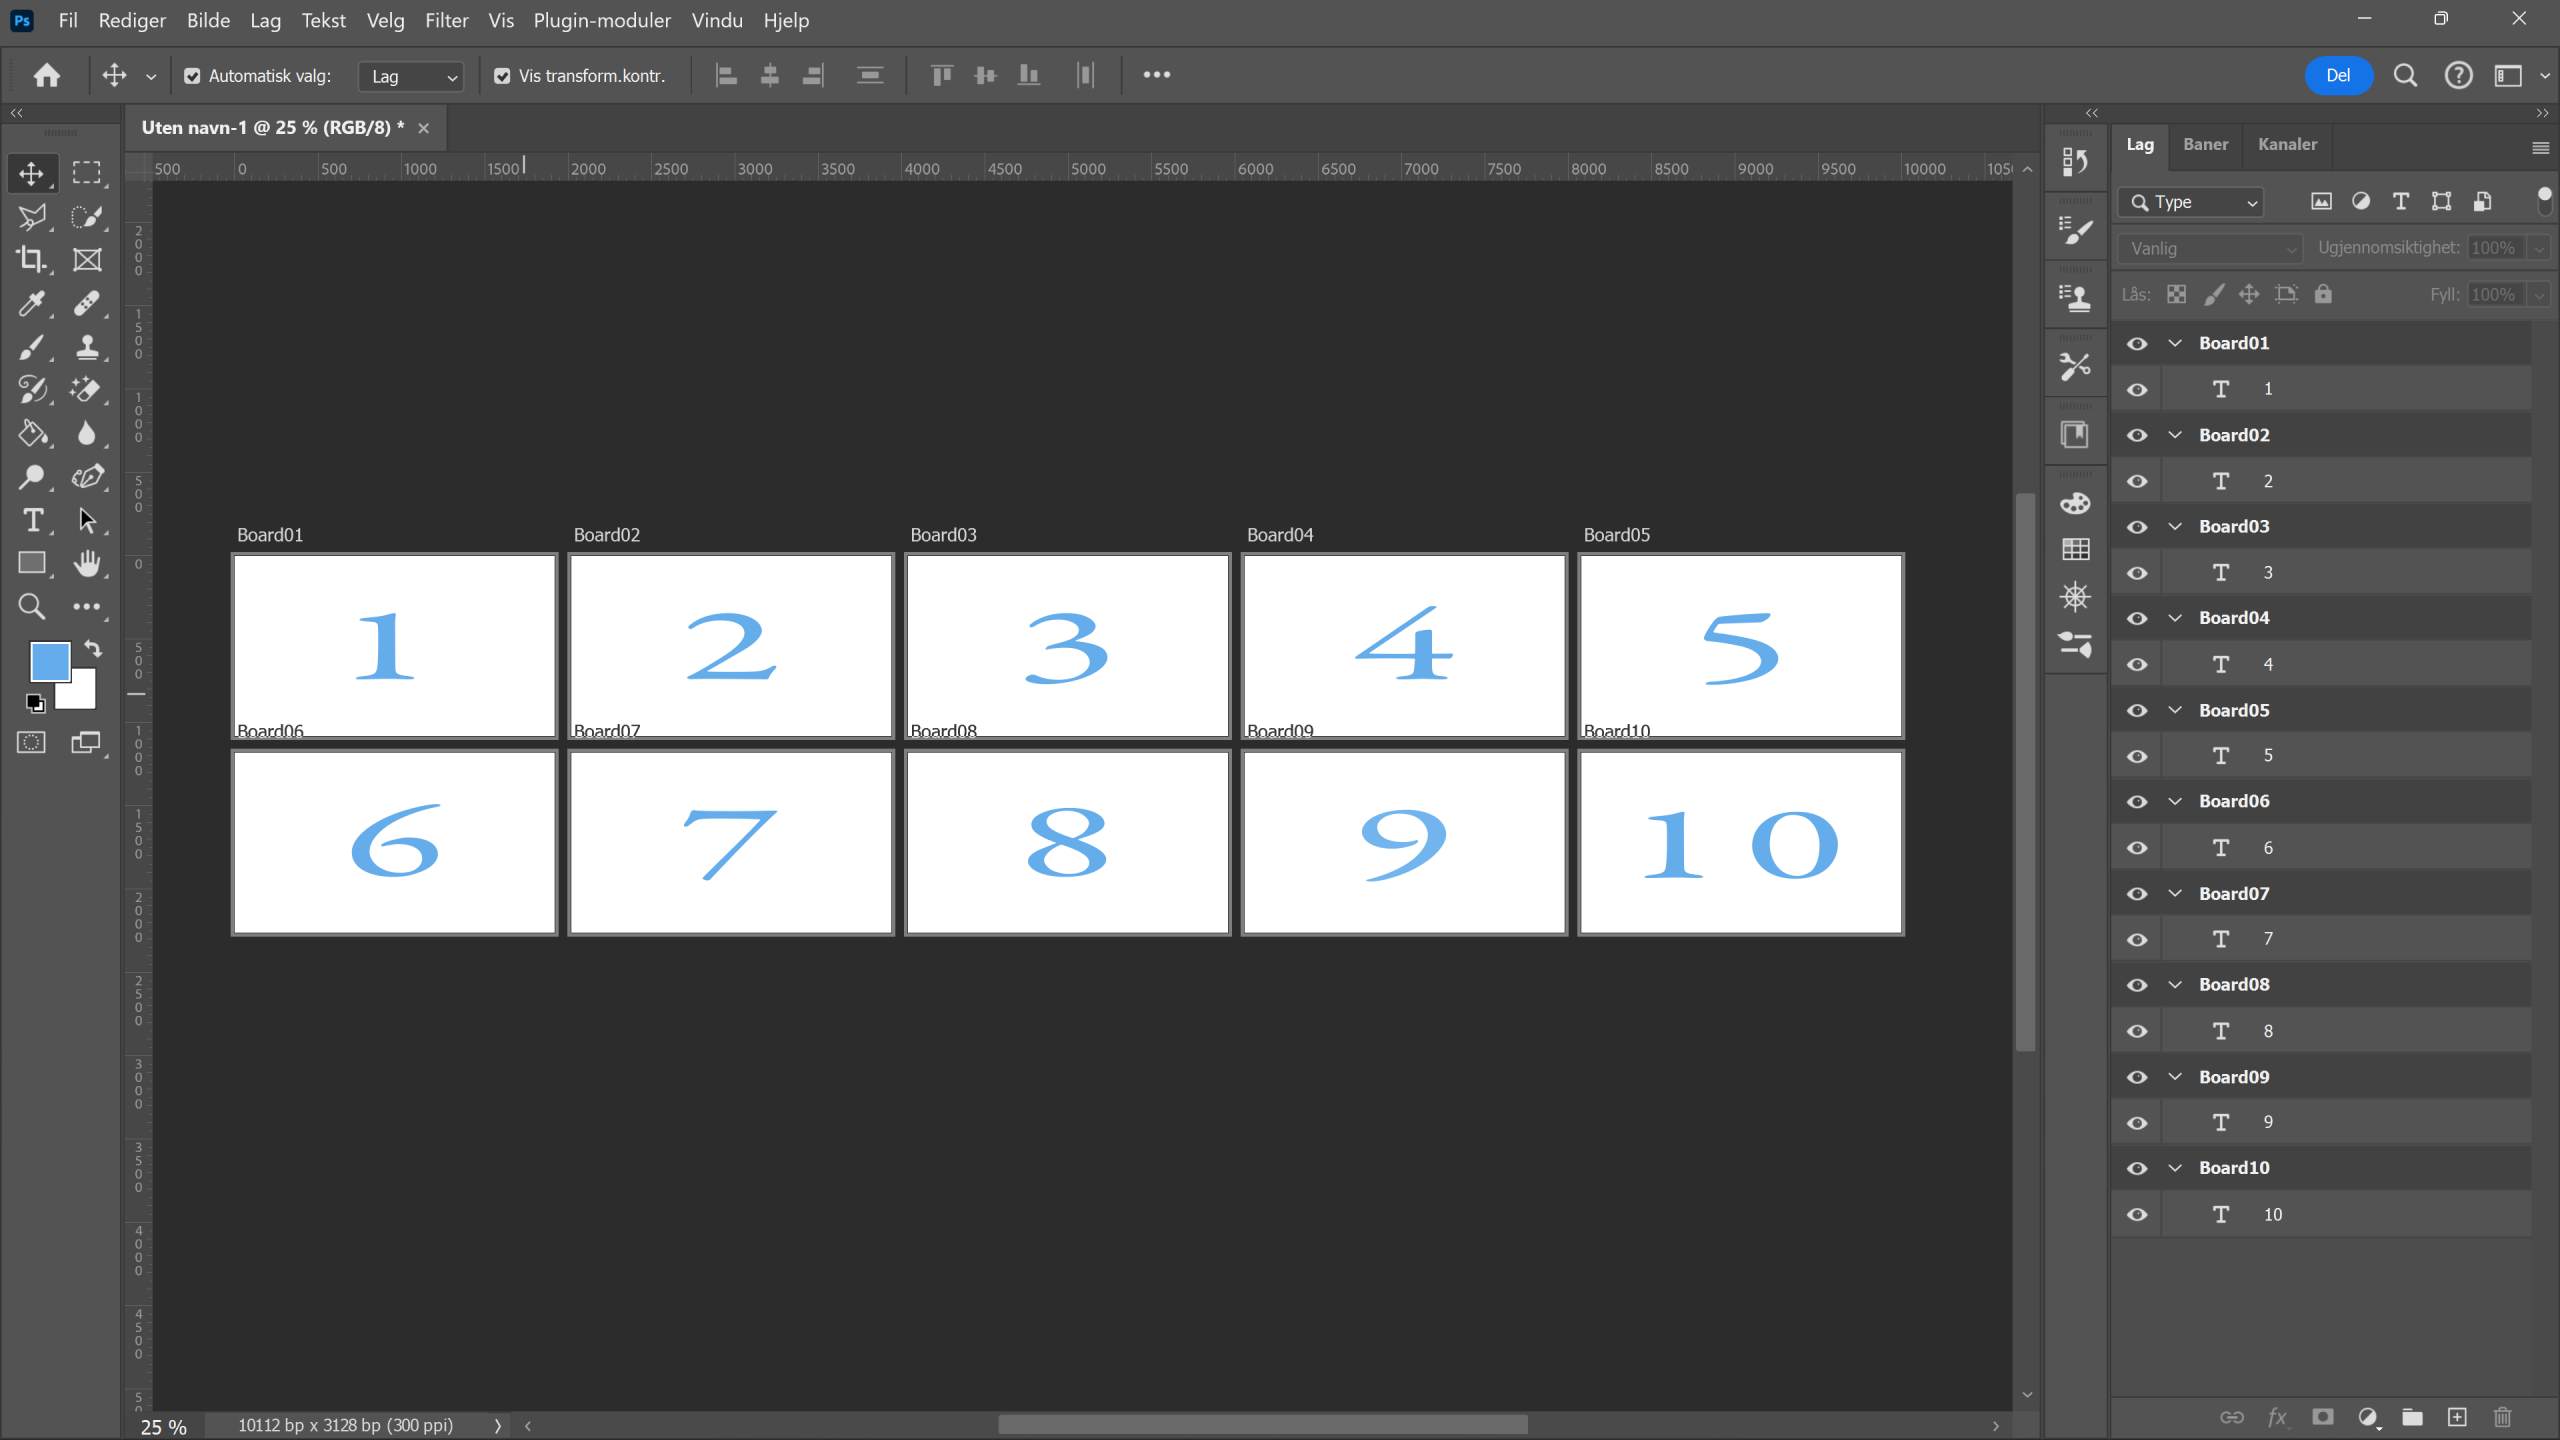
To be honest, I didn’t make any new catalogue for this module. The reason for this is that everything else that I have in Lightroom I have in one huge catalogue. Yes, I should learn to get a better system in Lightroom, but when you already have this bad habit, it is hard to change it…
But I start with importing every file that is going into Lightroom, then I’m starting to look through one and one image to rate them with star regarding how the quality and focus are on similar images. After this I sort everything after rated with stars.
The editing itself is really on autopilot, I work myself from the basic setting down to the bottom of the list. Then I’m adding different masking if I need that on the image, and depending on how much dust there is on the lens I either using the spot removal tool in LR or opens it in PS to use the healing tool there.
Often if I’ve been out taking long exposure image at the coast I do synchronize the series and go over to adjust anything that I need. This way I almost always get the same color tone and feeling on the series.


LT 2.3 Photoshop
The task
Part 1
Since I didn’t have any closeups and the weather/light wasn’t the best for the sharpest images I used manual noise reduction in LR.

Part 2
- Is your basic RAW editing done in LR, or do you use the Adobe RAW Converter for this? If you answered ‘yes’ to the latter, describe the process briefly.
- Describe the basic steps you follow in PS when proceeding with further editing a photograph or a series of photographs (assuming the RAW exposure/colour/contrast etc., is done).
- What tools do you think will be most useful in your photo editing?
- How do you go about saving your final edited photos? Make specific mention of how you ensure the original file remains safe. Do you rename your photos?
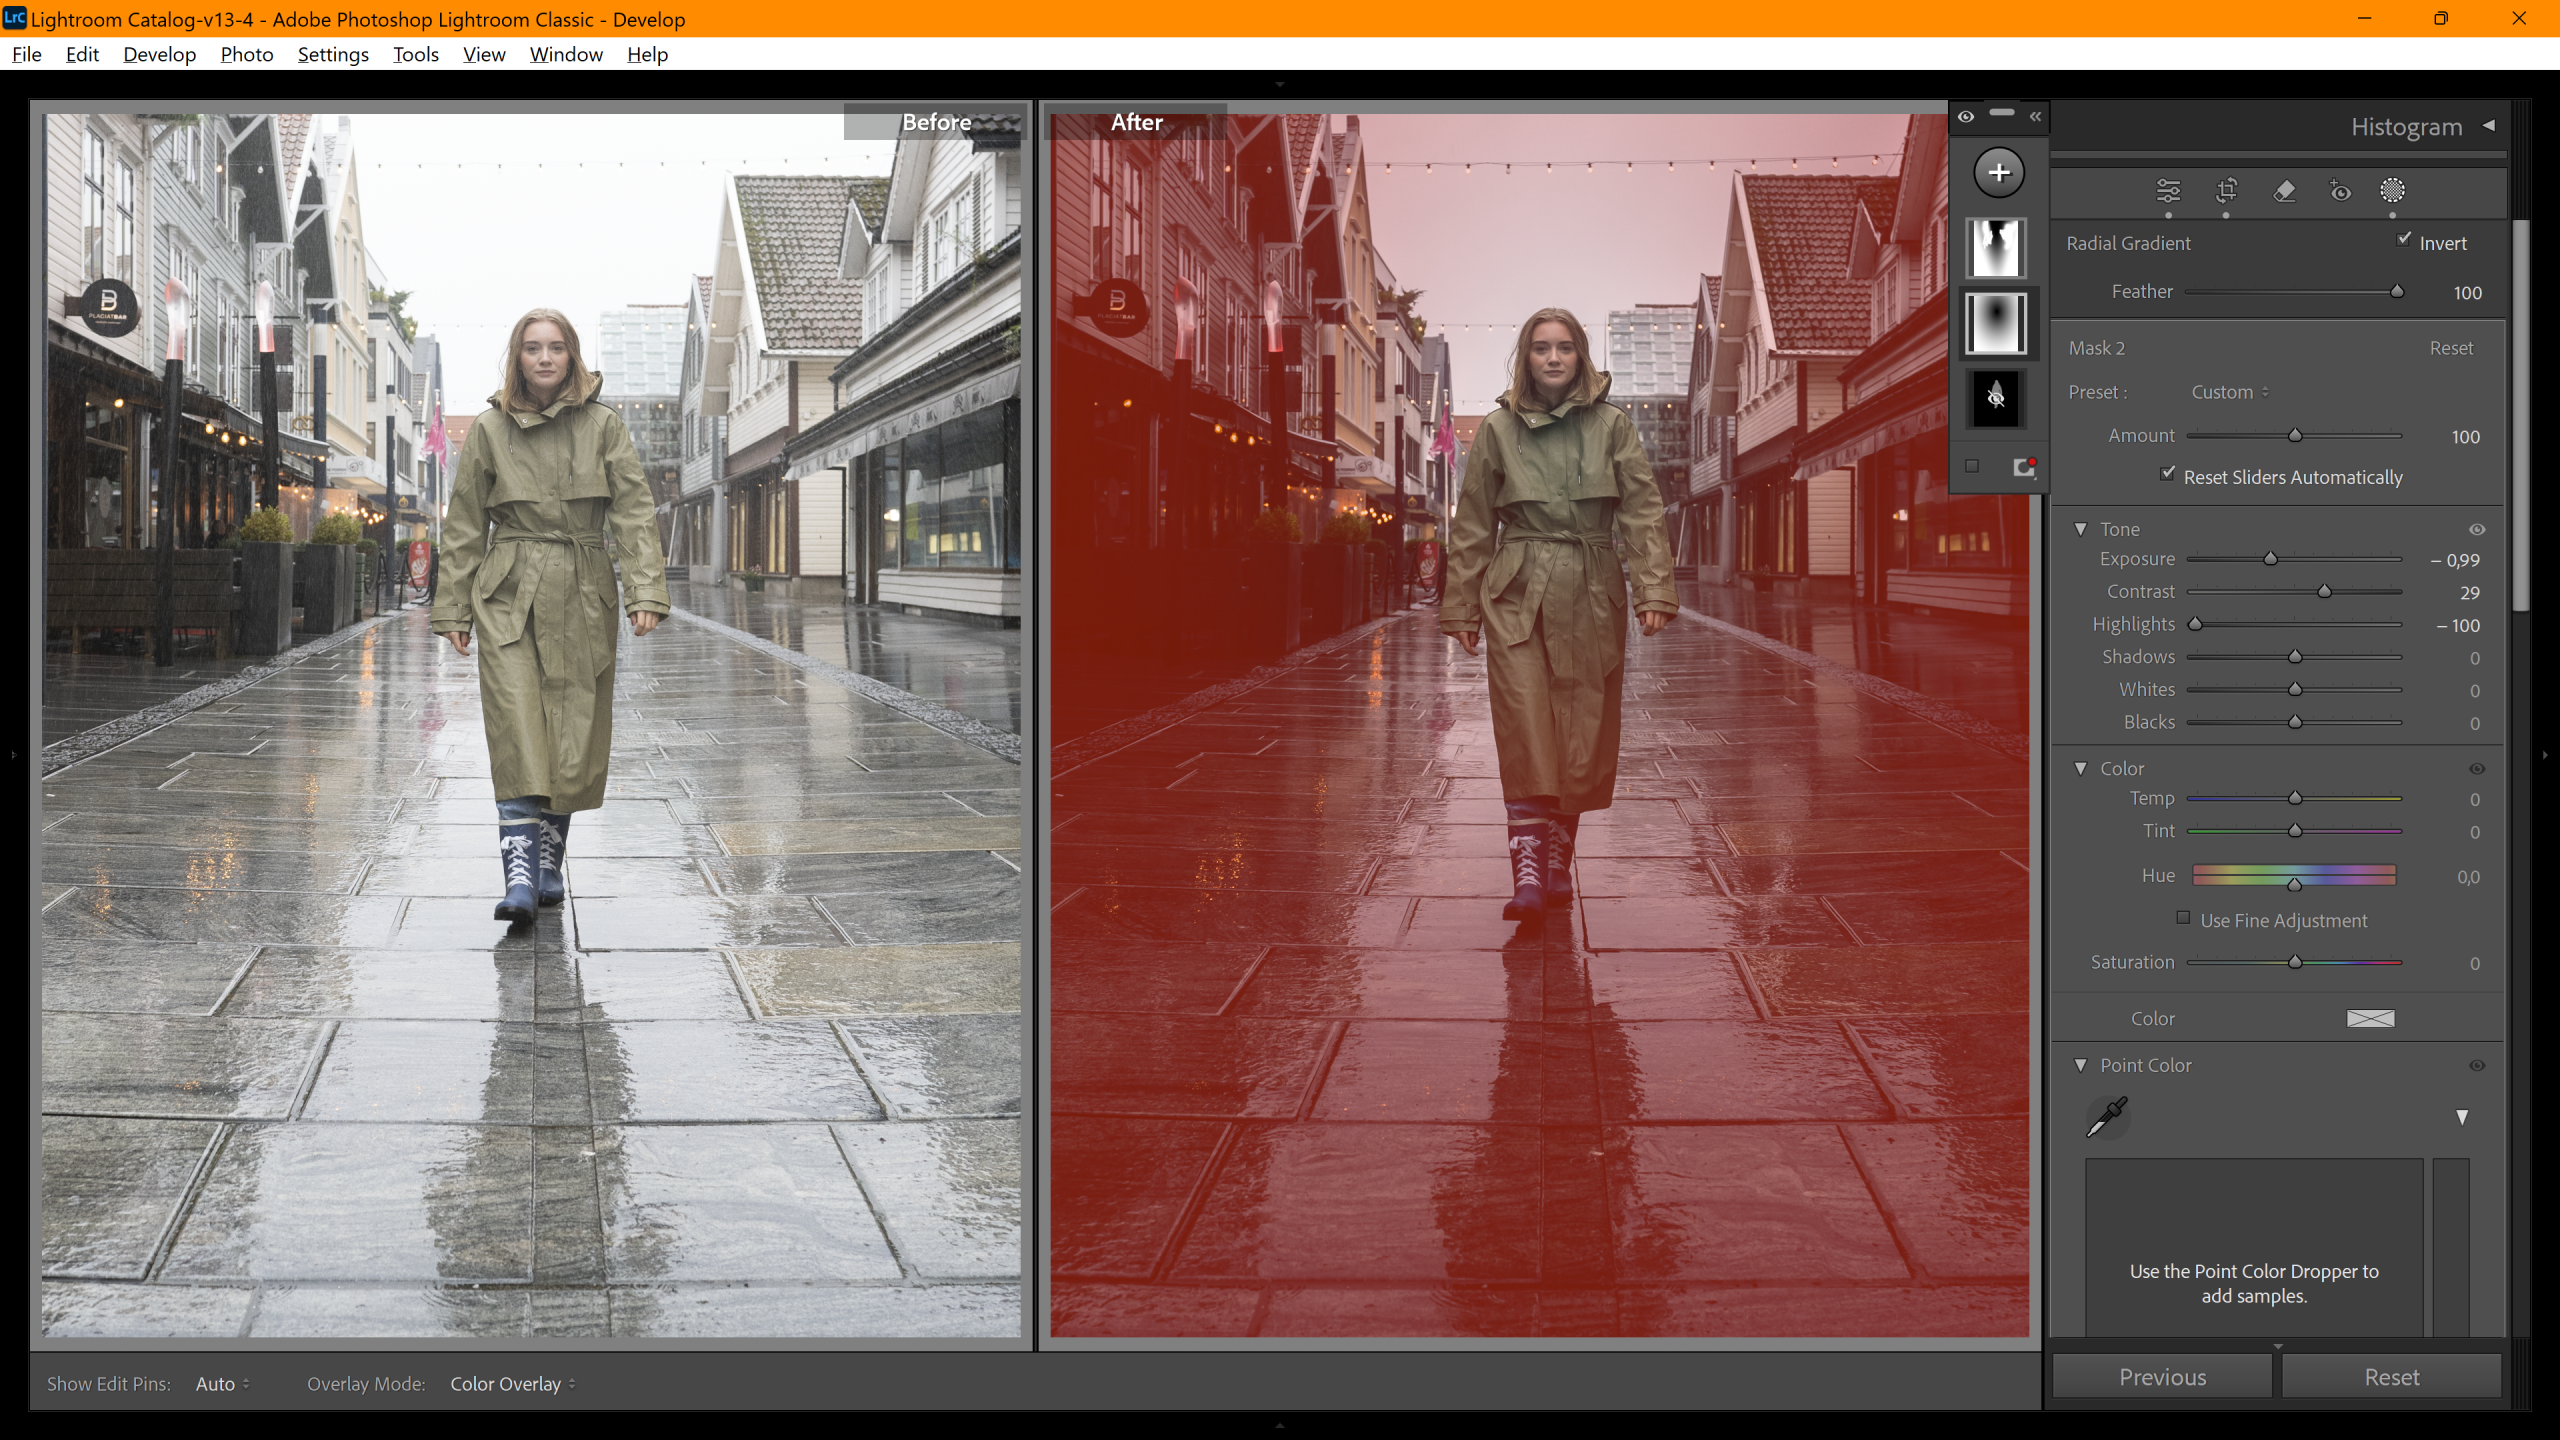
When everything is ready to go my first ting is to use Lens correction to fix any distortion from the lens. Then I go in to crop and work my way around witch format etc I need on the image. On this image I used 4:5, the reason for this is that it can easily be cropped more on the sides in InDesign to fit A4 format, but it also fit IG format much better.
Basic: This is the first step I do with the editing itself, after cropping. On this image I didn’t change the colour balance since I wanted to work with the colours in other steps. The exposure I dropped down a bit to darken the light area of the sky. I even took contrast down -4 to soften the contrast a bit, not much just a bit. The highlight I dragged all the way down to get the bright highlighted aeras better. The shadows I dragged up so lighten the darker areas. White and black I used the history and checked when there wasn’t to much under, or over exposed parts left in the image. Clarity I usually always drag up a bit do get that “shine” and clarity to pop more out when it comes to water.
Tone Curves: Here I increased the highlights and lights, and decreased the darks and shadows to get more contrast in the right places.
Colour Grading: Here I pushed the colours a bit on the shadows and the highlights to get more depth in the colour and get it a bit warmer and moody look on it.
Details: The only thing that I did in this step was to change the luminance in” manual noise reduction”. I’m still one of the persons that likes to take noise control manually. I feel it often gets too soft of lose to many details if I use the AI denoise. I even downloaded Topaz to see how that would work, but I felt the face changed to much. But I will buy Topaz one day, it’s amazing when it comes to wildlife etc.
Masking 1: On this layer I used two Linear gradients layer and used the brush to delete some parts that I didn’t want to have the mask on. Here I changed the shadow and contrast to get a darker and more moody background on the image.
Masking 2: Here I used a Radial gradient layer to darken the edges even more in the image.
Masking 3: Here I used Subject-people to only mask the model. Here I also worked a bit with the highlights and contrast, I also dragged the shadow up a bit here as well.
Photoshop: I first opened RAW editor to check how the filters Presets in PS would look like, and I really liked the Urban Architecture preset, I really likes how the colour tone became. So, I decided to use this preset on the image. Here I will explain the steps I did in PS. I wanted to change the colours on her rainboots, they where originally blue so I wanted them to fit the style better. So, I used a layermask and changed only the boots. When I sat down with the images, I noticed that the right side of the street was a bit dull and boring vs the left side. So, I made a new layer and cloned the lights from the left side over to the right side. Just to add something on that side without doing too much. I also did the same with the reflections under the light, but I flipped the image and tried to change the amount of clone so it wouldn’t look to “copied” from the other side. I don’t have a screenshot of the last things but I removed the small white on the center bottom on the image, and I also removed the red icecream sign back her right arm. There was also two lightbulbs on the strings over here that was without light so I cloned one of the other to fix it. And changed the colour on the magenta flag behind her.


LT 2.4 Advanced editing and printing
The task
Part 1
Are you currently using any third-party apps, actions, presets or plugins using Adobe Lightroom (Classic or CC) and Photoshop? If so, write a short paragraph on how it benefits your editing process and share a few screenshots.
If you don’t yet use any plugins or presets, which of the ones you read about would you consider and why?
Part 2
Part 3
The task
Part 1
If you don’t yet use any plugins or presets, which of the ones you read about would you consider and why?


