AW29 – CMS & WordPress Part 3 – LT. Create a WordPress Theme


Now that you have built and tested your website, I would like you to market it. Let’s say that your budget is NOK 10 000 (or 1800 $ US). Please do the following:
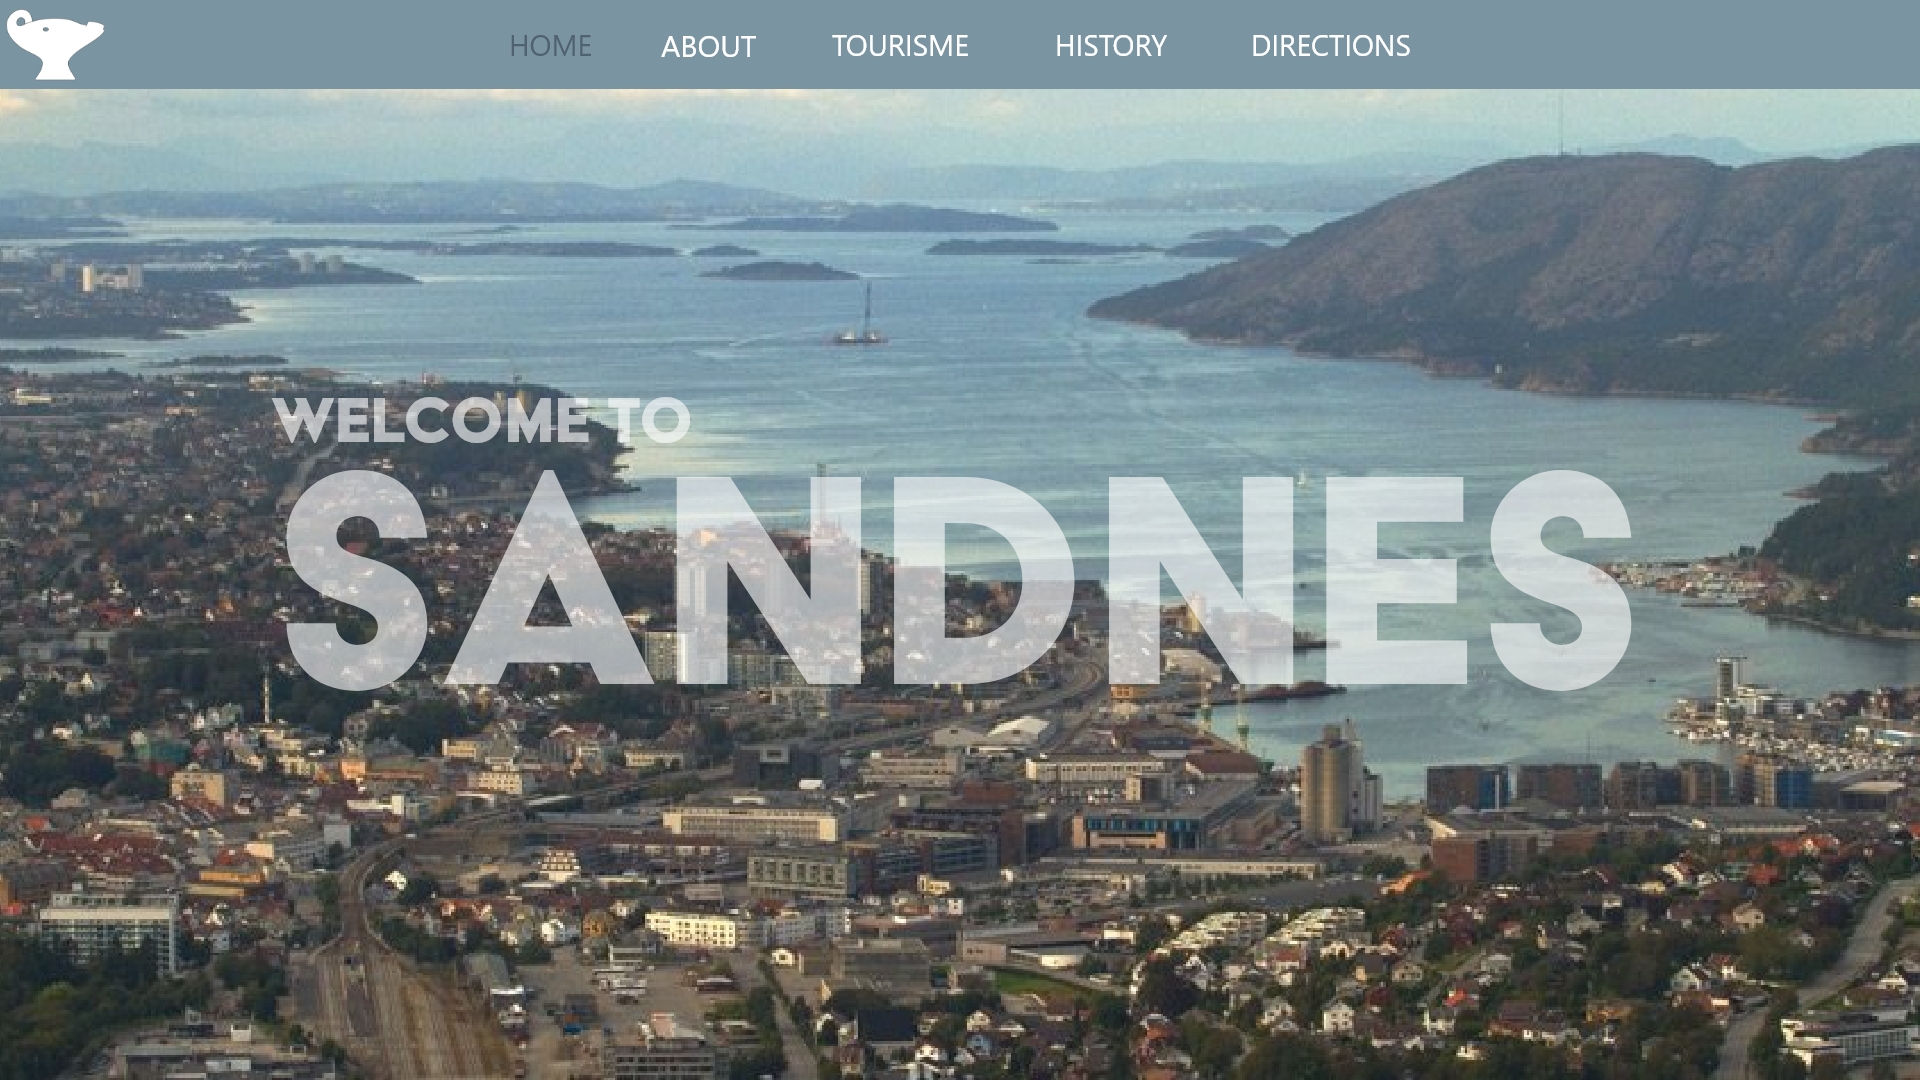
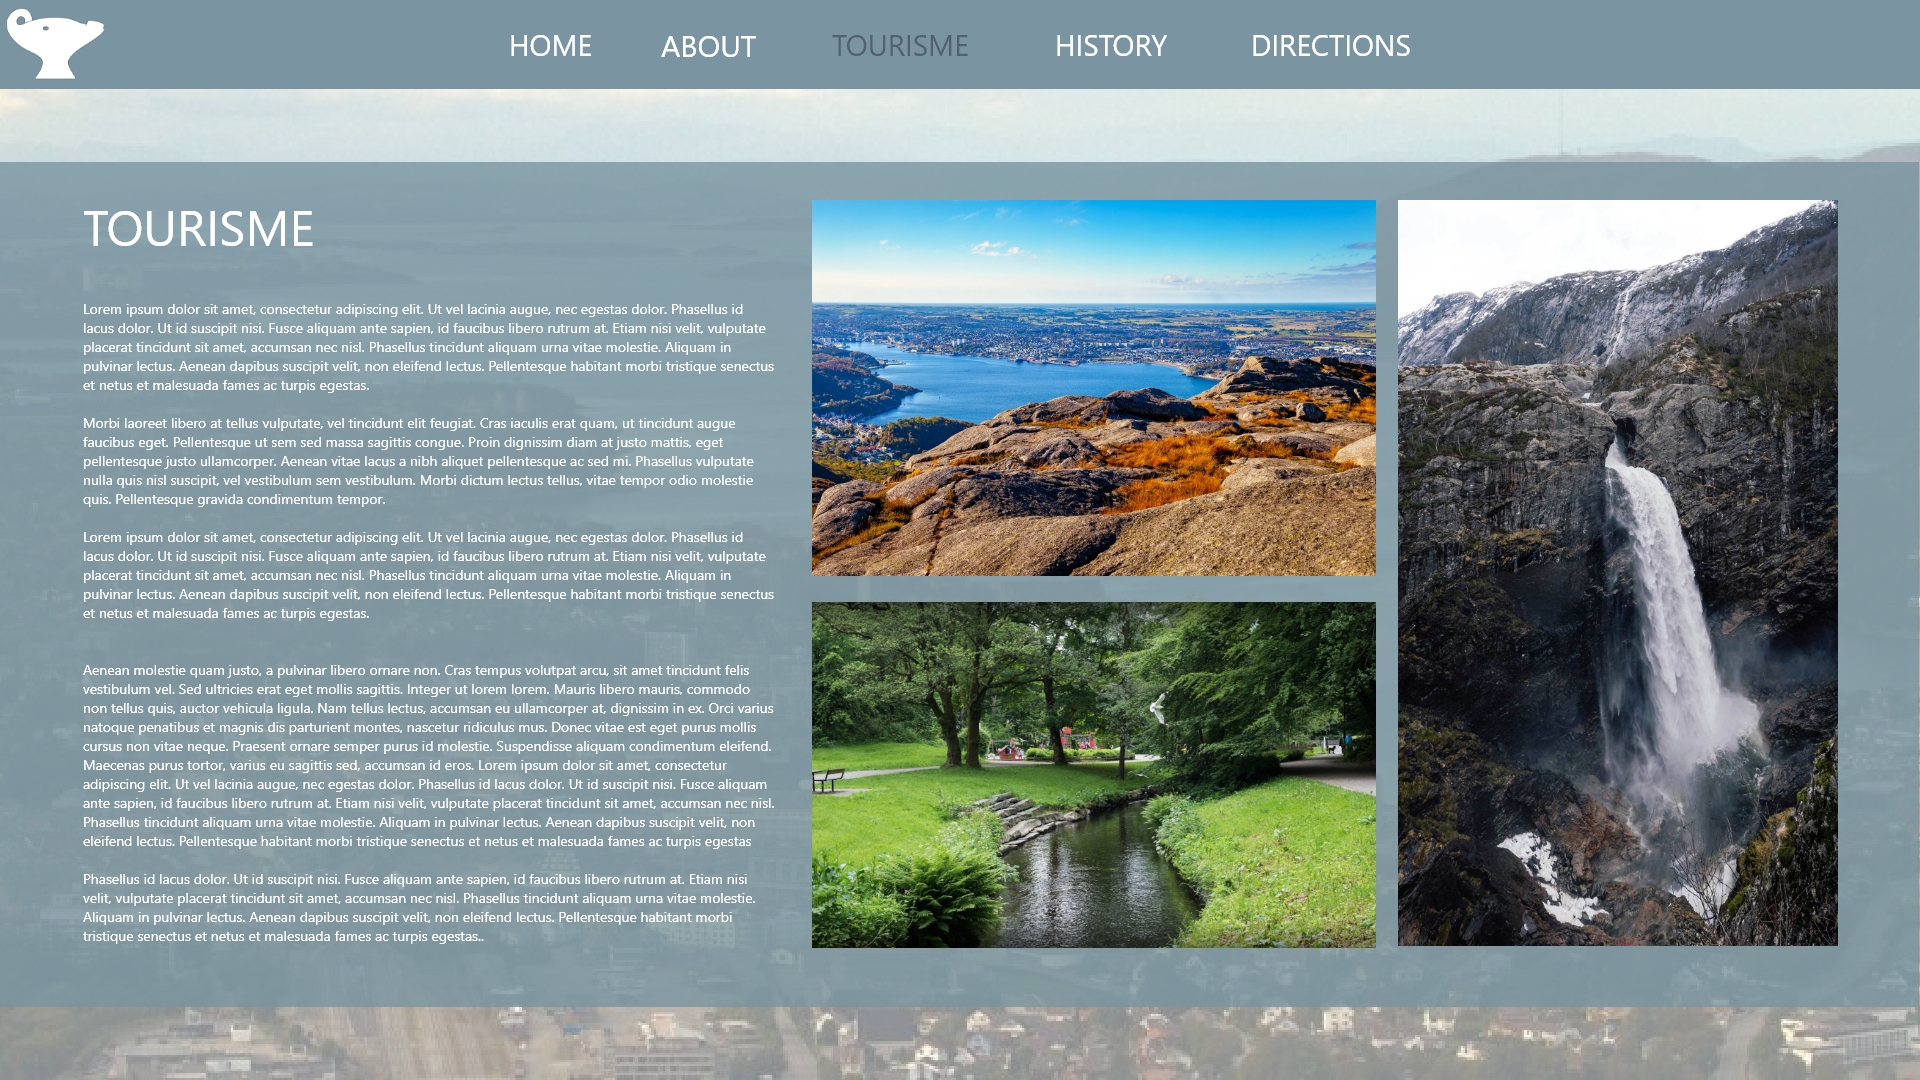
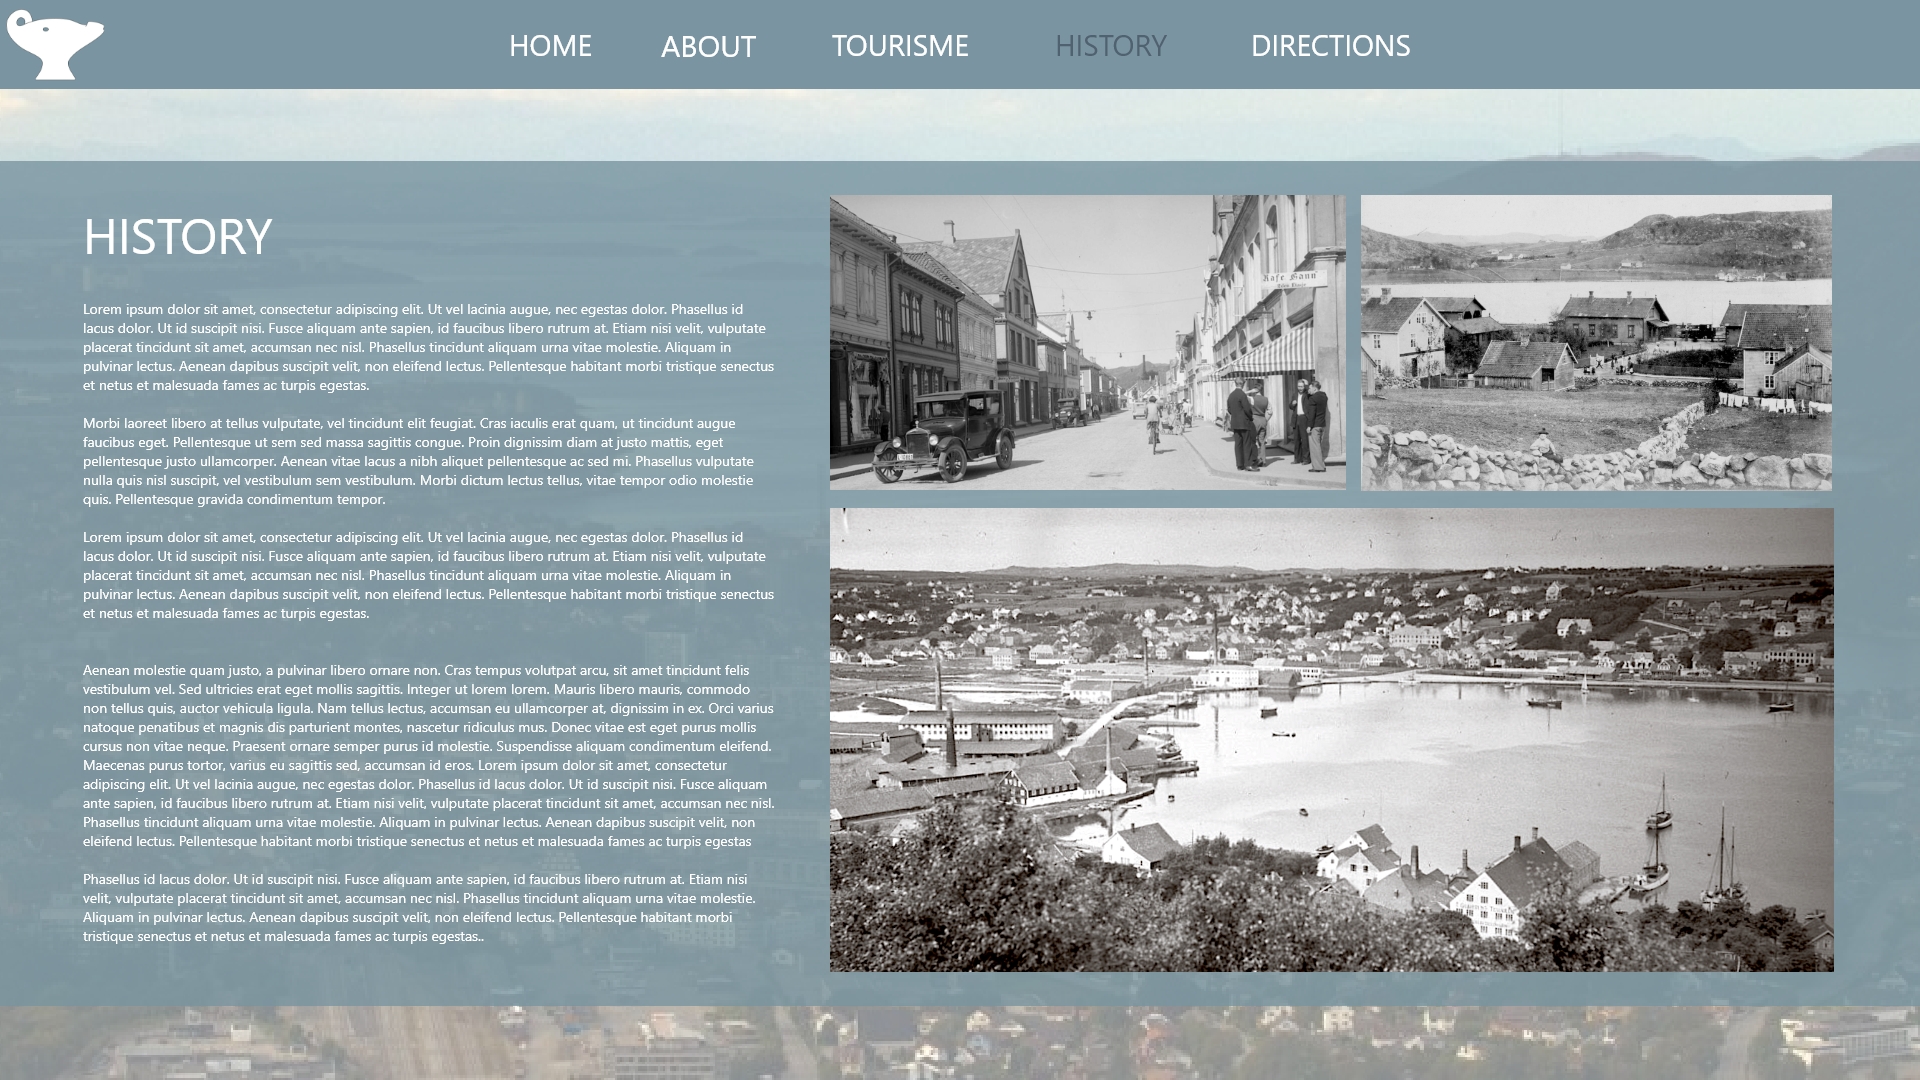
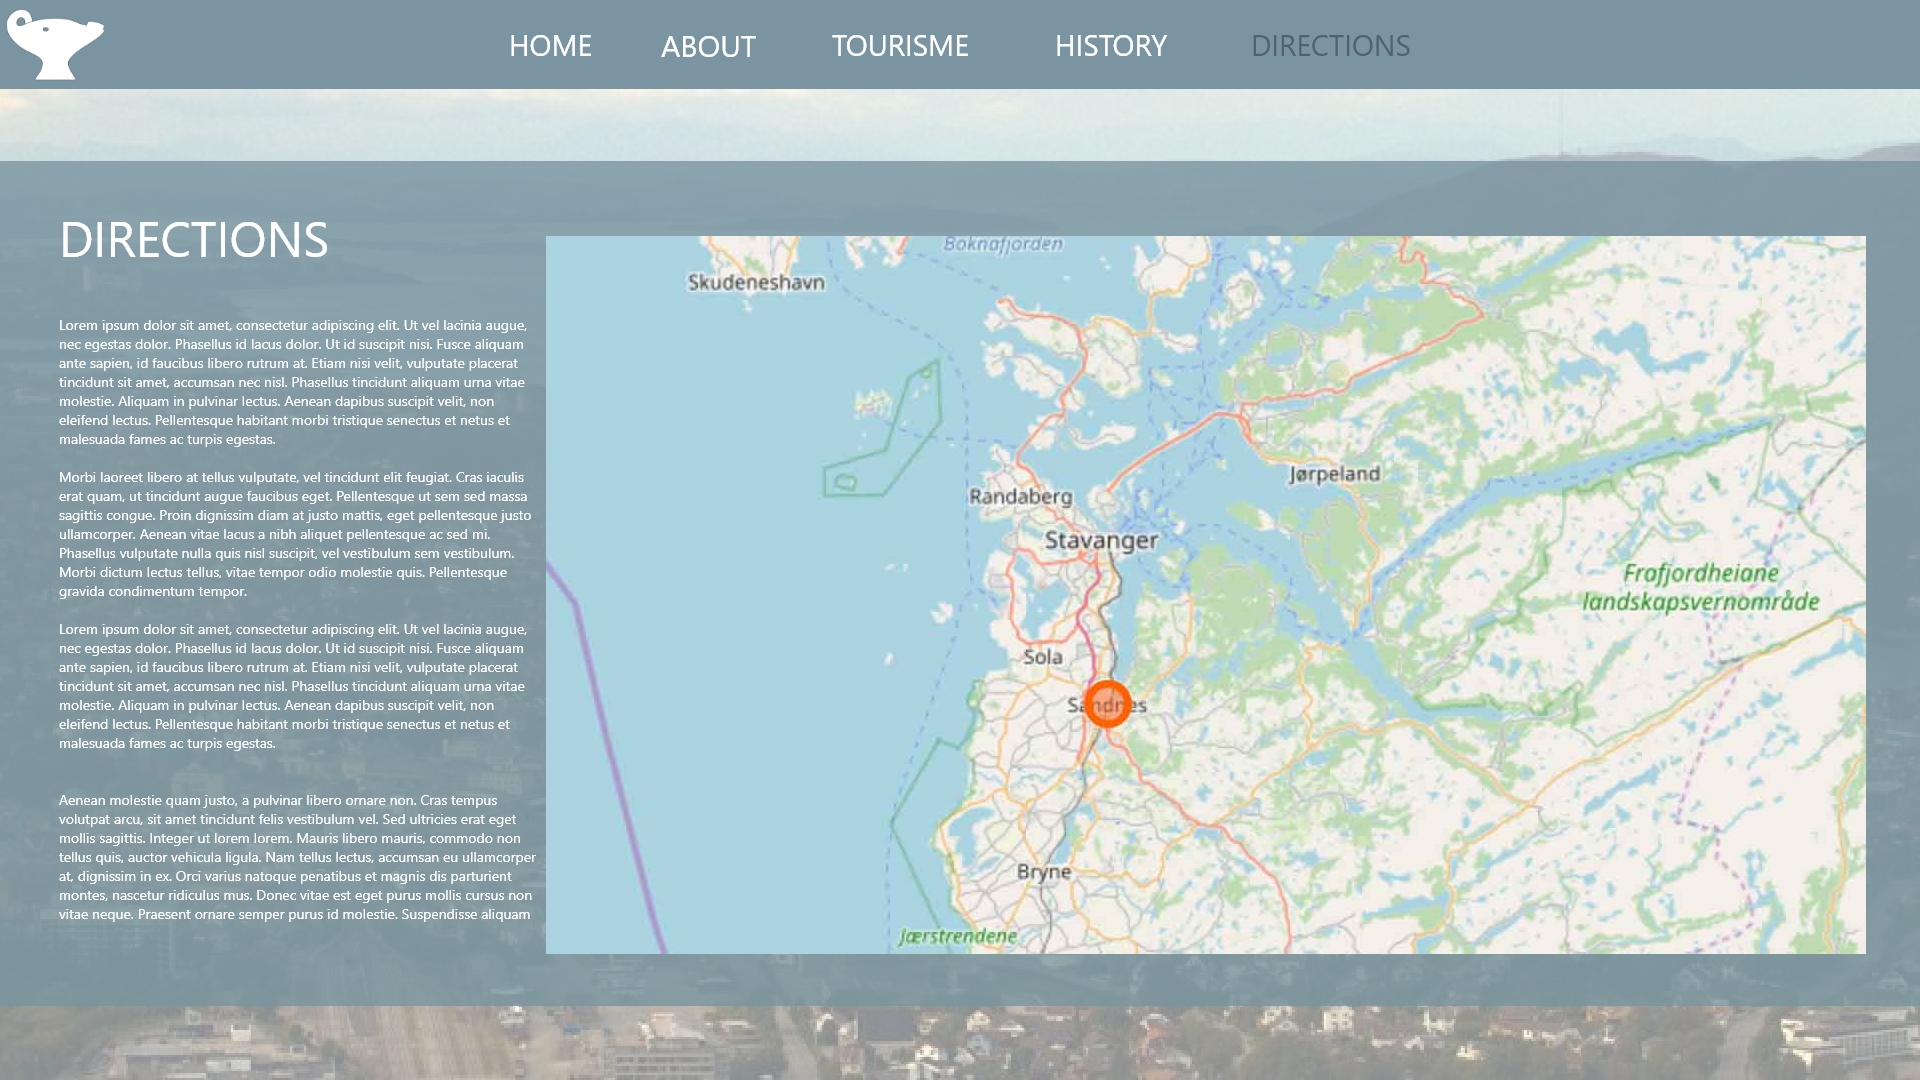
I made the website of my hometown, Sandnes. I would probably use a newspaper and social media for the advertisement. I would also choose aftenbladet.no over sandnesposten.no, the reason for this is that I feel I would reach out to more people. You have to subscribe to sandnesposten to read the articles, so I think they loses a lot of people, so less people will see the advertisement.
I would use around 70% on social media, everything is happening on social media these days. So having a large budged there would really help to reach out to people. Here can you also choose what audience you will reach out to.
The last 30% will go to advertisement in the newspaper, both printed and digital.
If I had double the budget I would also have advertisement on bus stops, on the back of the busses and google advertisement (where the ads pops up in the top of the result when you google “sandnes”).
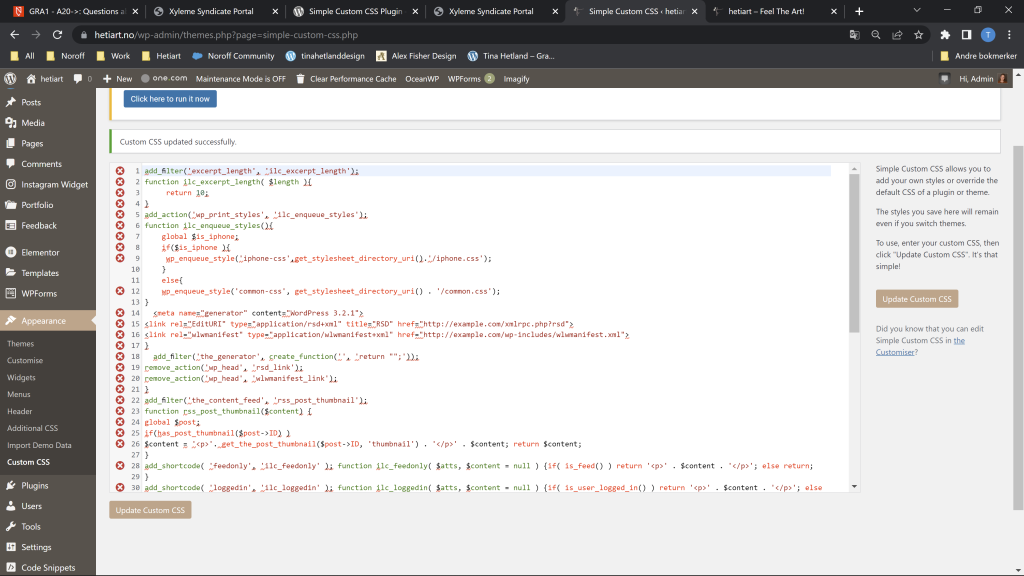
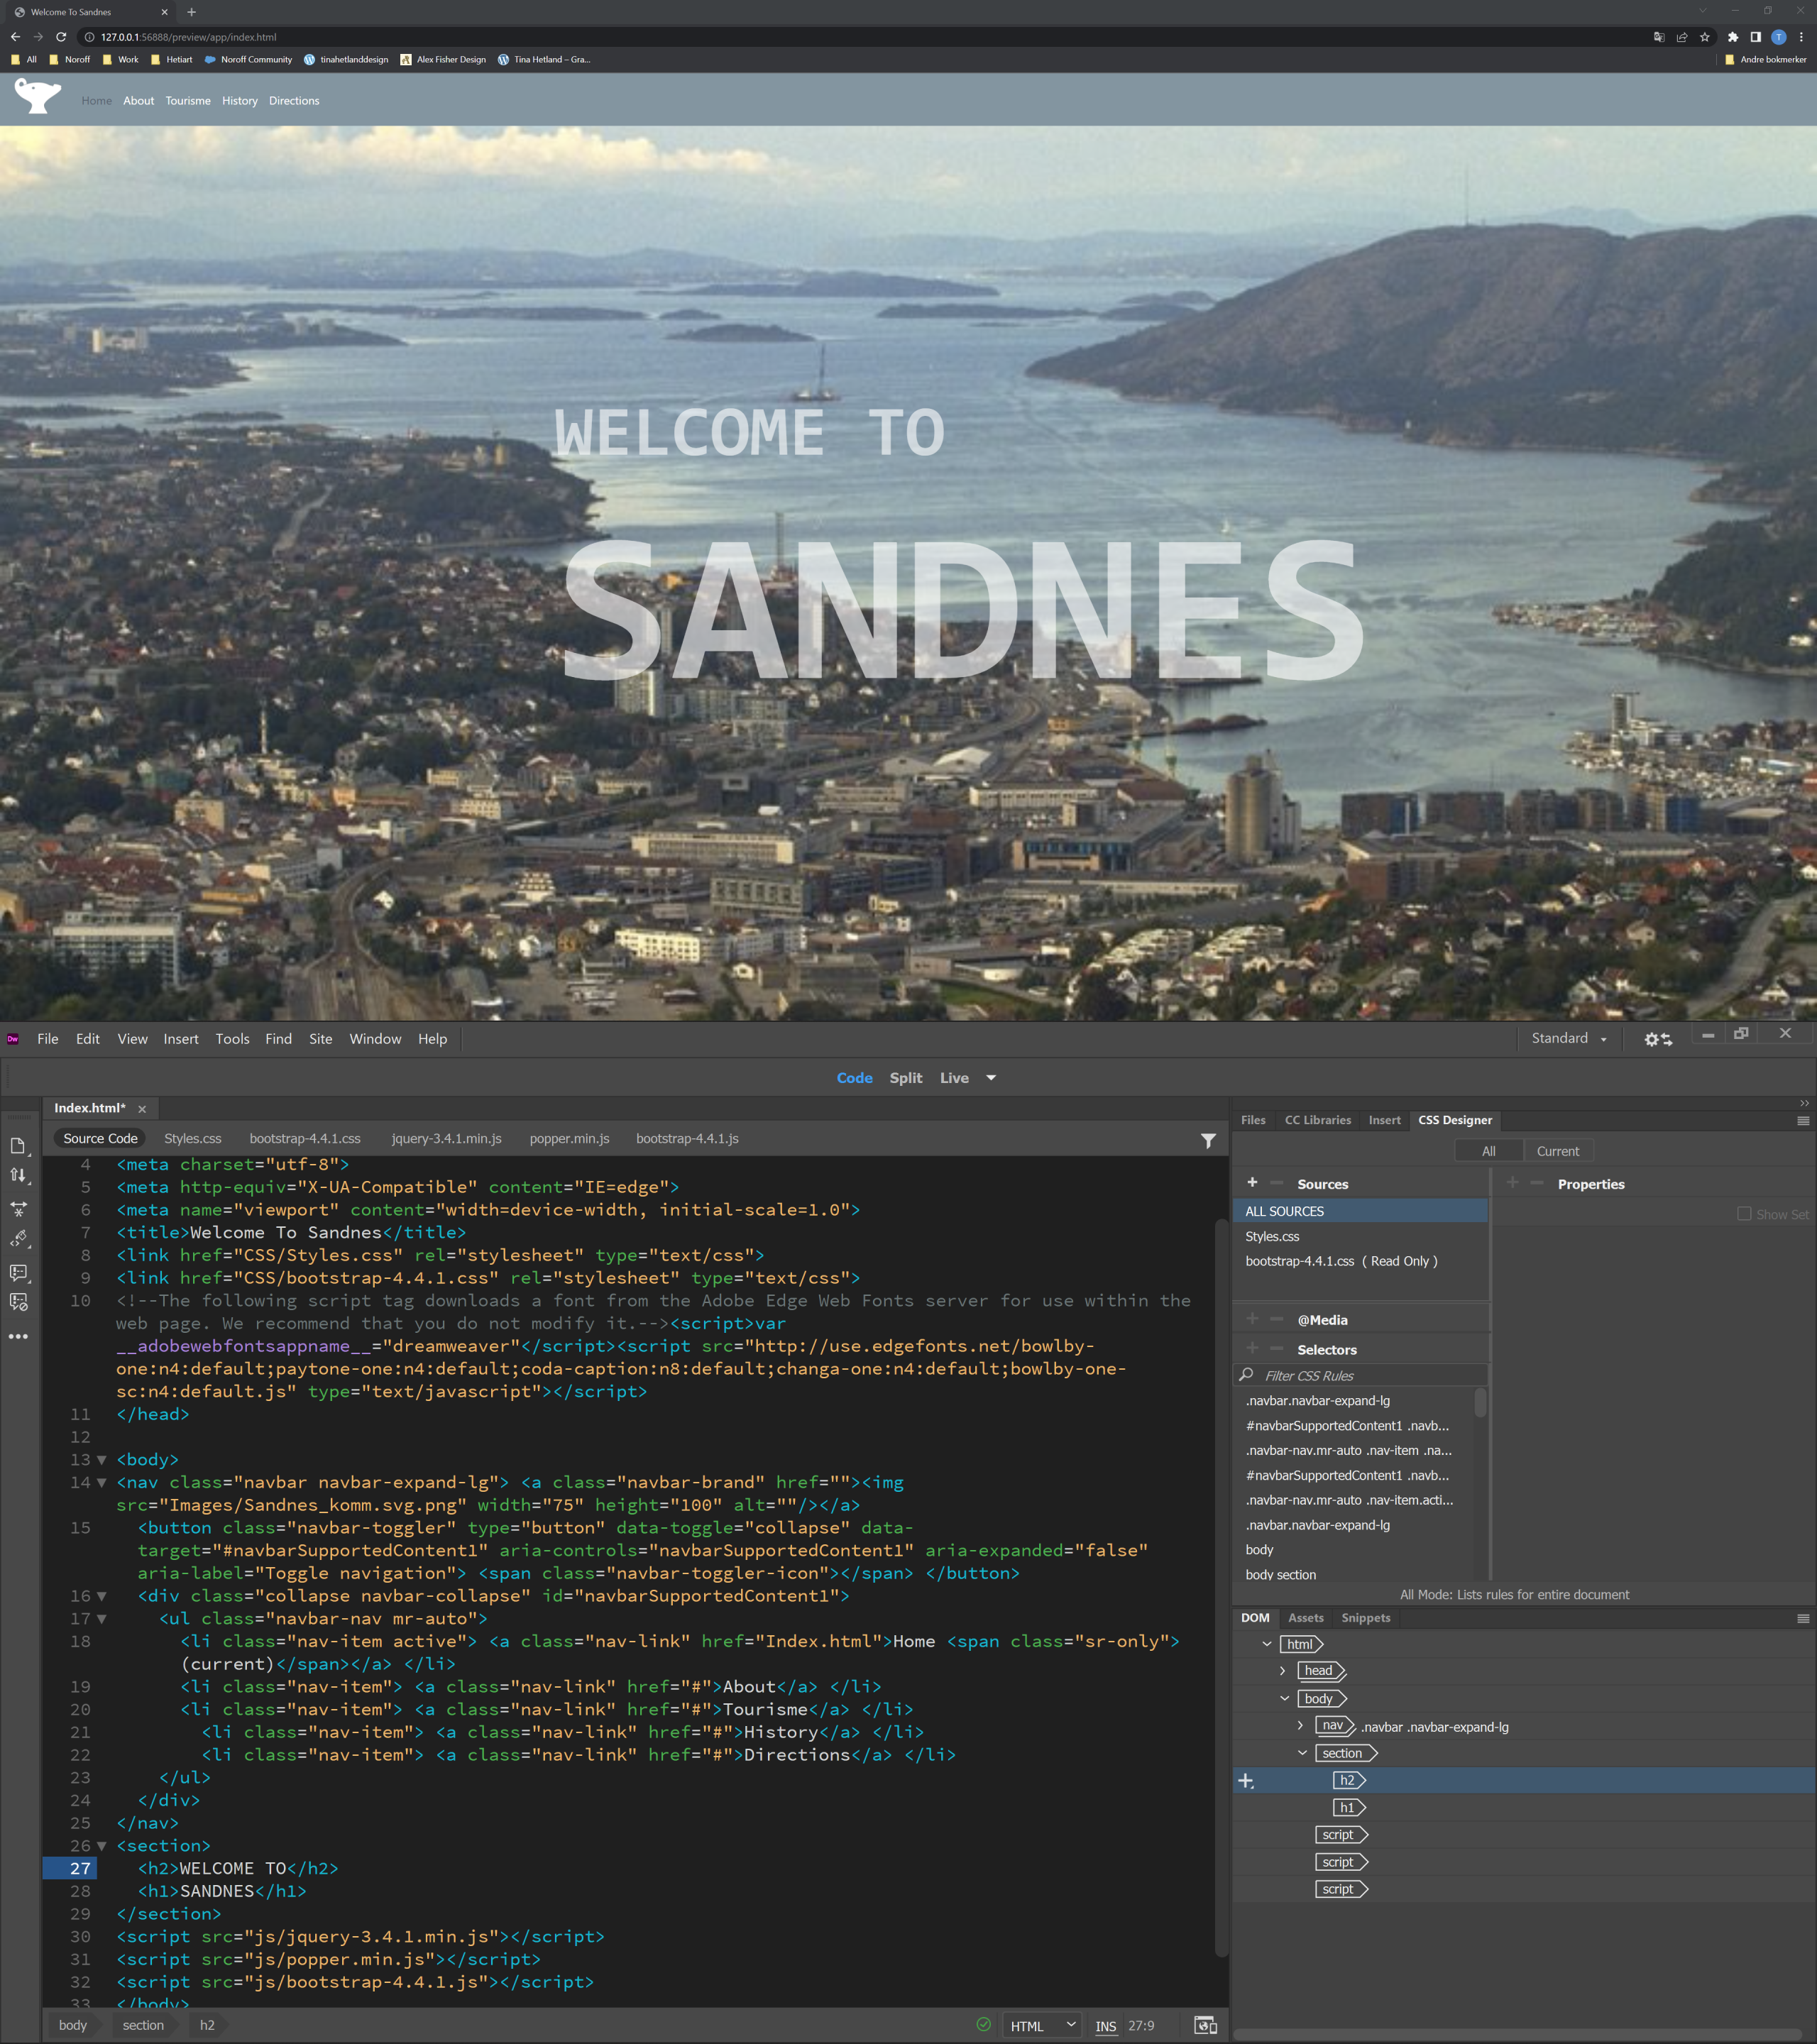
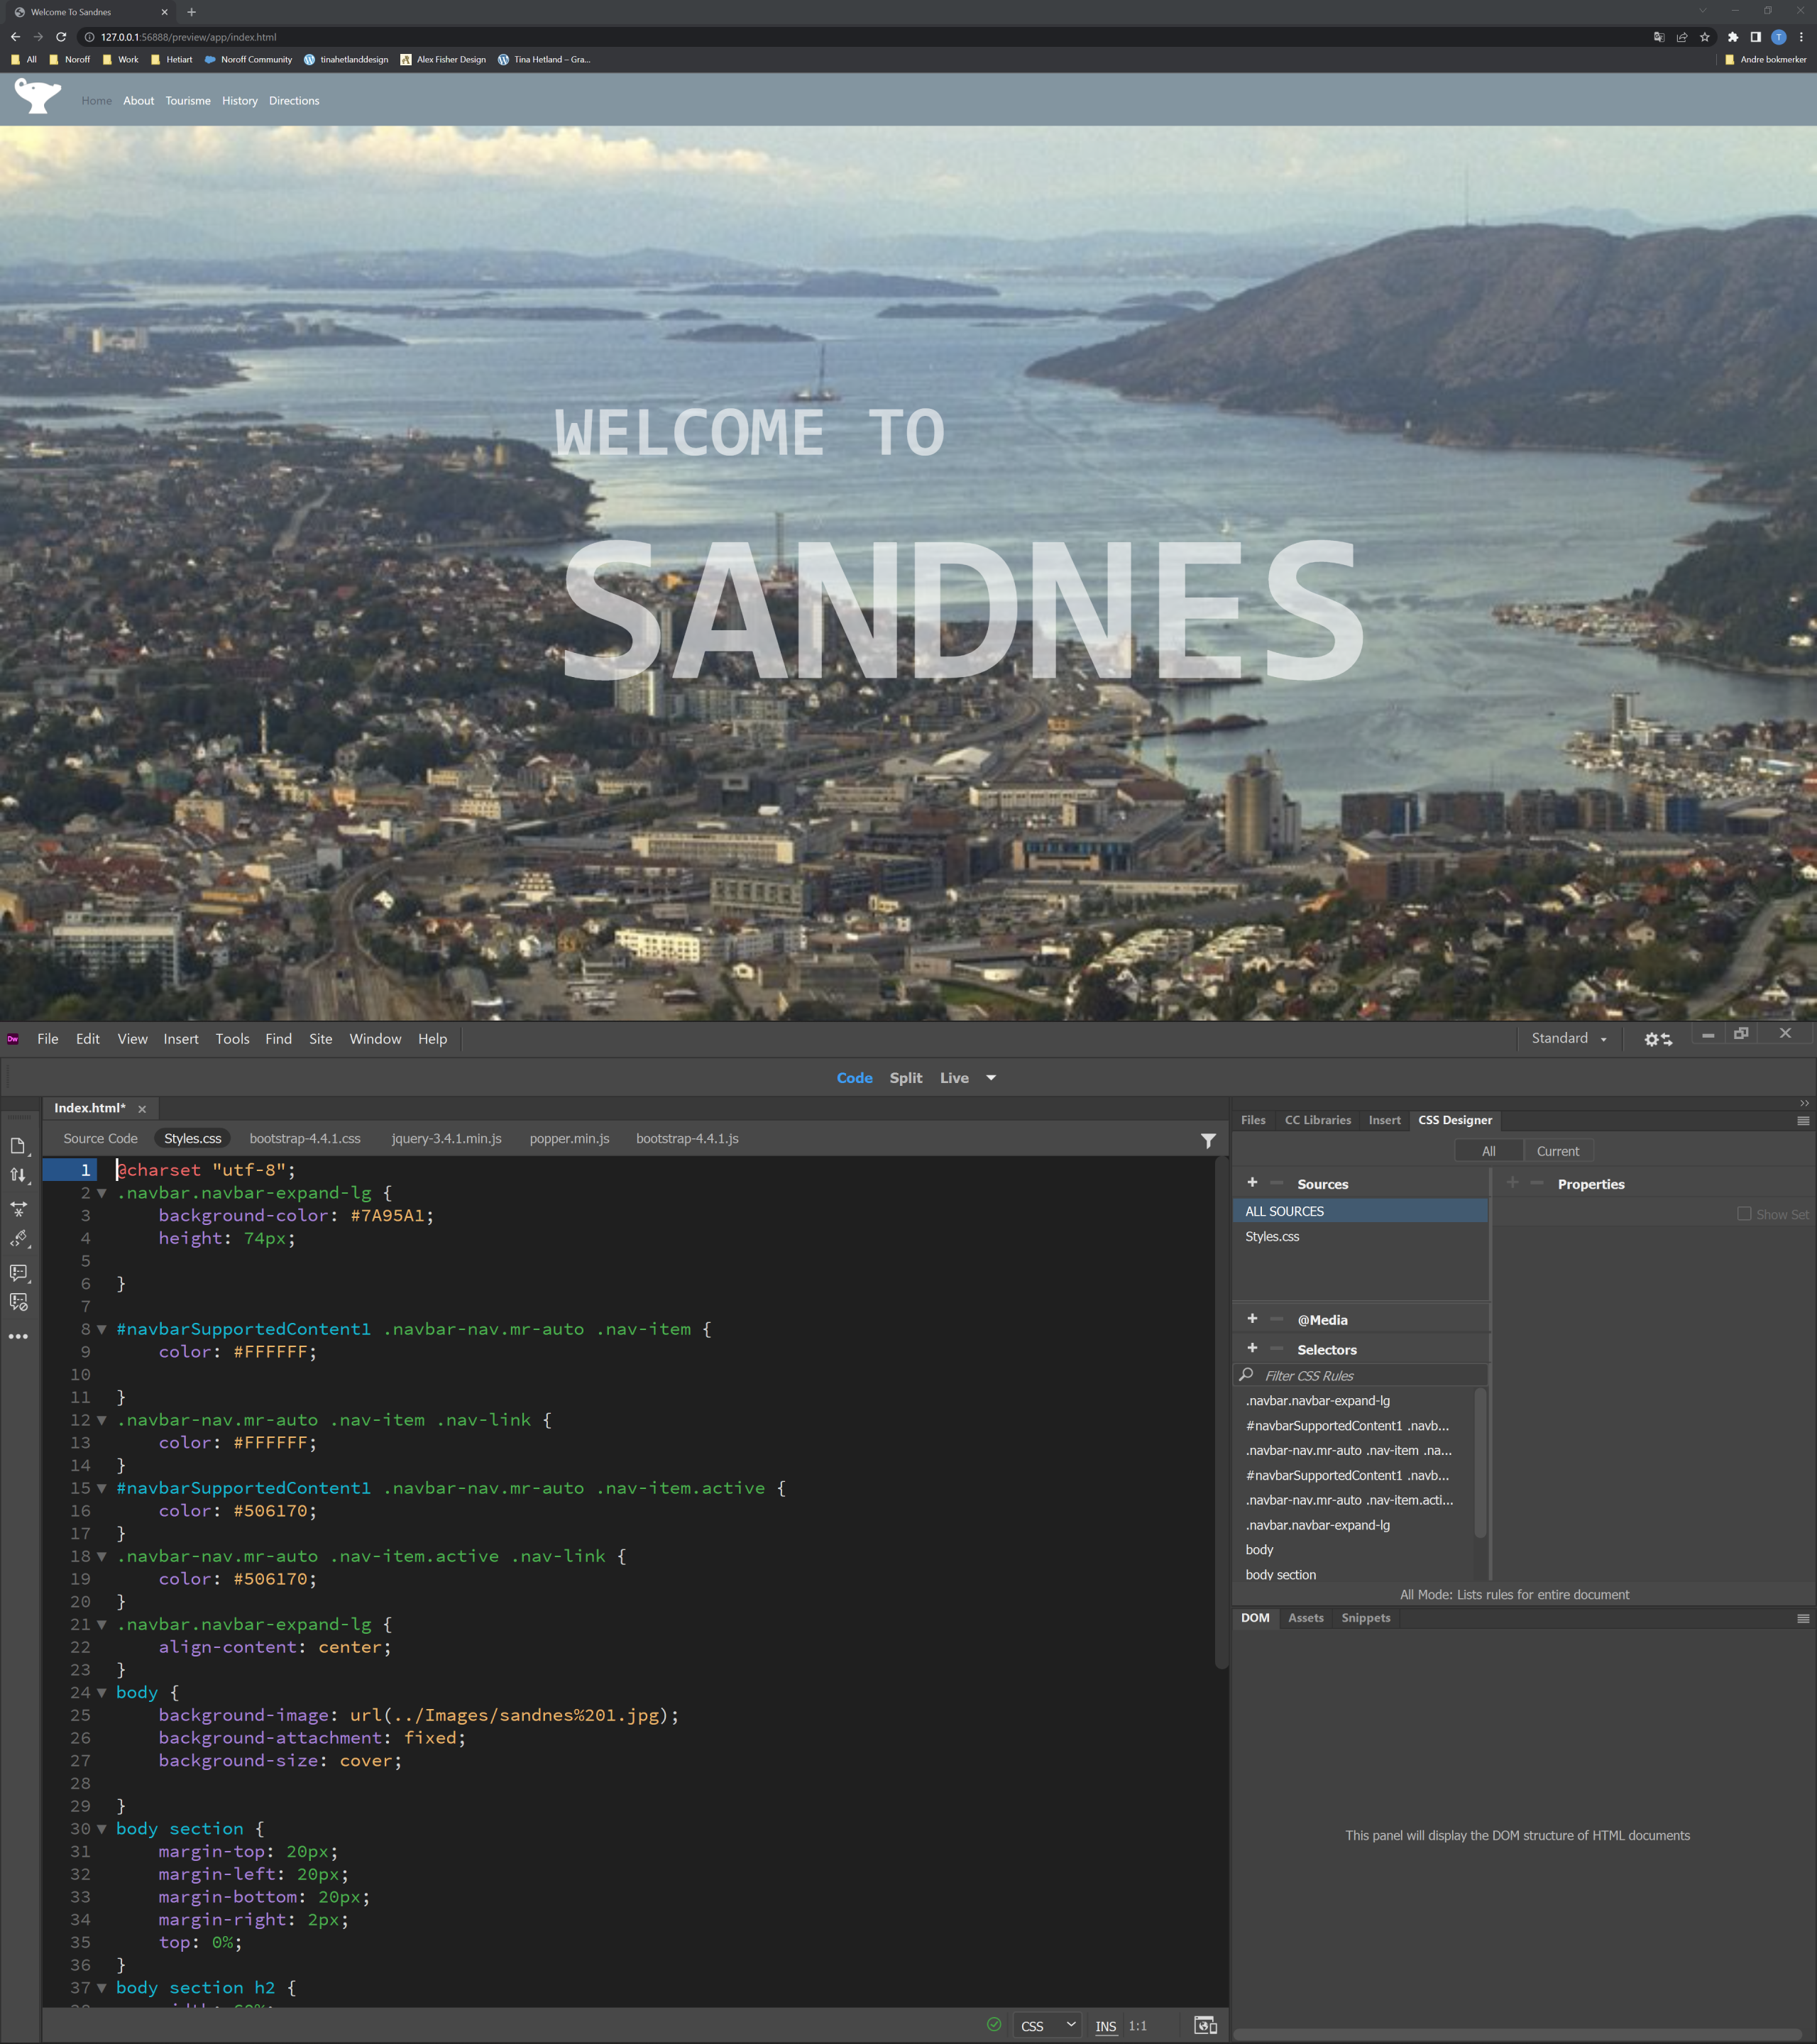
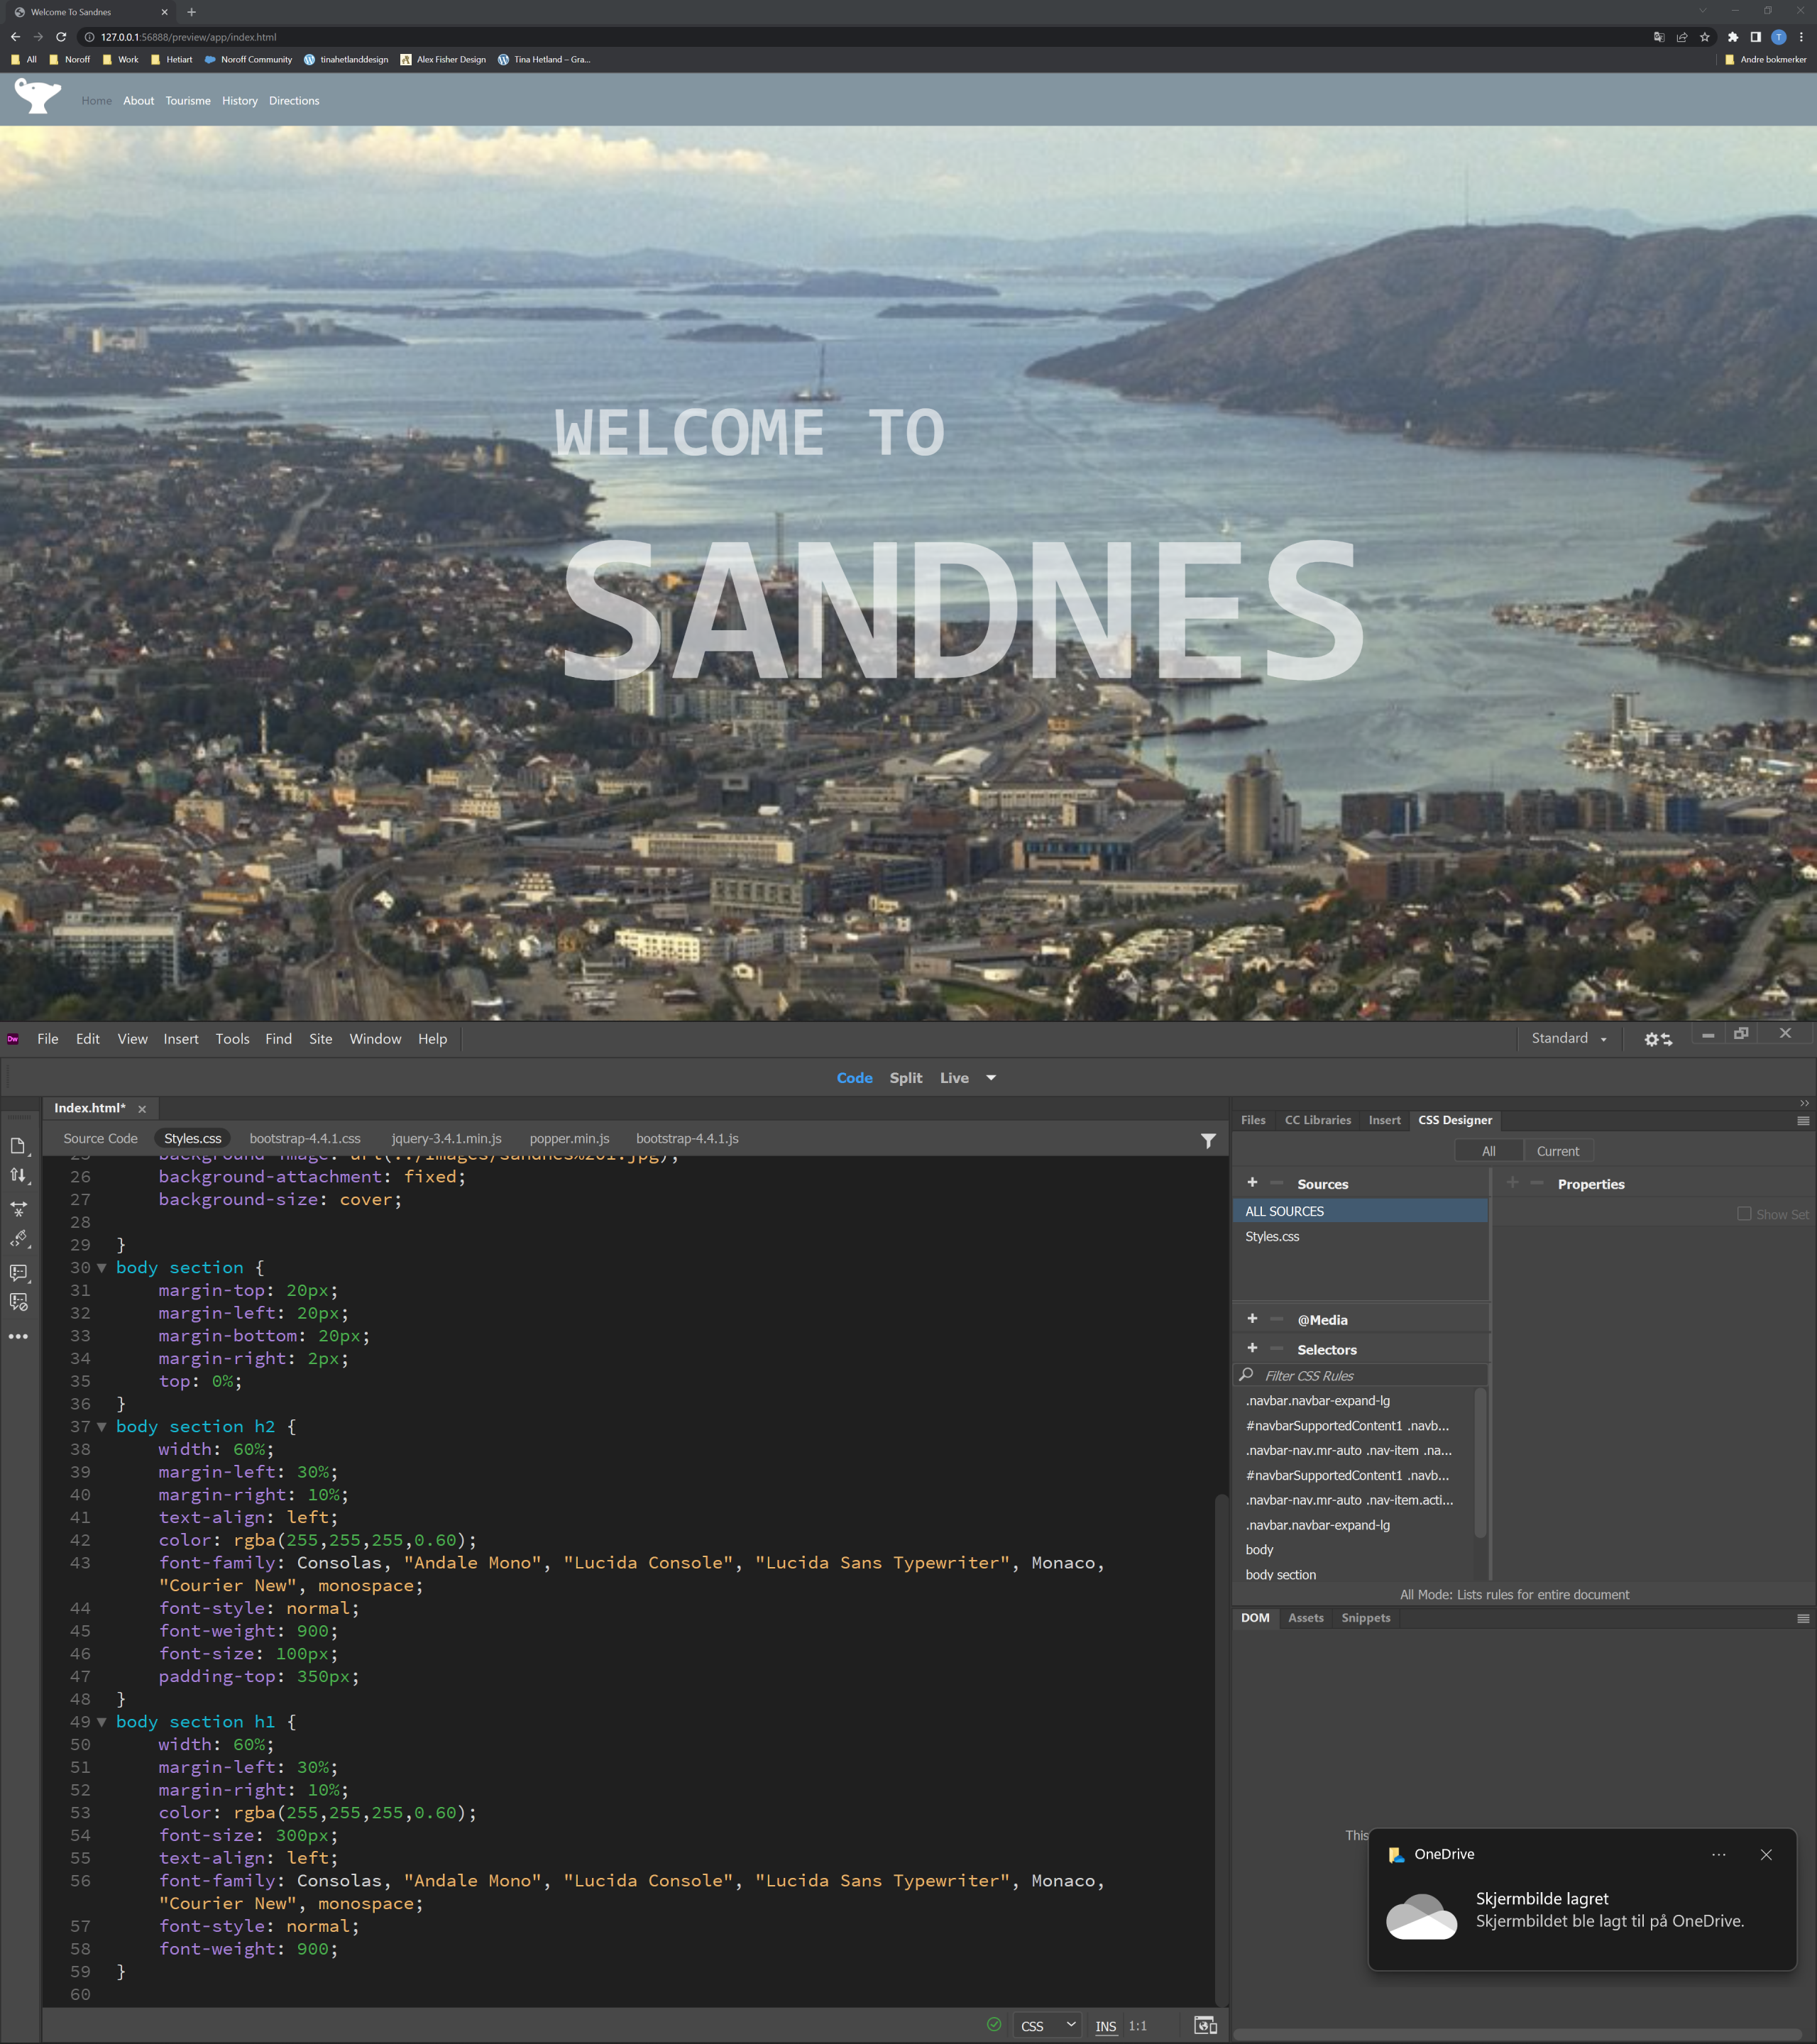
Take the basic website you have designed in your previous two Lesson Tasks in this module (Lesson Task – Put Thought Into Your Design and Lesson Task – Planning the Structure) and convert that into HTML and CSS code.
This will help you understand the importance between the design and the programming phase and how they work together.
Don’t stress if you can’t get everything right, just do as much as you can.
So I only did the index/home page, I really like web design and I’m looking forward to learn more and get the hang of it. It’s alot to take in but it’s fun and a lot of new things to learn.
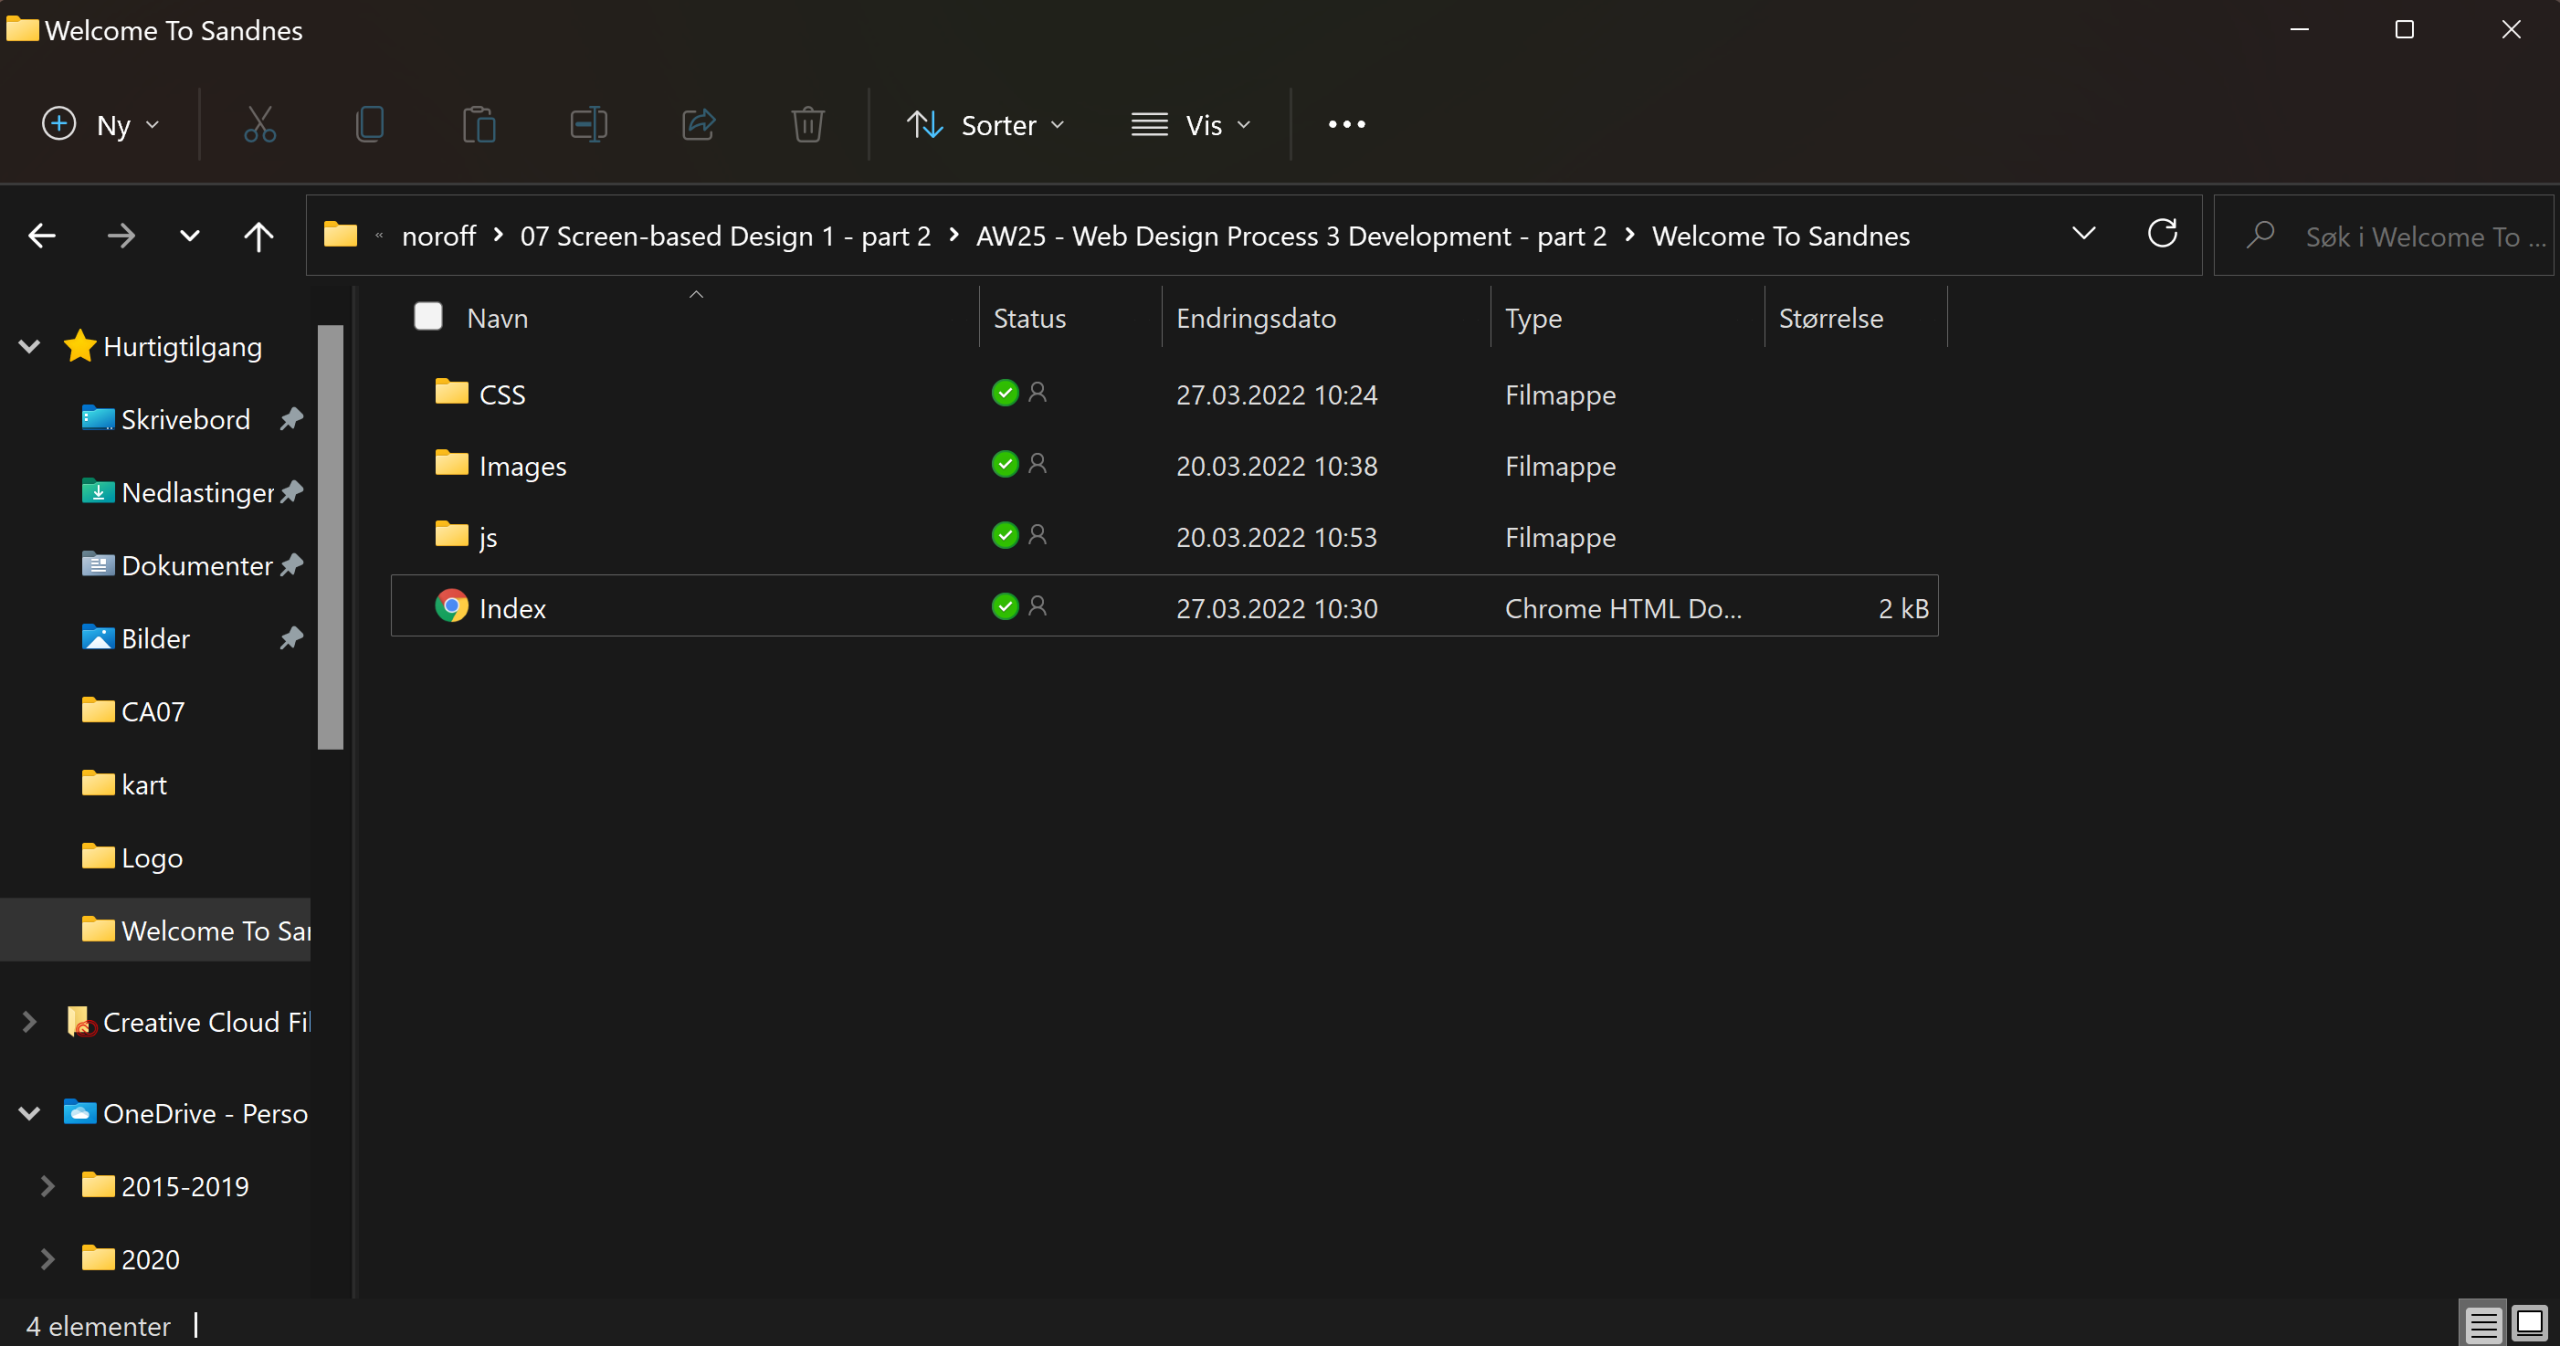
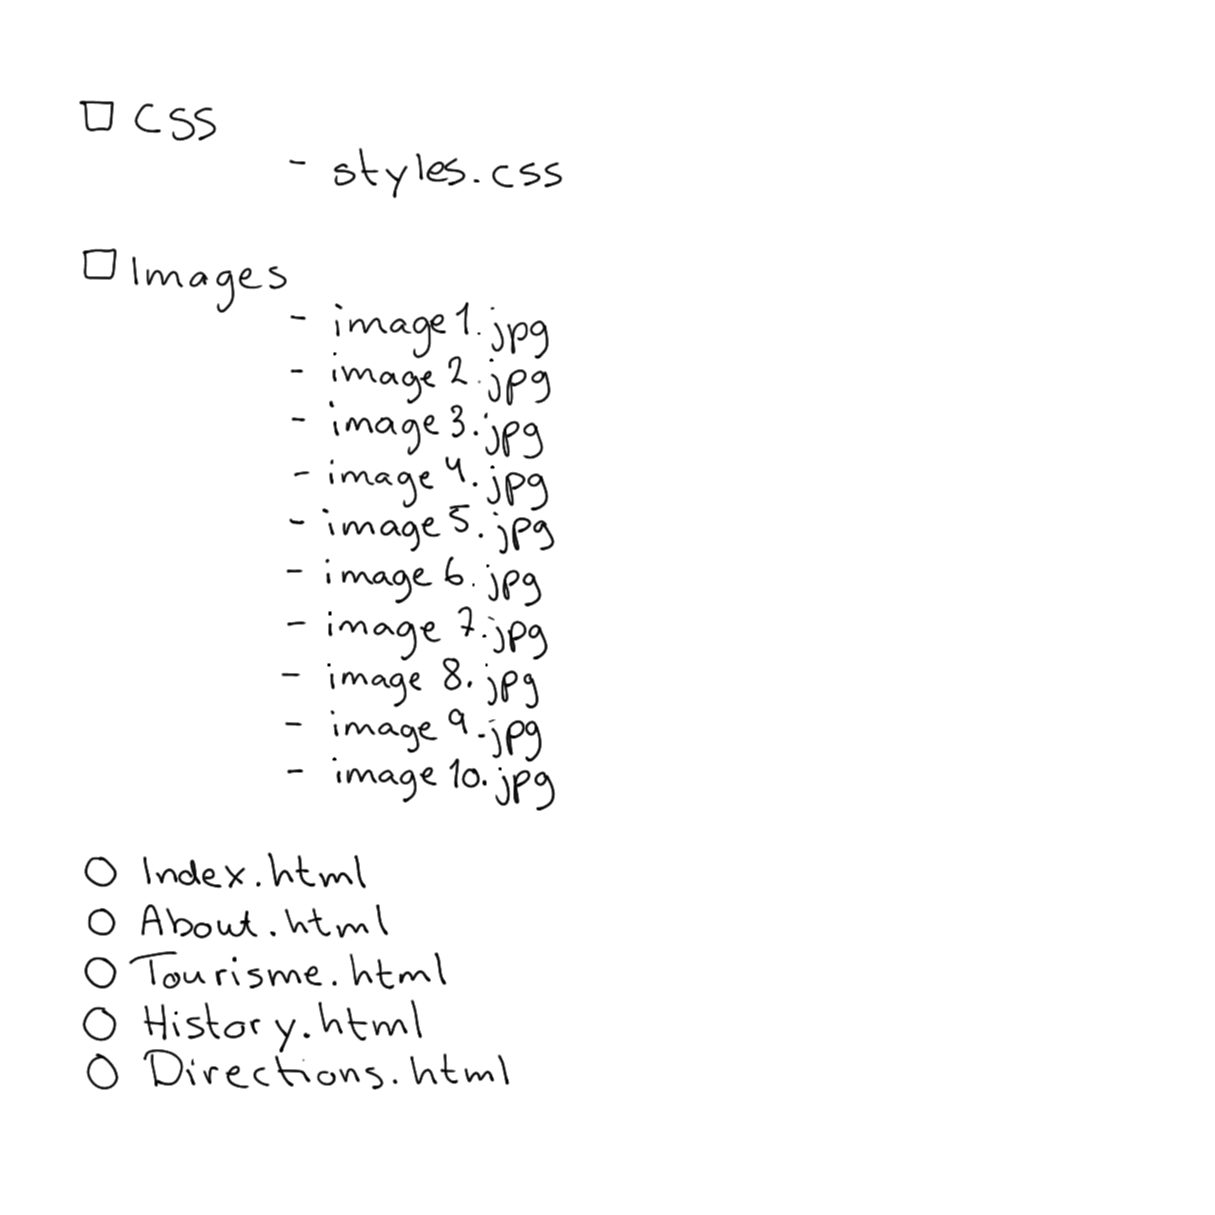
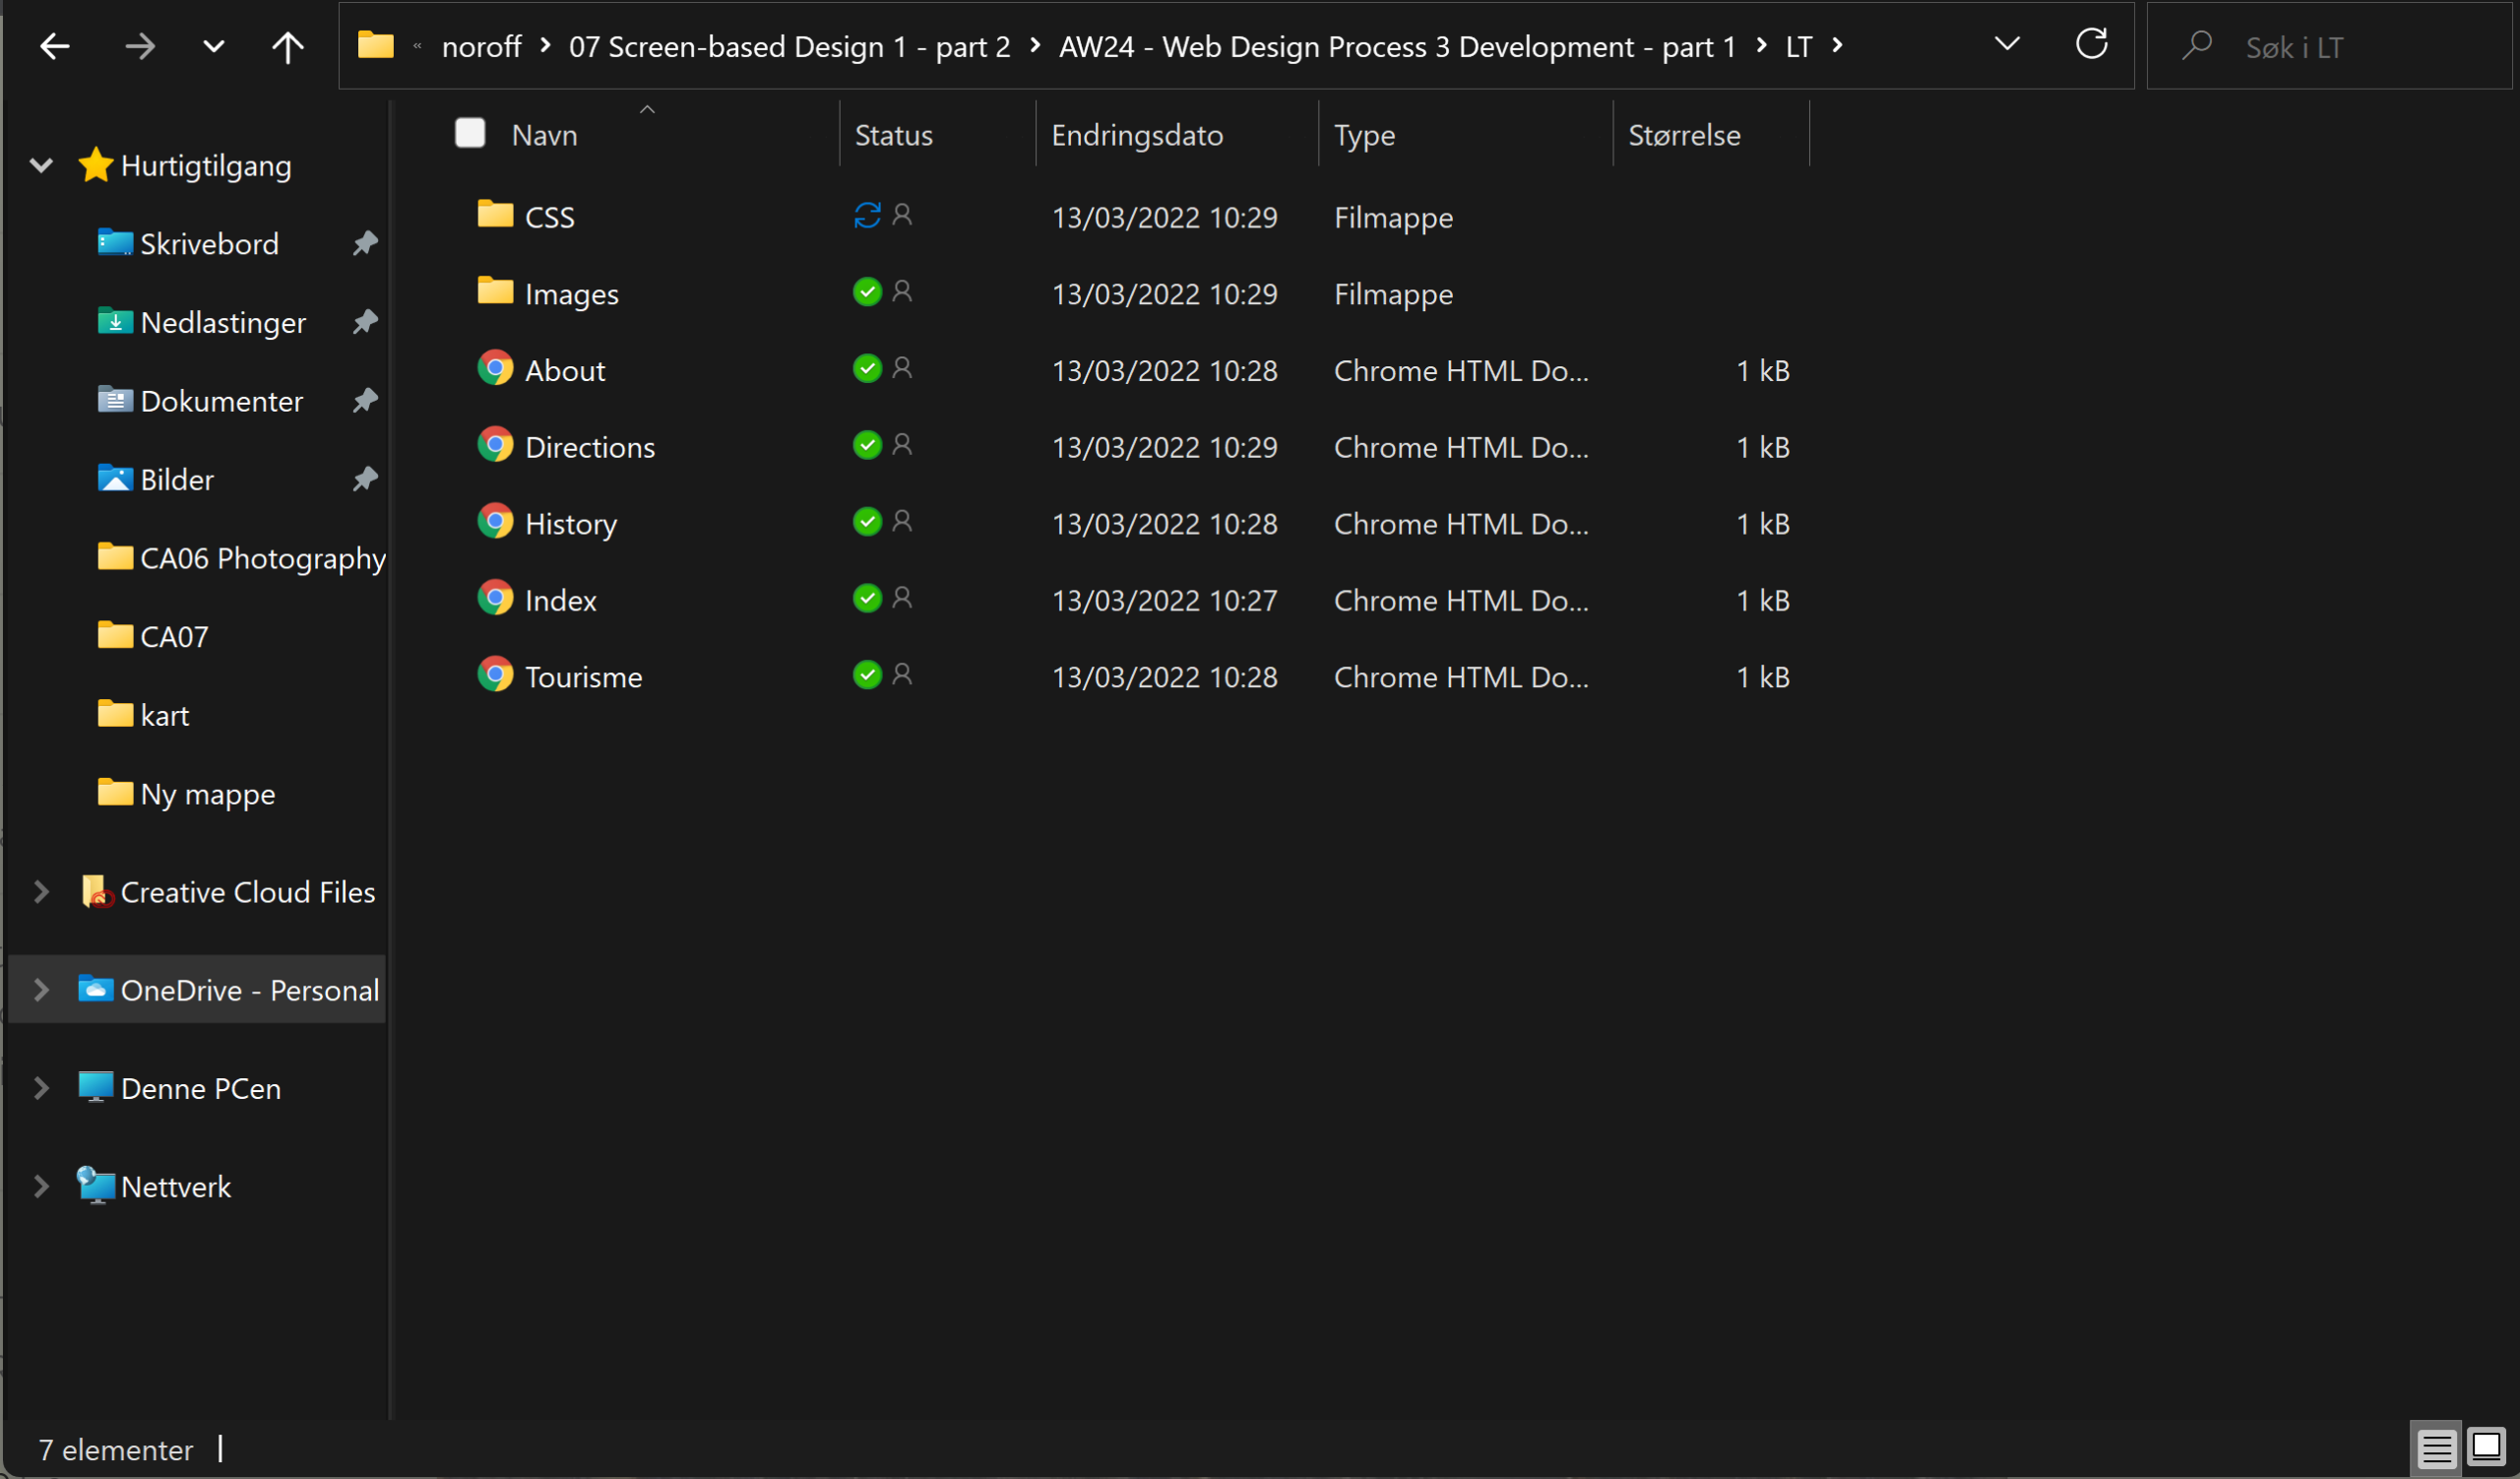
Create the structure of your web page (from Lesson Task – Put Thought Into Your Design) in terms of HTML files and folders. You need to set these up so that you are ready to code your website.
First use a pen and paper to do your planning; then do it on the computer when you are sure of your structure.
Please upload this activity to your WordPress blog. Remember to scan (or photograph) and include your initial planning that you did on paper.
Question 1
Name three lighting sources and their functions.
Natural light – This is the light from the sun, blue sky gives hard light while cloudy sky gives more soft light. You can use modifiers to soften and manipulate the light to get the light you want.
Continuous light – This is the light you have continuous on in the studio. Tungsten bulb, led light, hmi and fluorescent light that is the basic light in the studio.
Flash – This light you can mount on the mount shoe of the camera or set it up external on a tripod and will go of when you hit the shutter button.
Name two light modifiers and explain the difference between them.
Softbox – As the name says, this gives a more softer light. The bigger softbox the bigger the light will be.
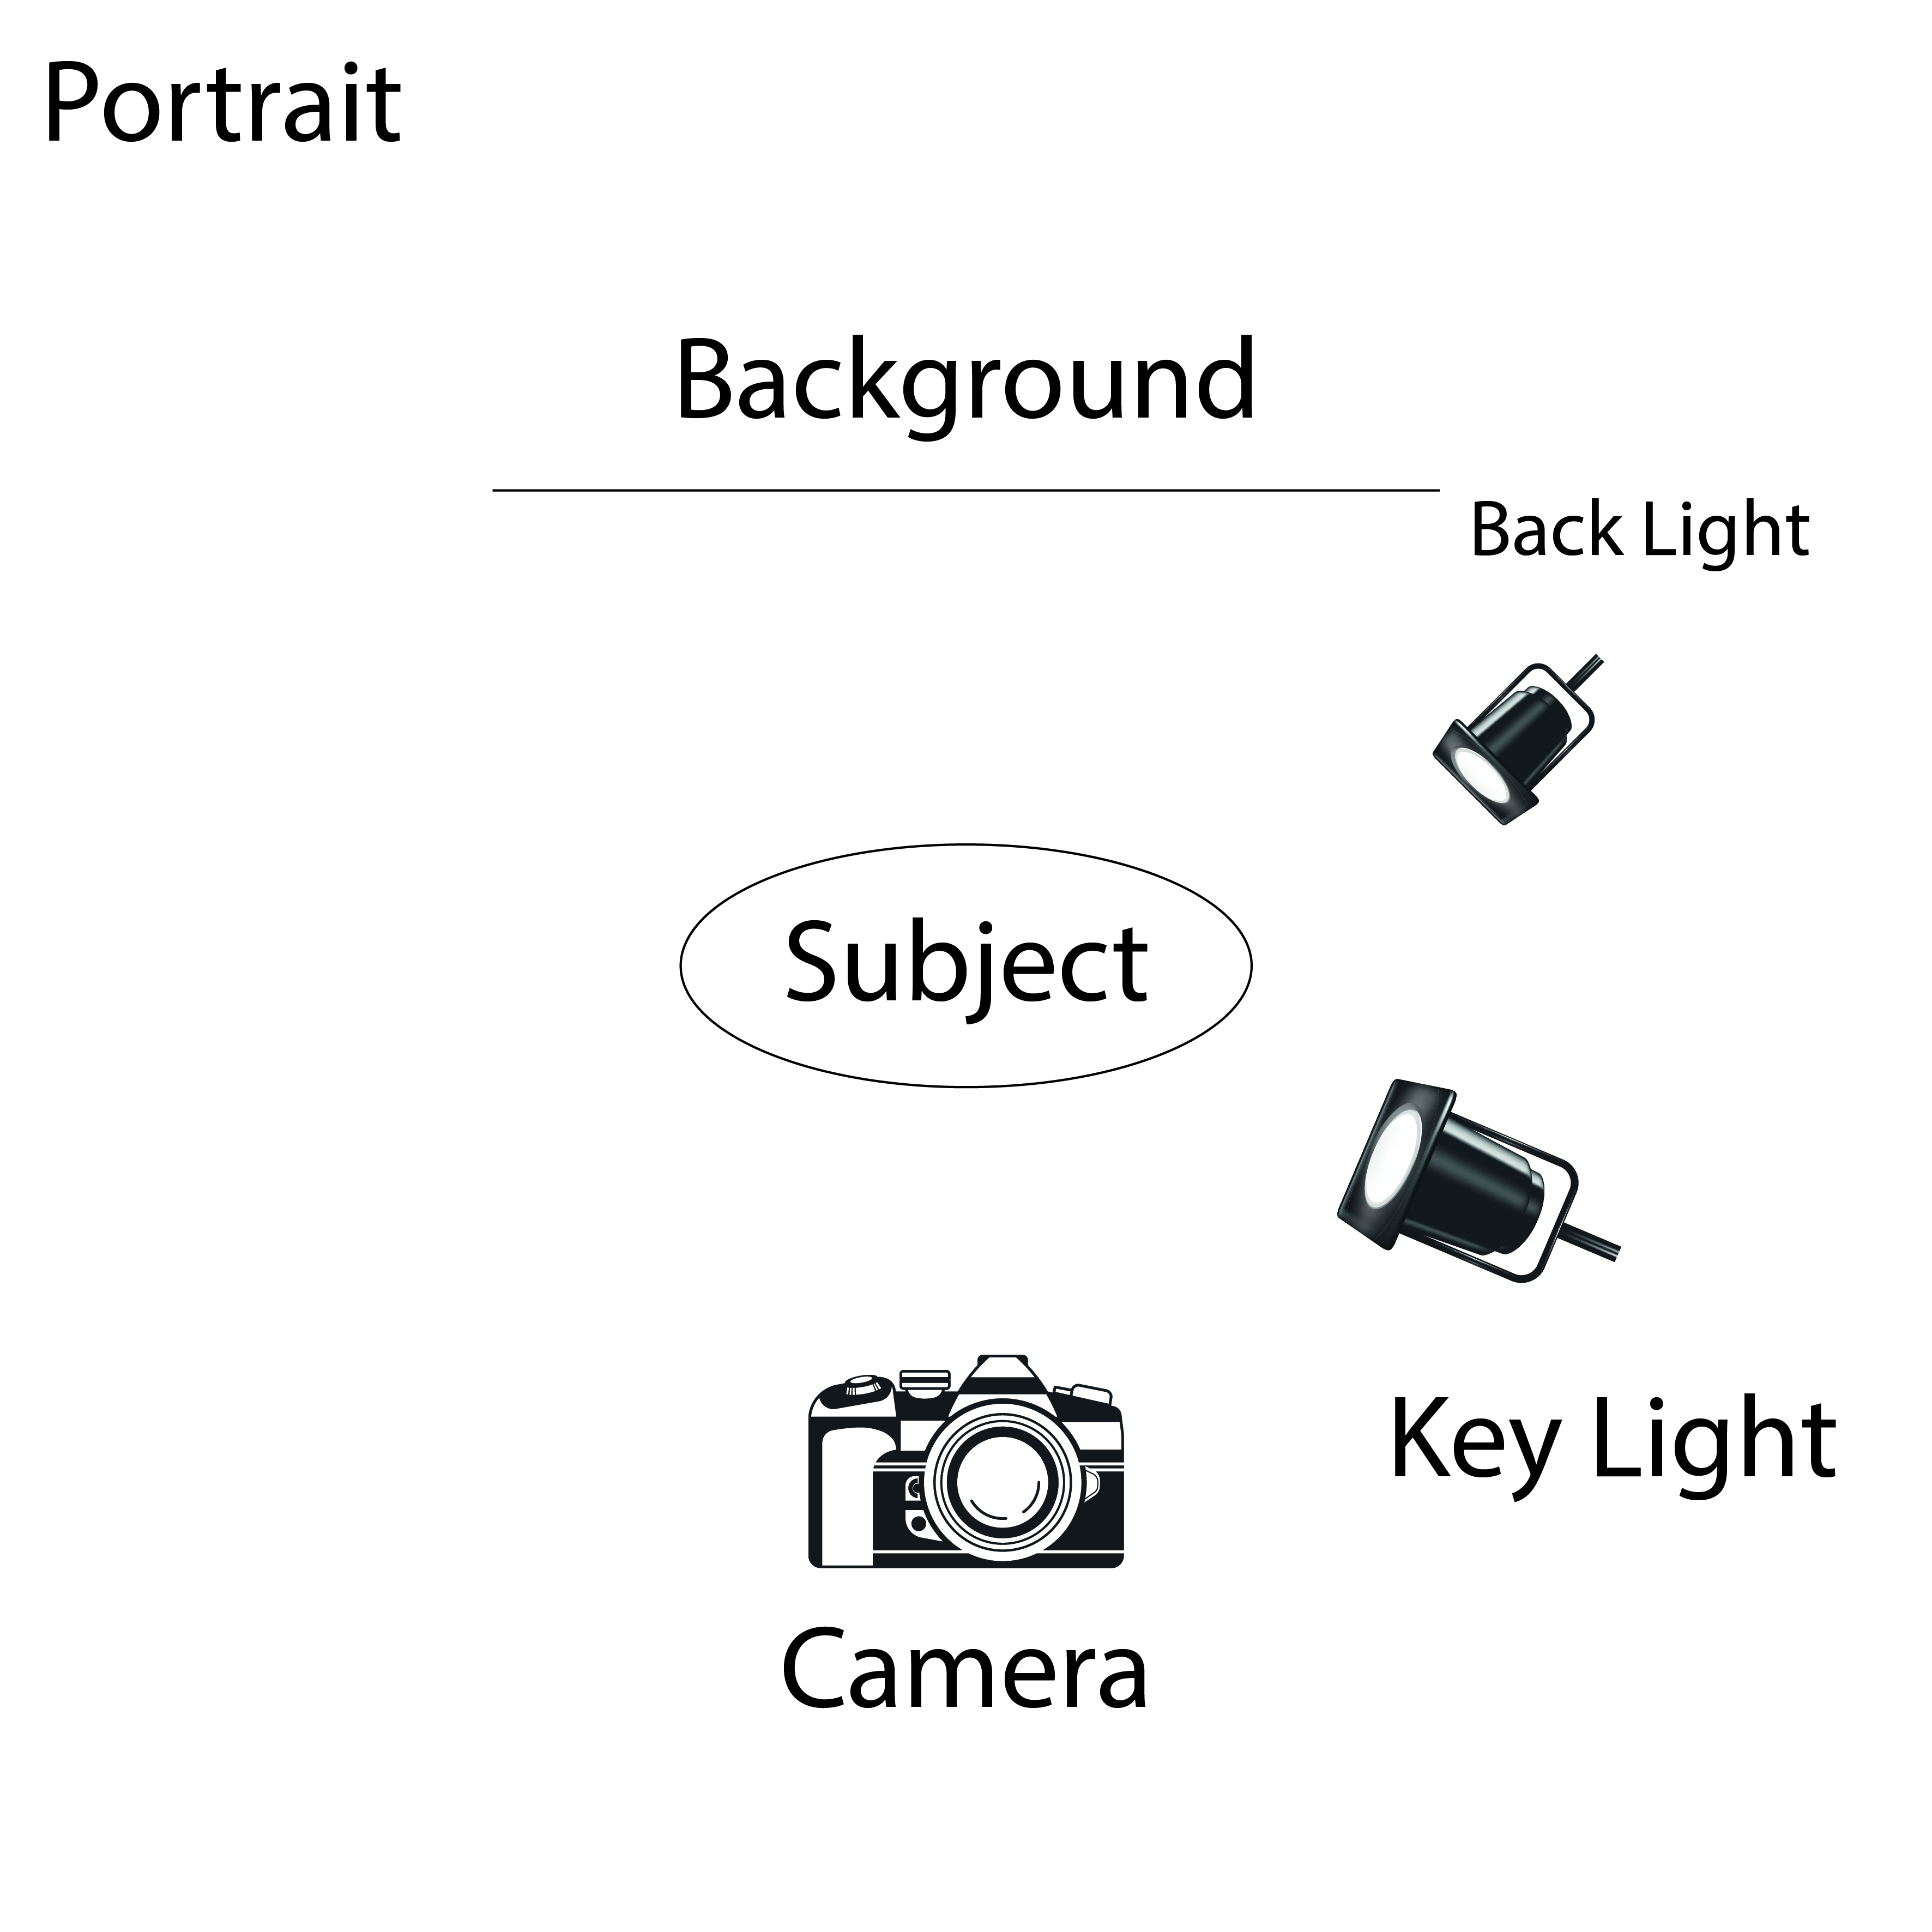
Reflectors – Reflectors comes in 5 different colours, white, silver, gold, black and transparent. This helps you to manipulate the direction of the light, move the light where you want it or even use the black one to absorb the light.
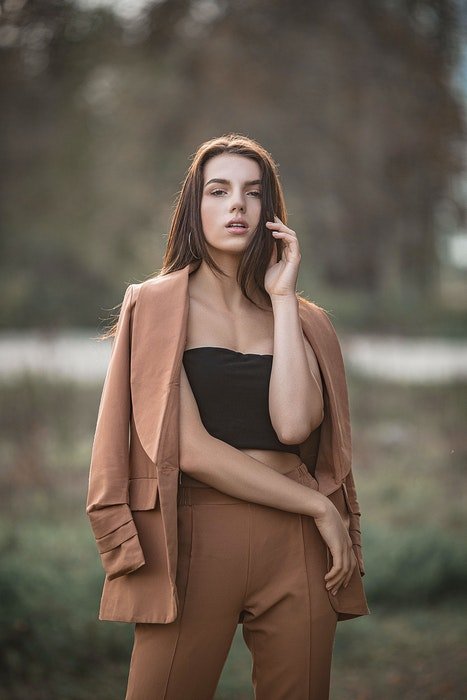
Draw a diagram of and describe the three-point lighting setup.
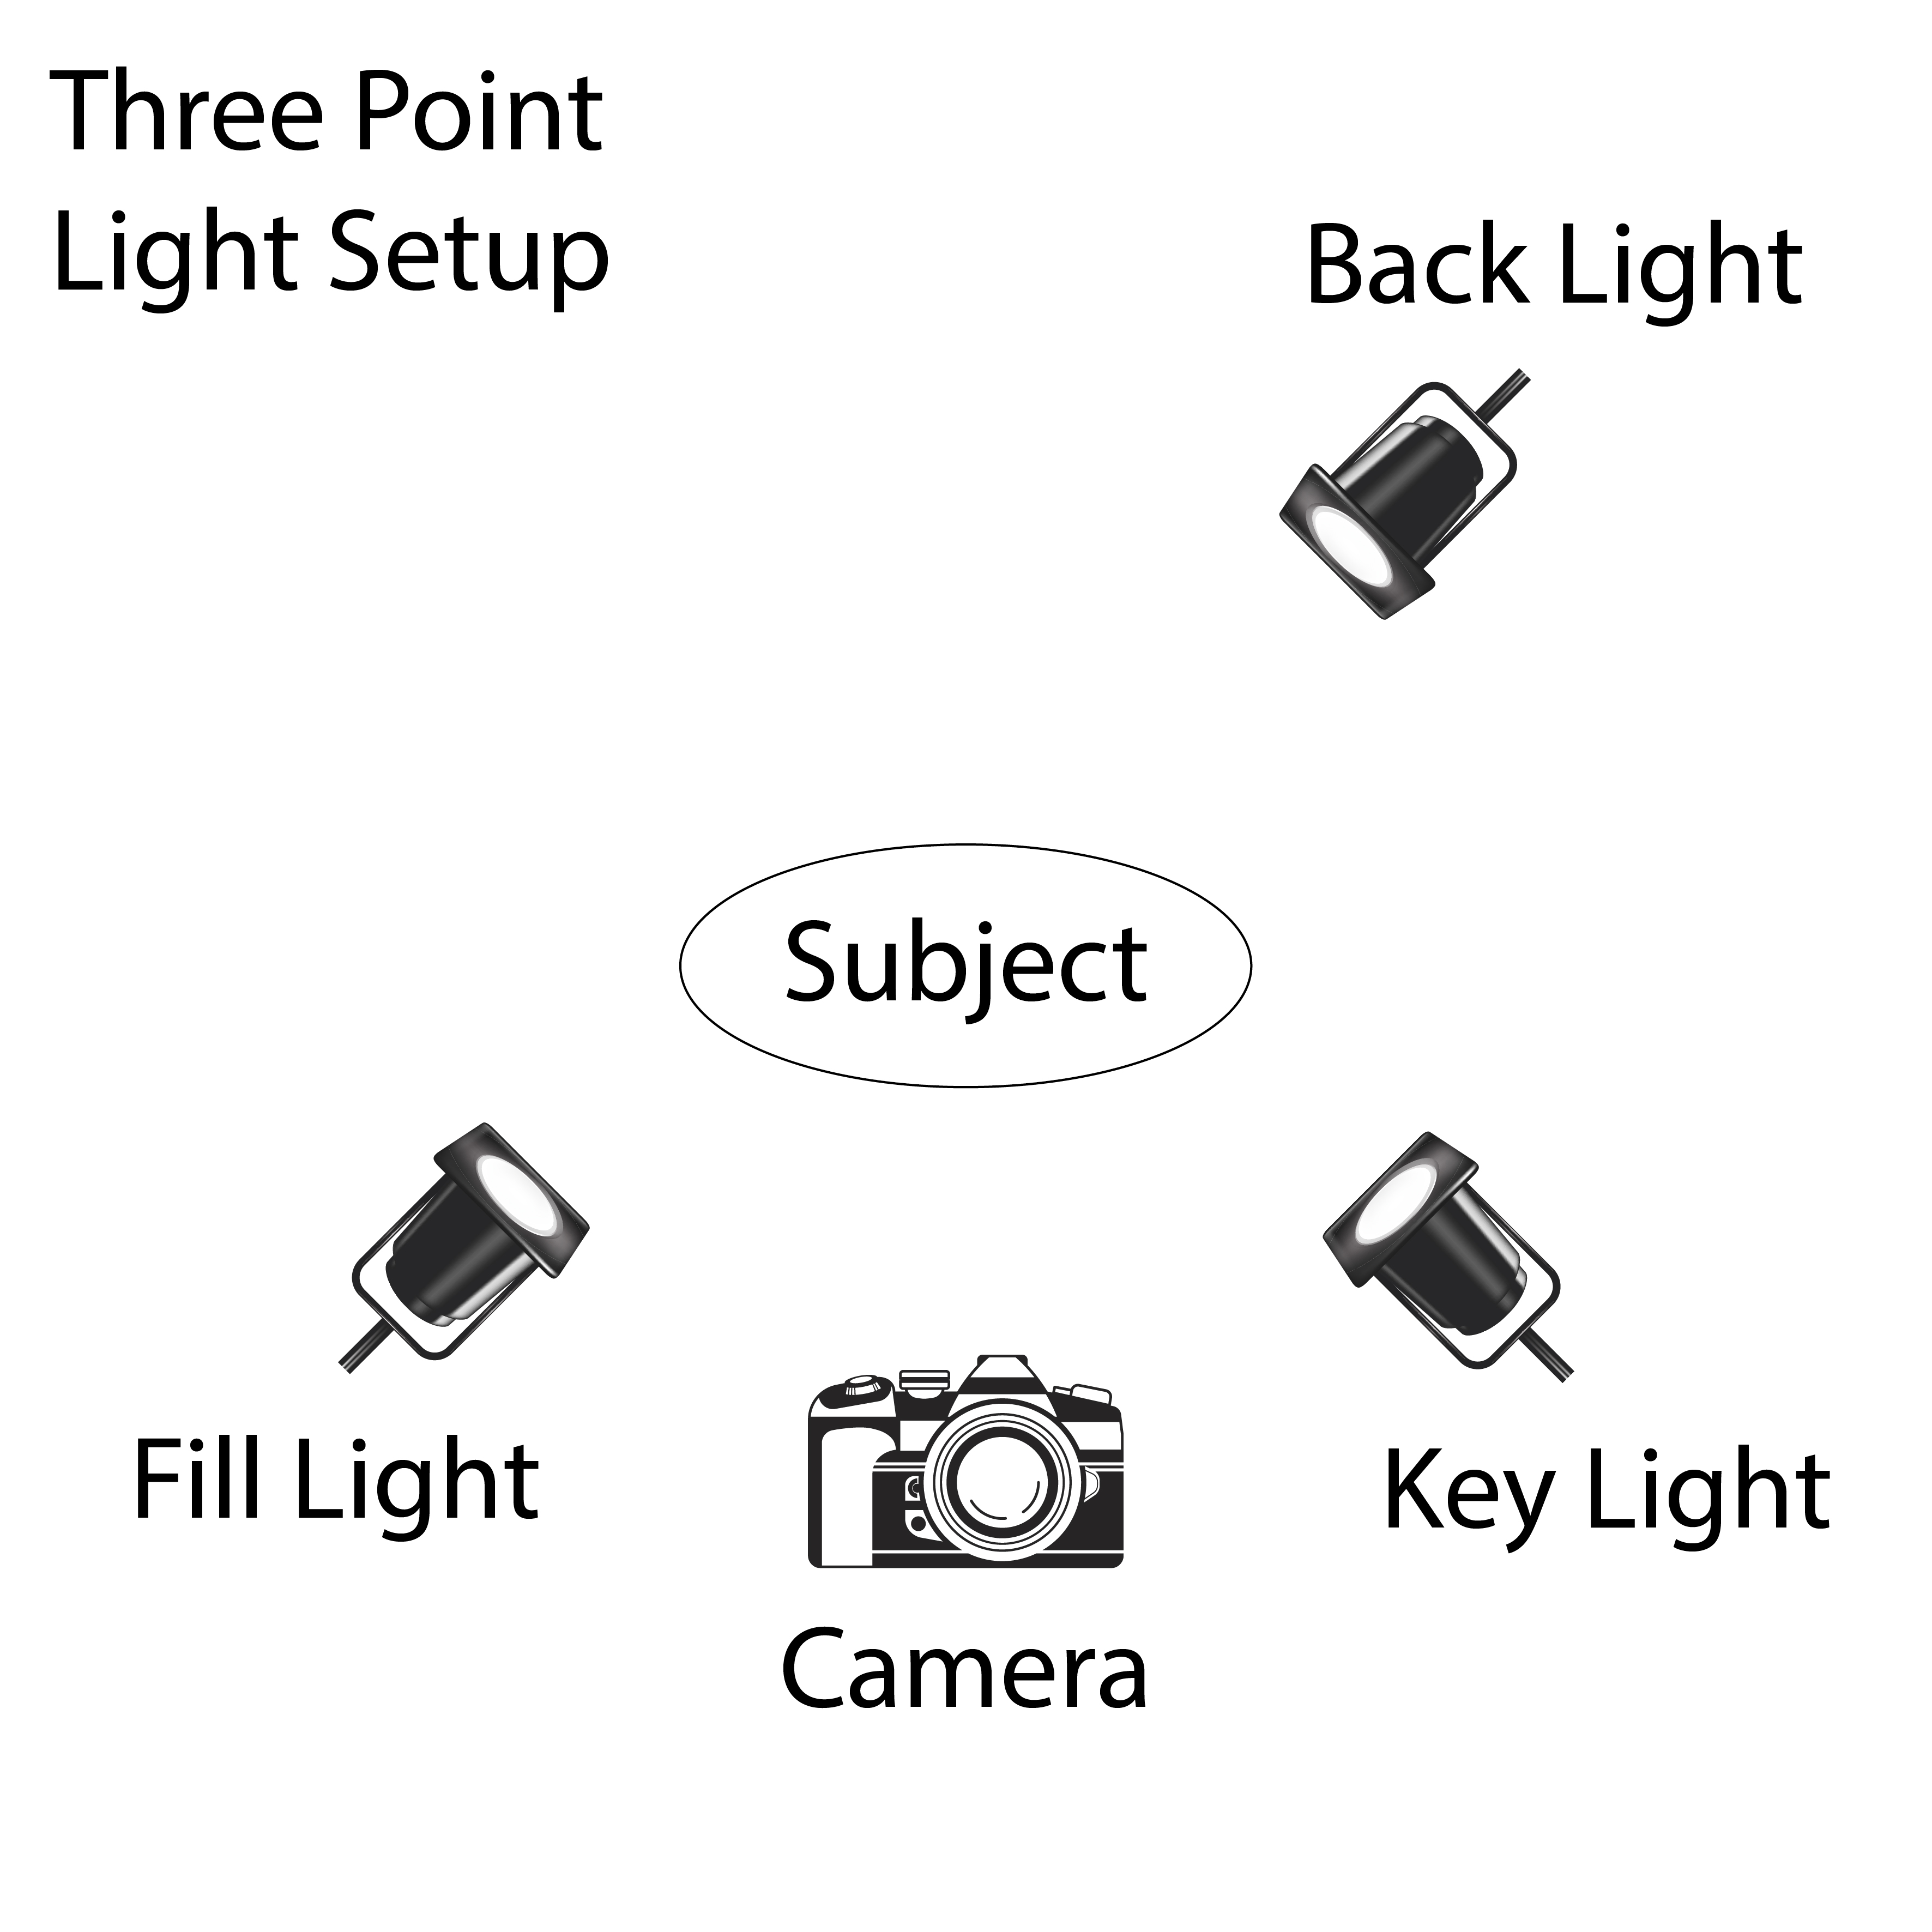
Key Light – This is the main source of light that is lightening up the subject.
Fill Light – This is the secondary light, it fills in the darker parts of the subject. It’s placed on the opposite side than the key light.
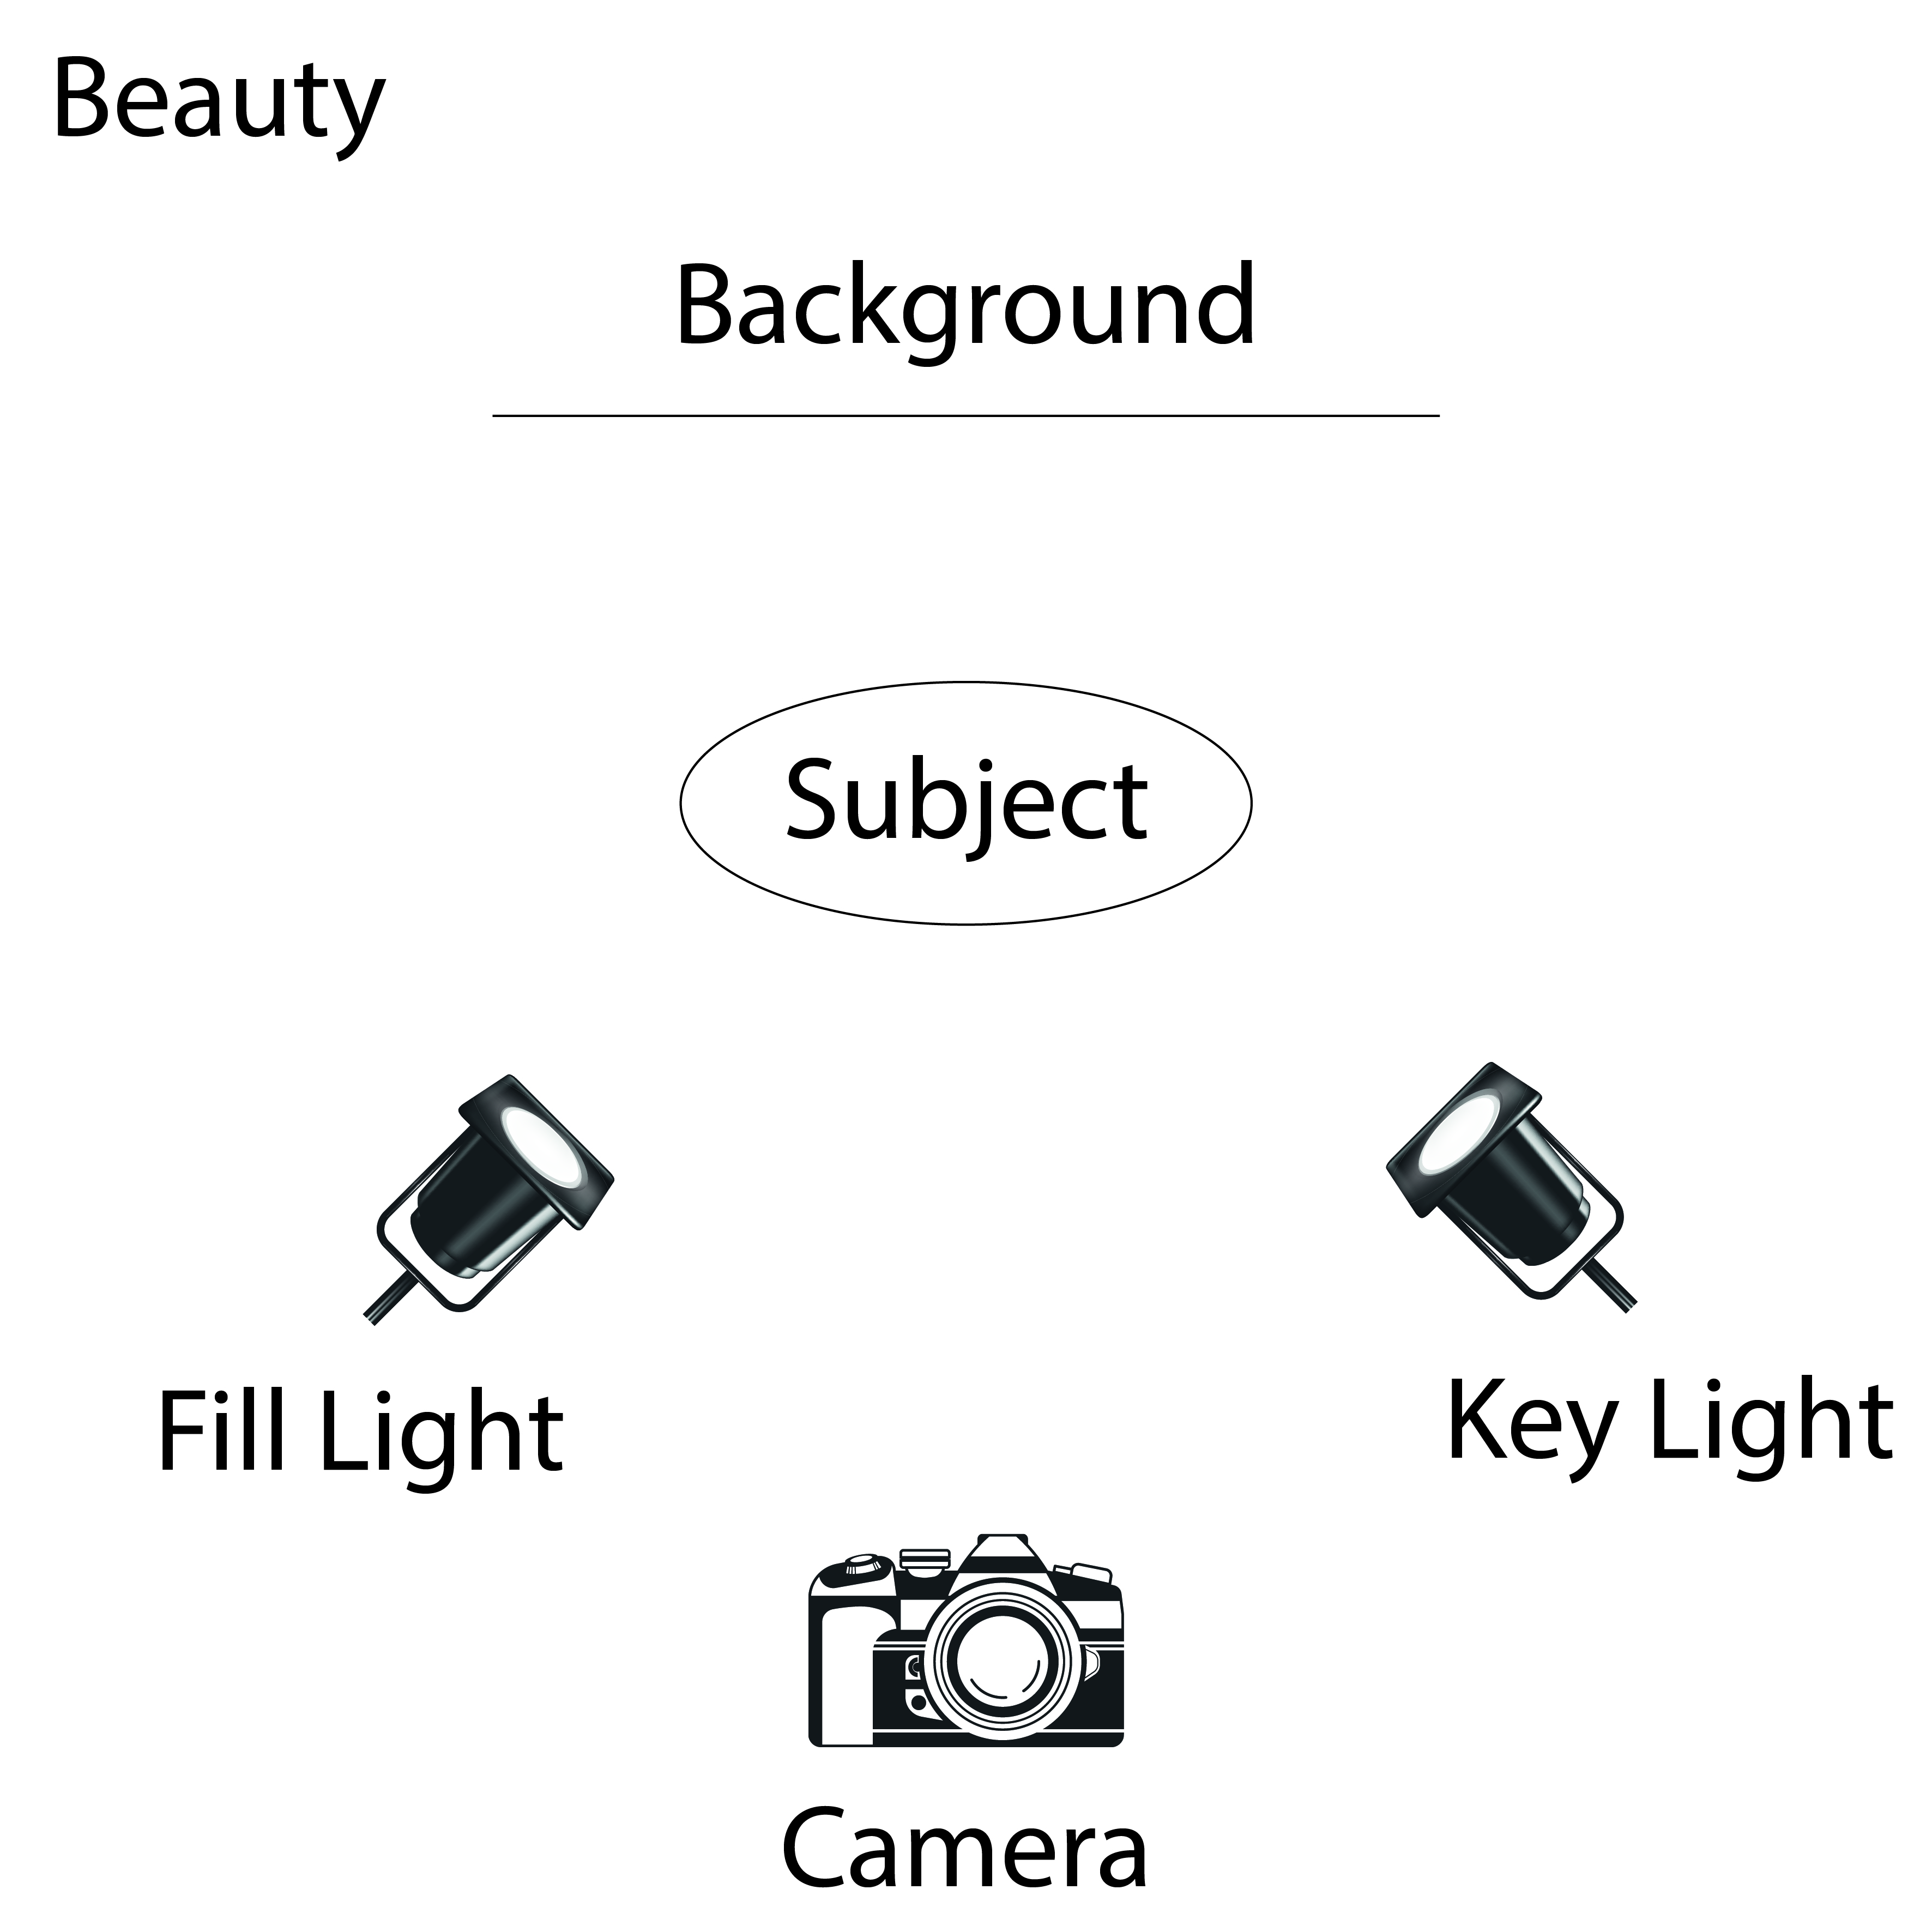
Back Light/Rim Light – This light is placed behind the subject to give the subject rim around it, by highlighting the hair and/or shoulders.
Question 2
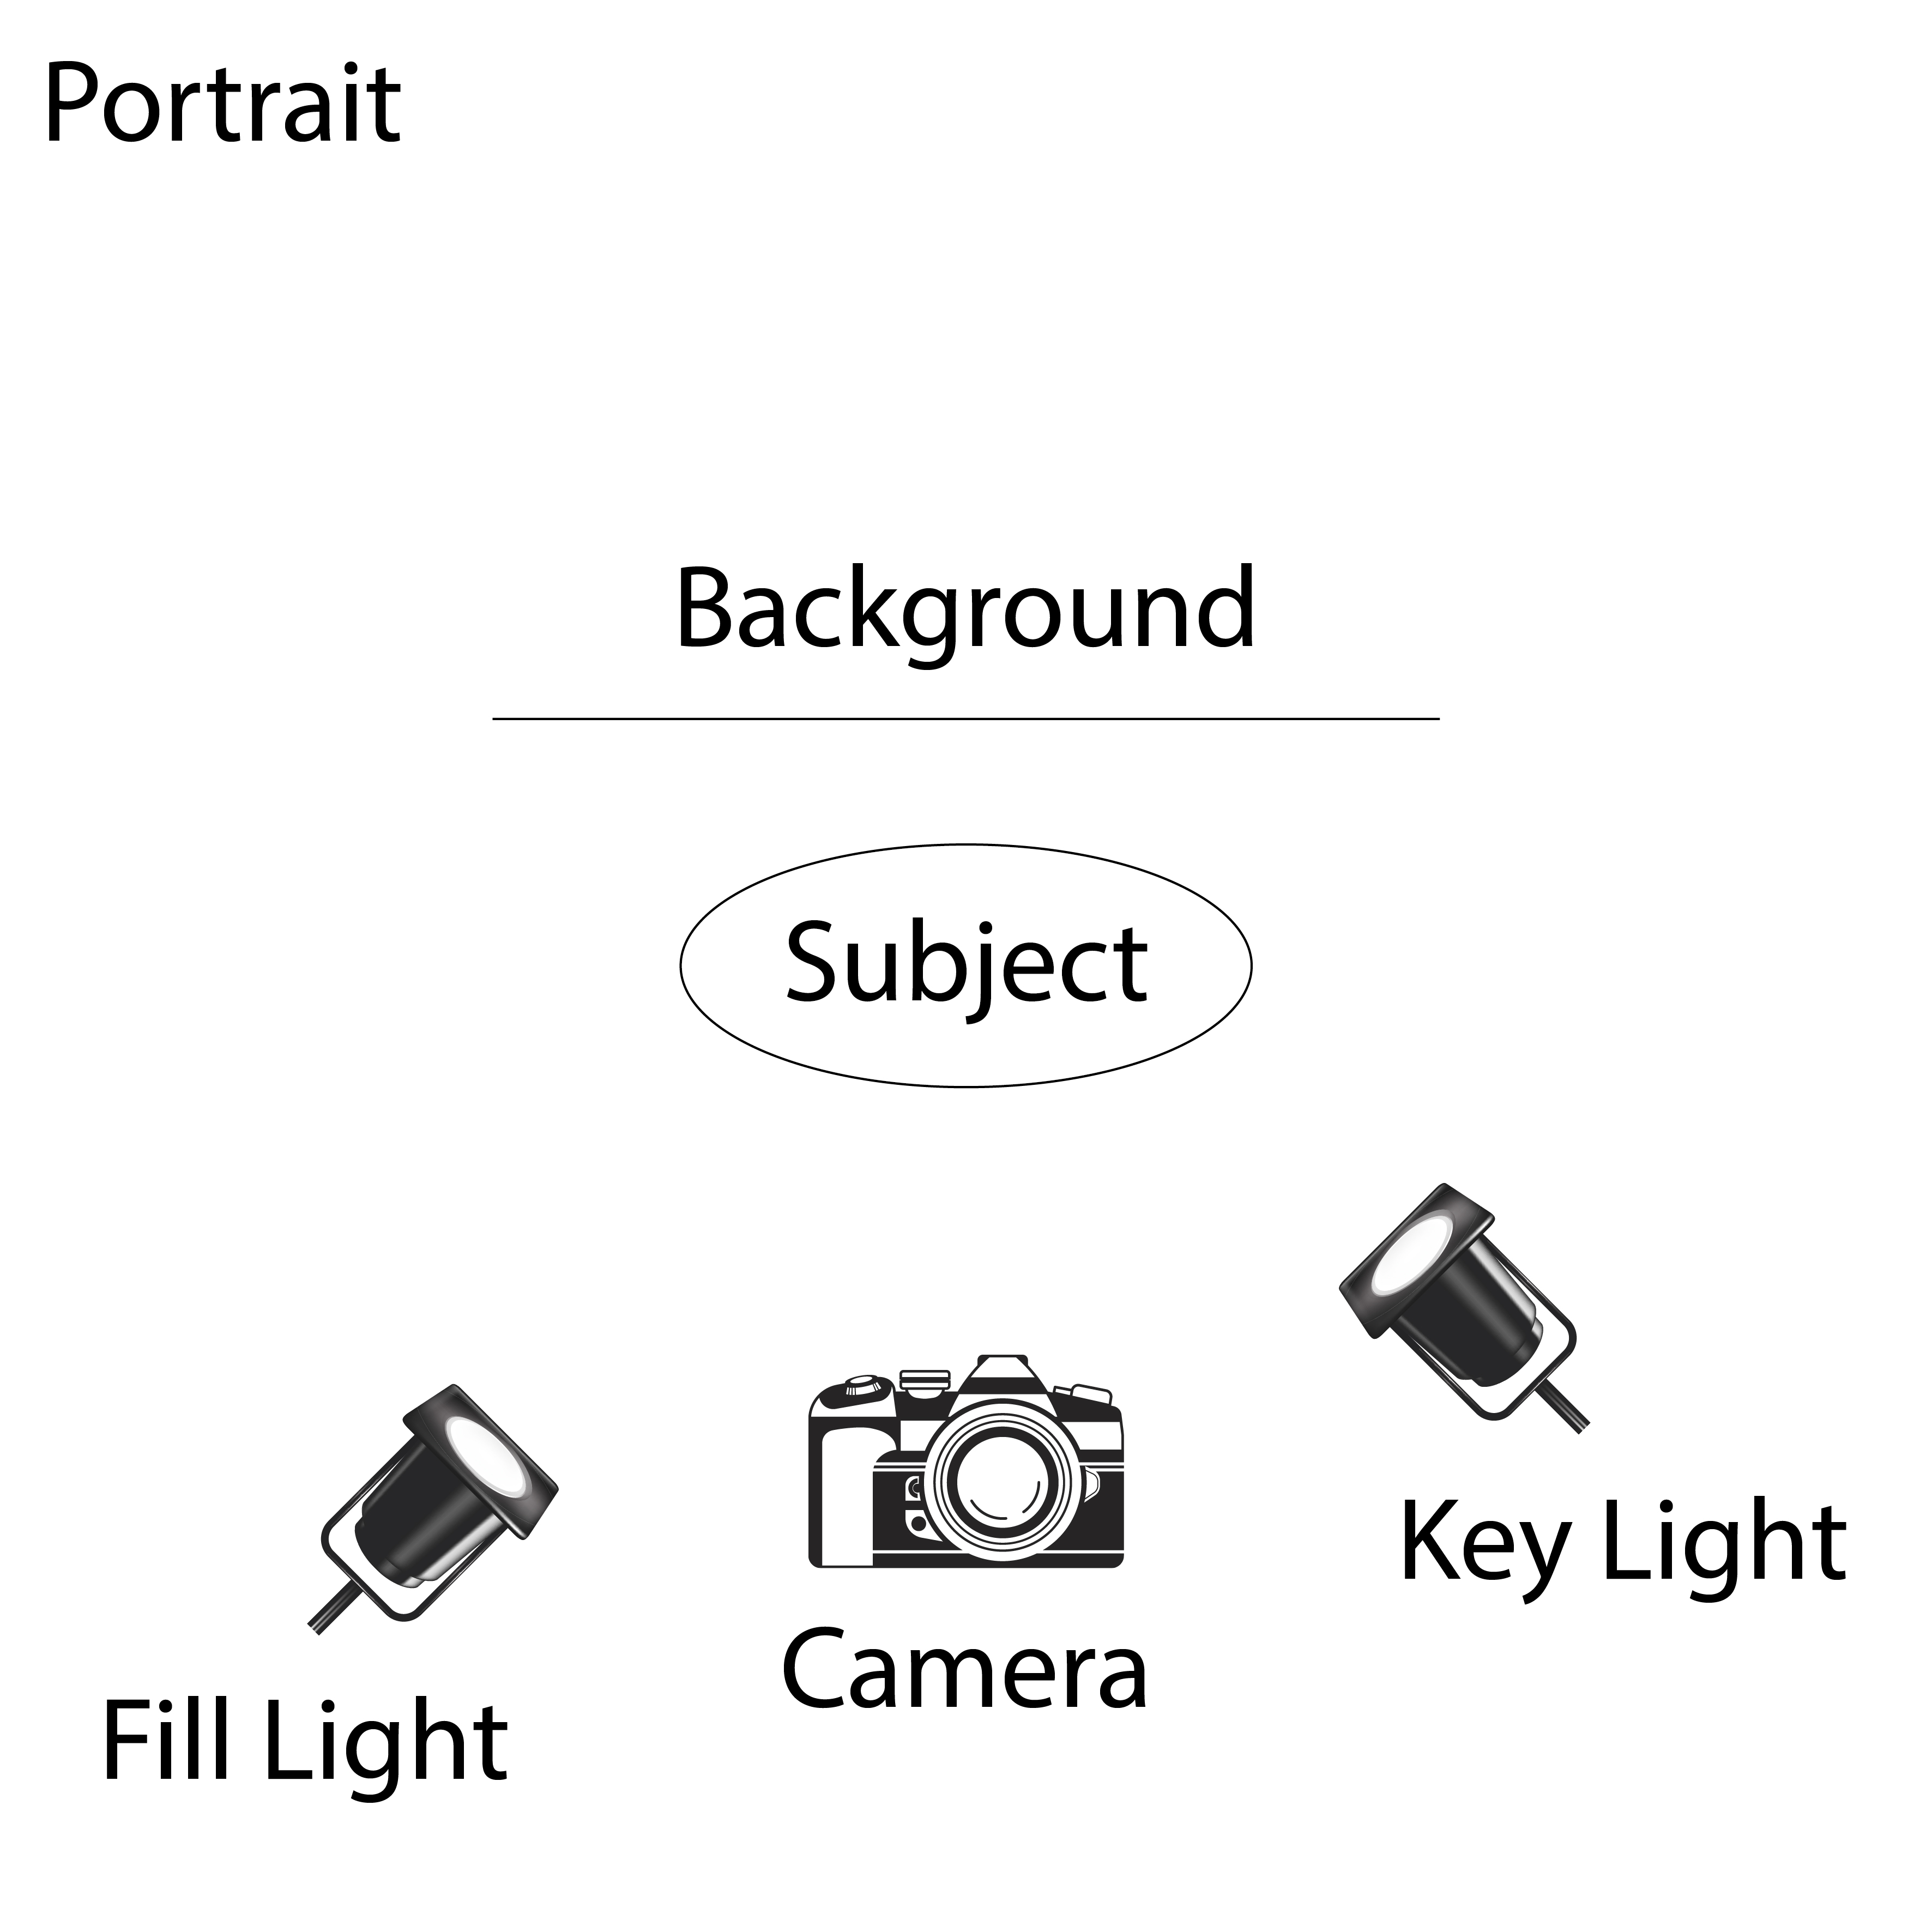
Draw three studio setups for the following subject matters and list all the equipment that you would use to light your subjects:
Portrait
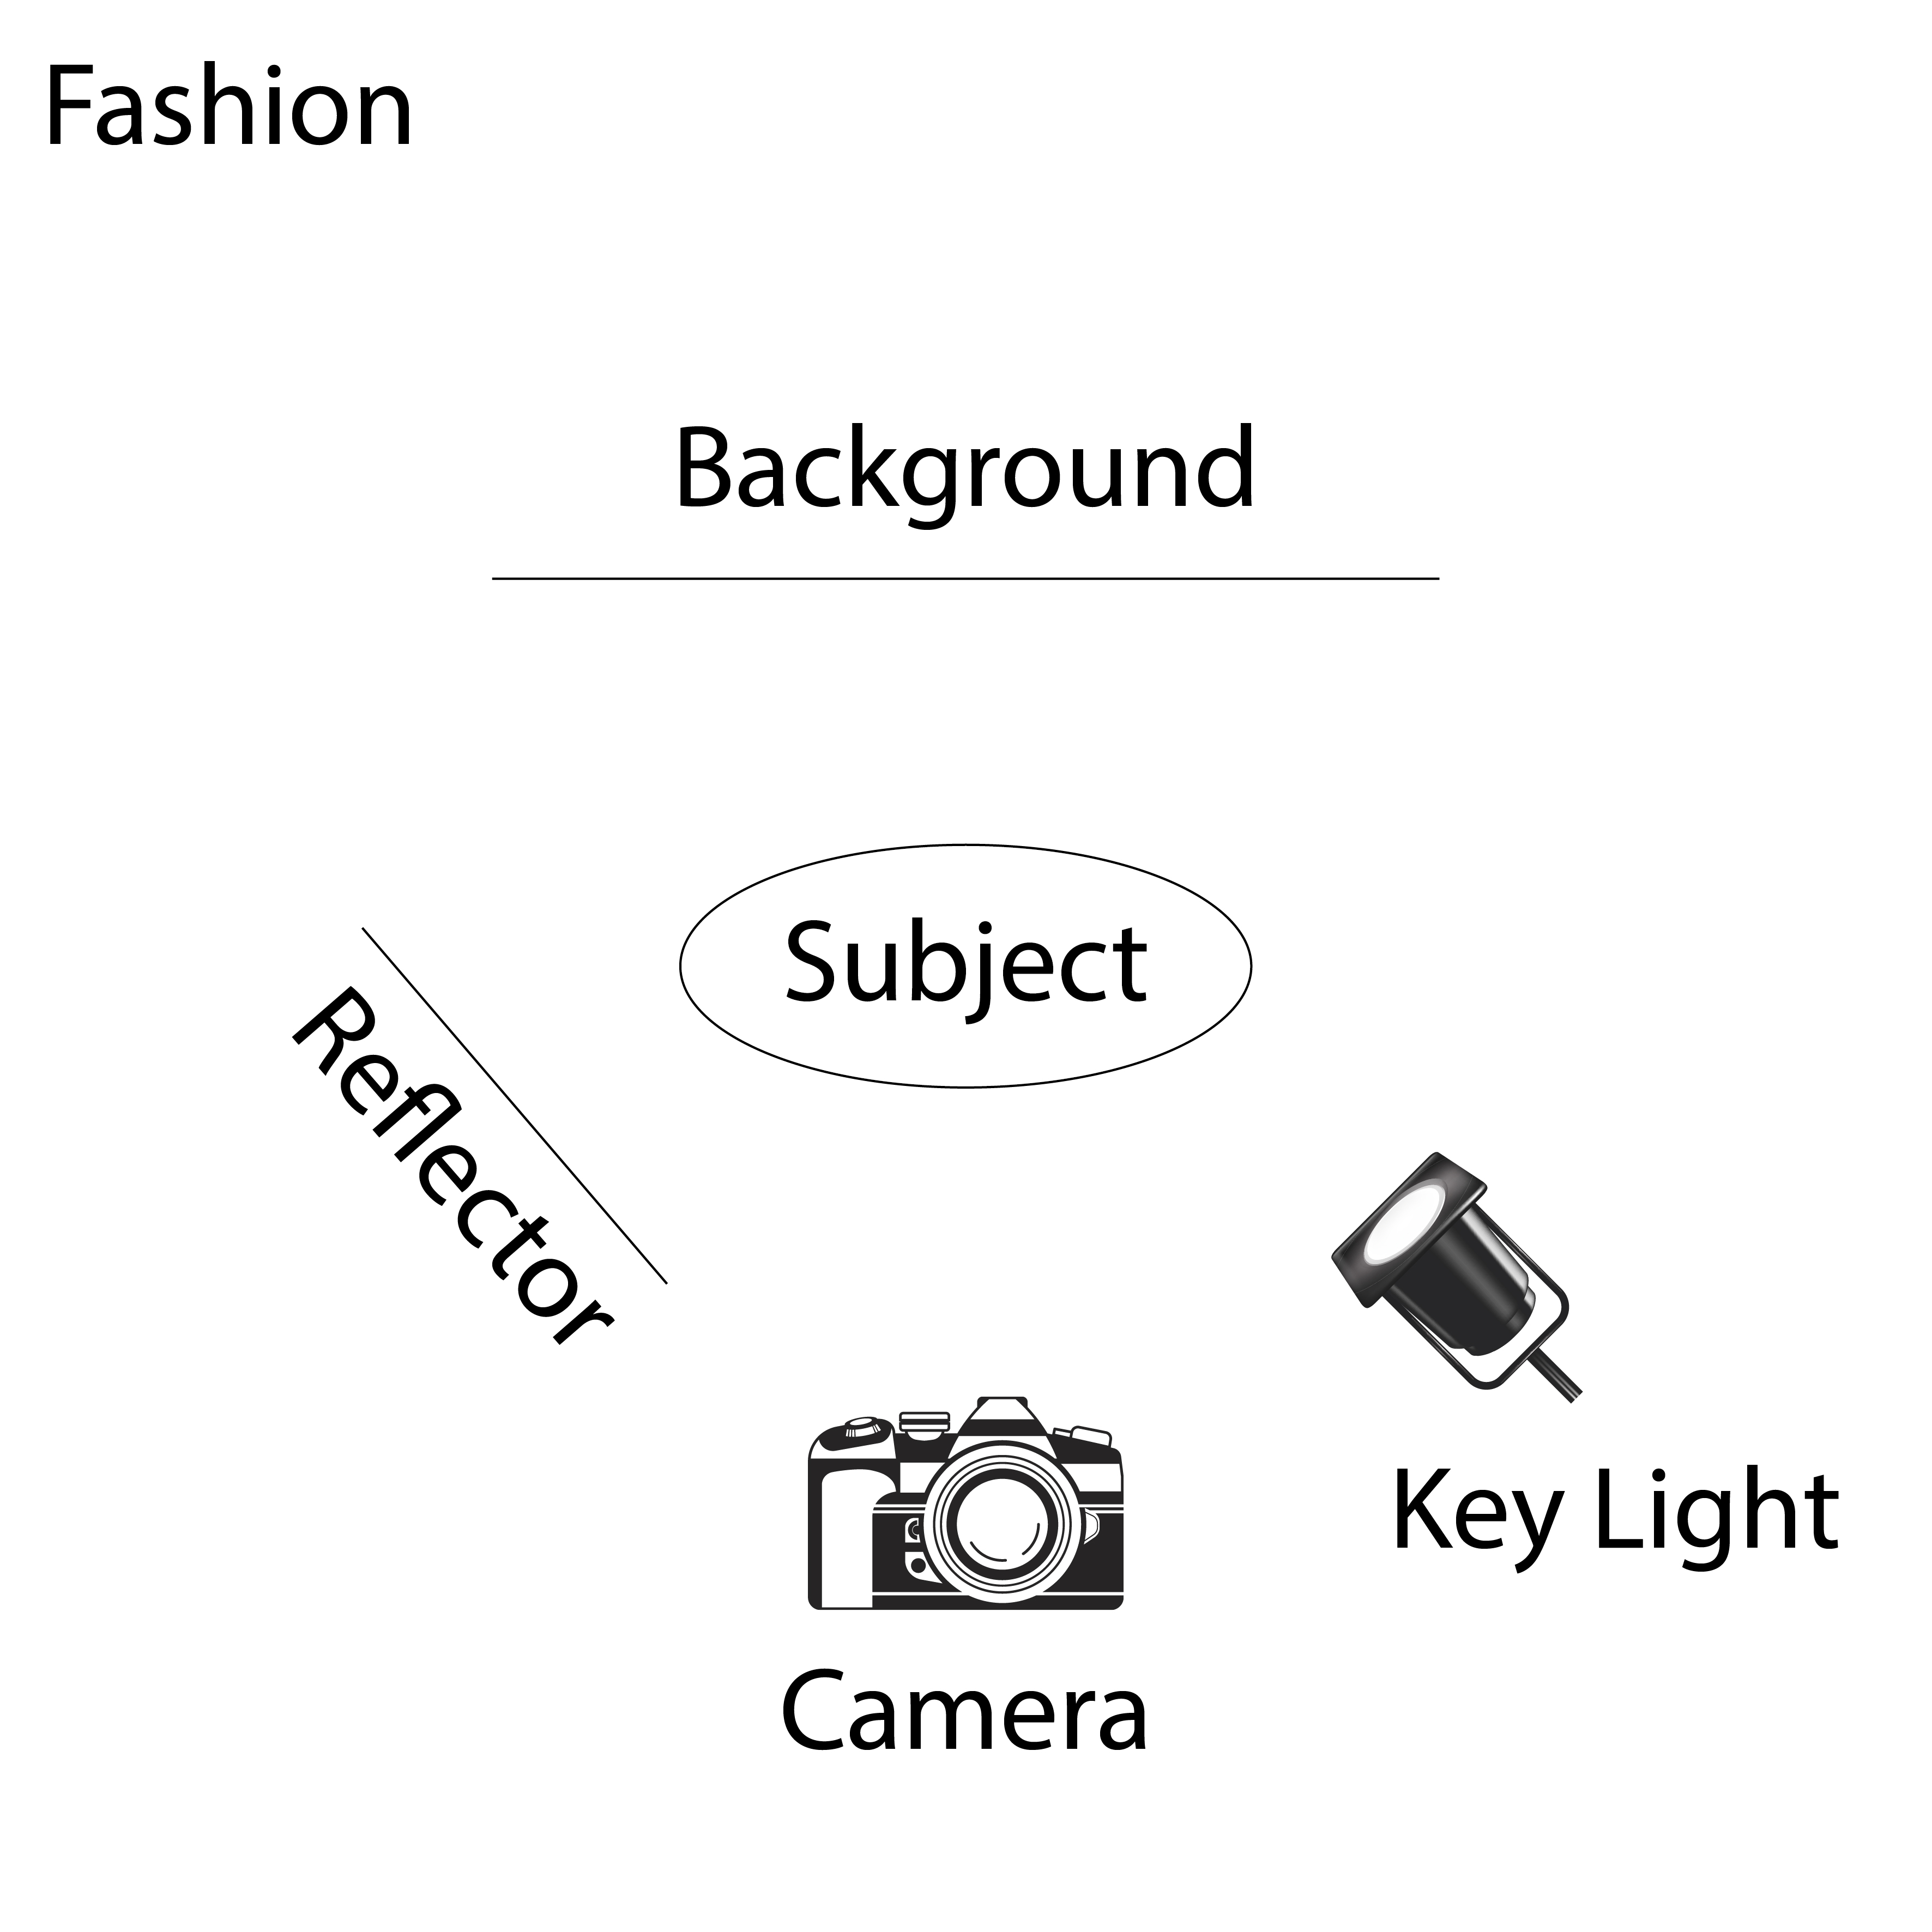
Fashion
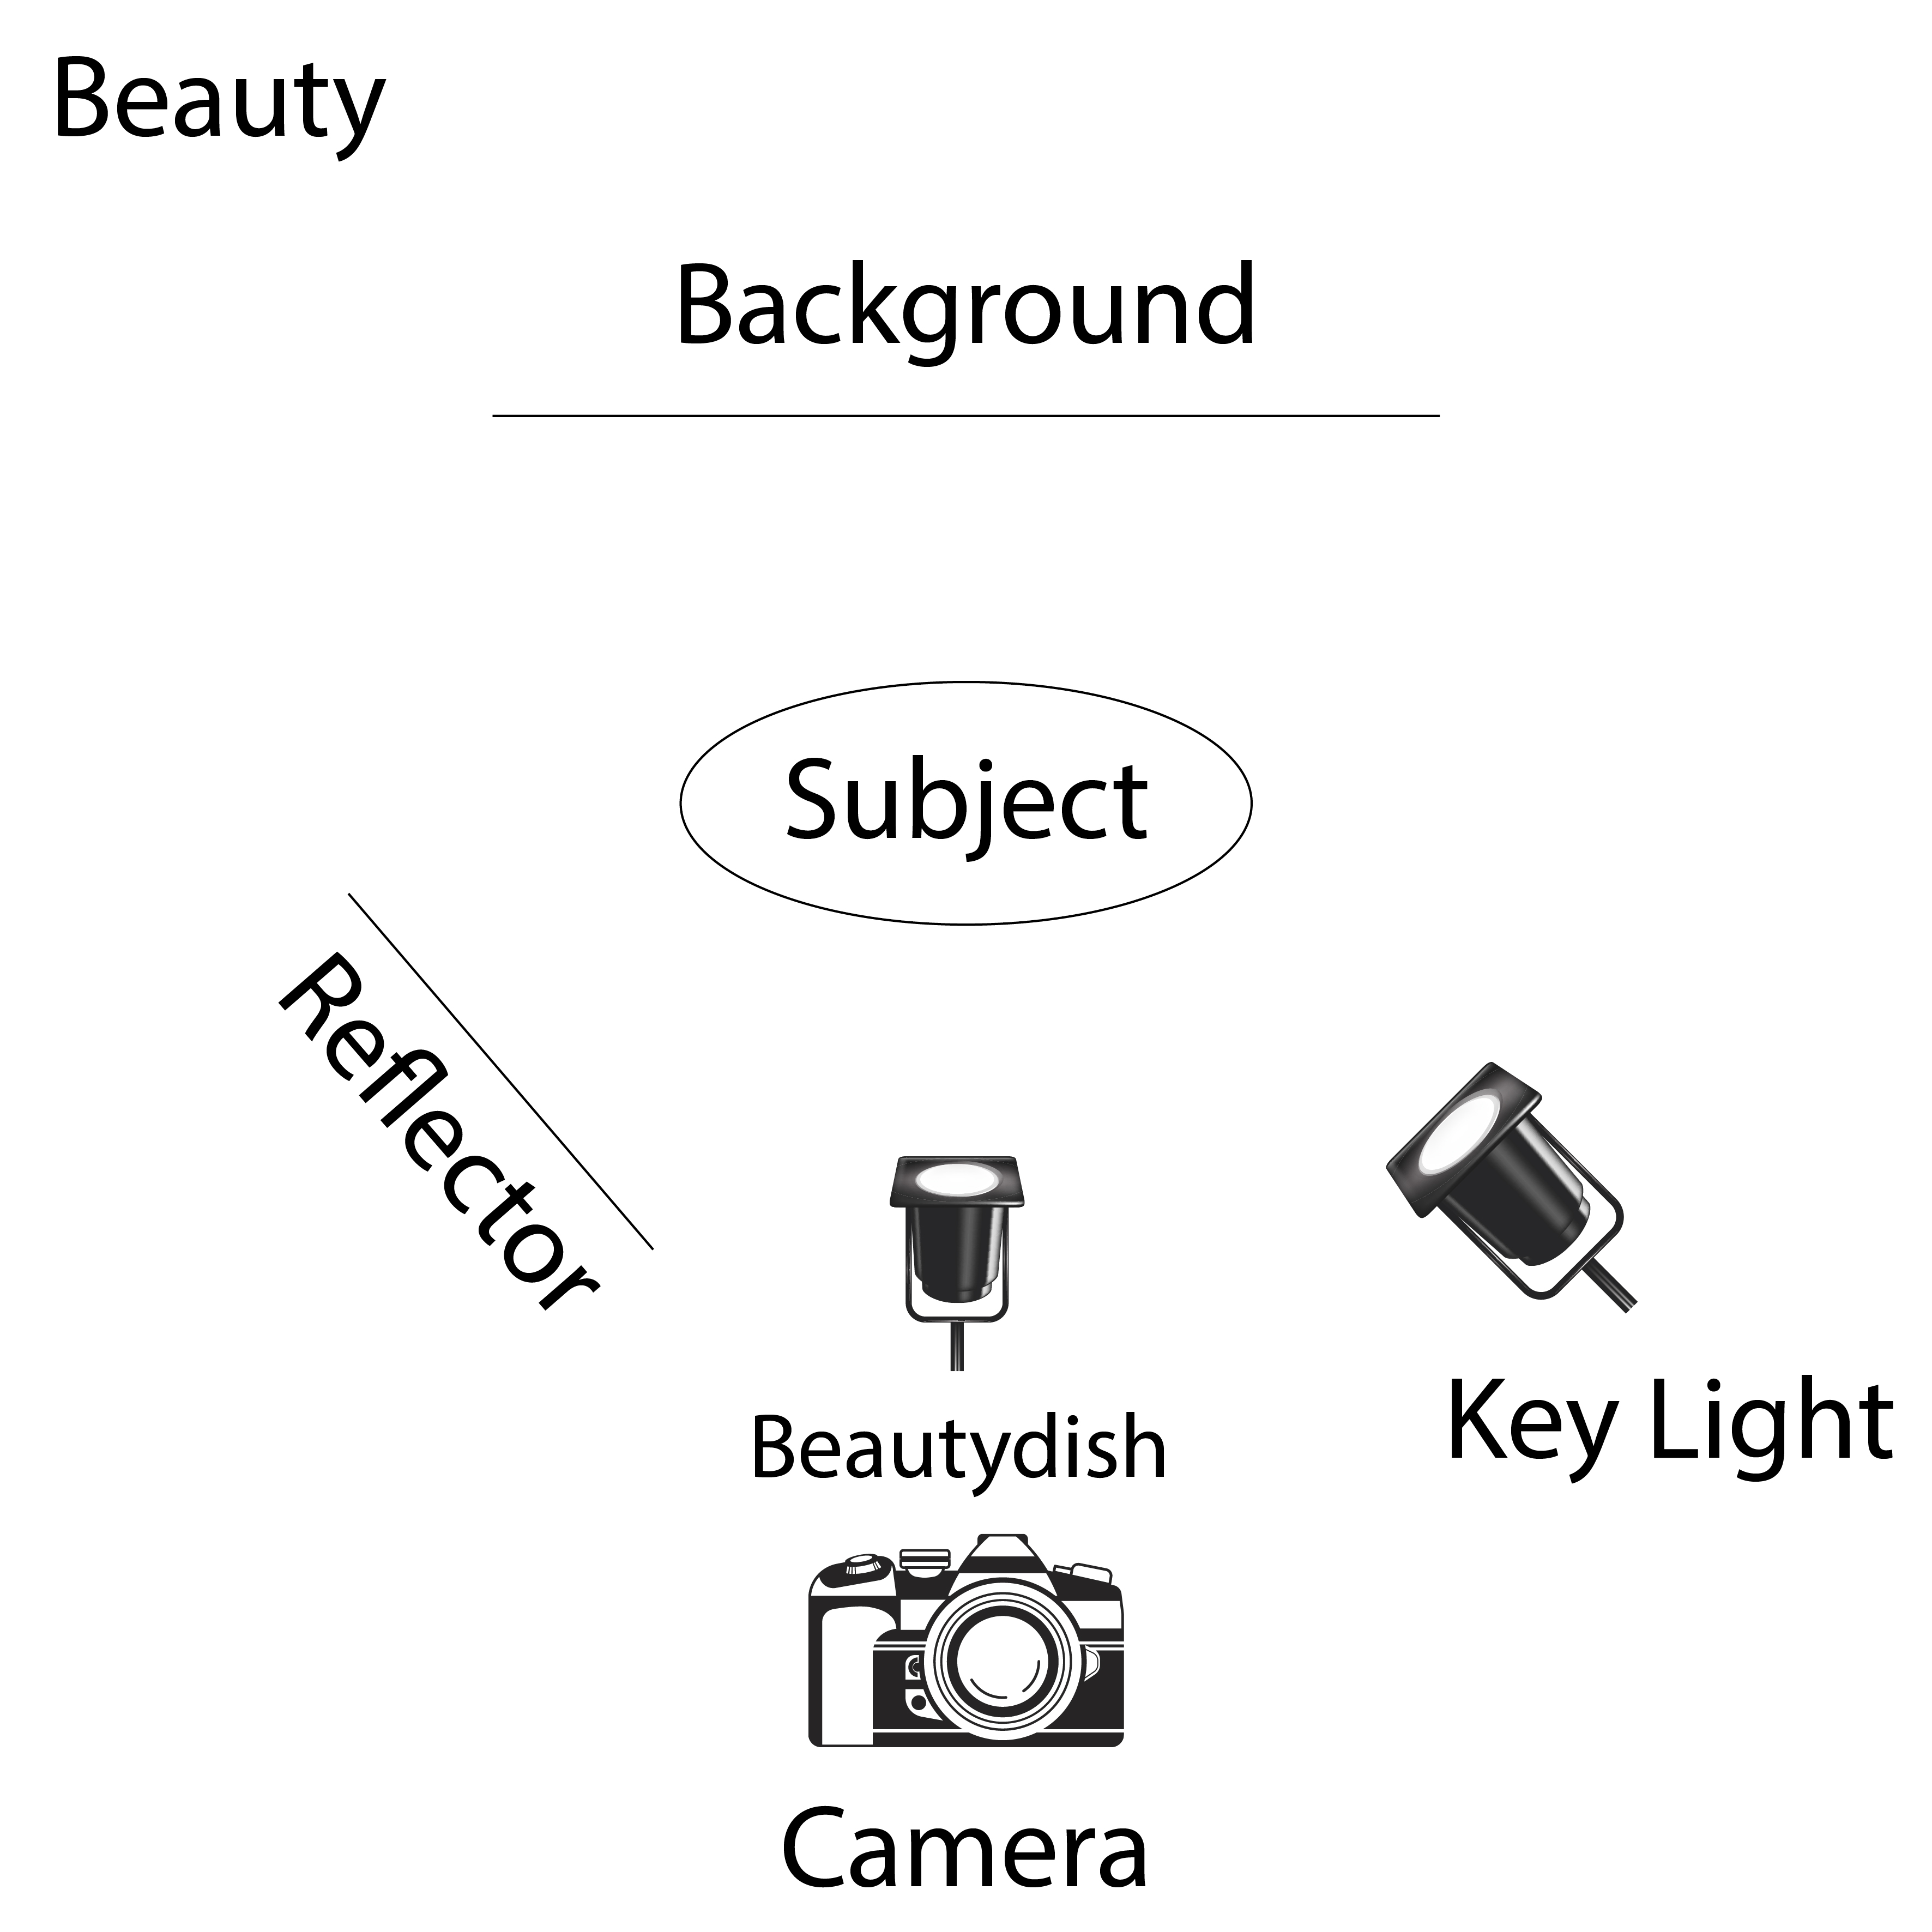
Beauty
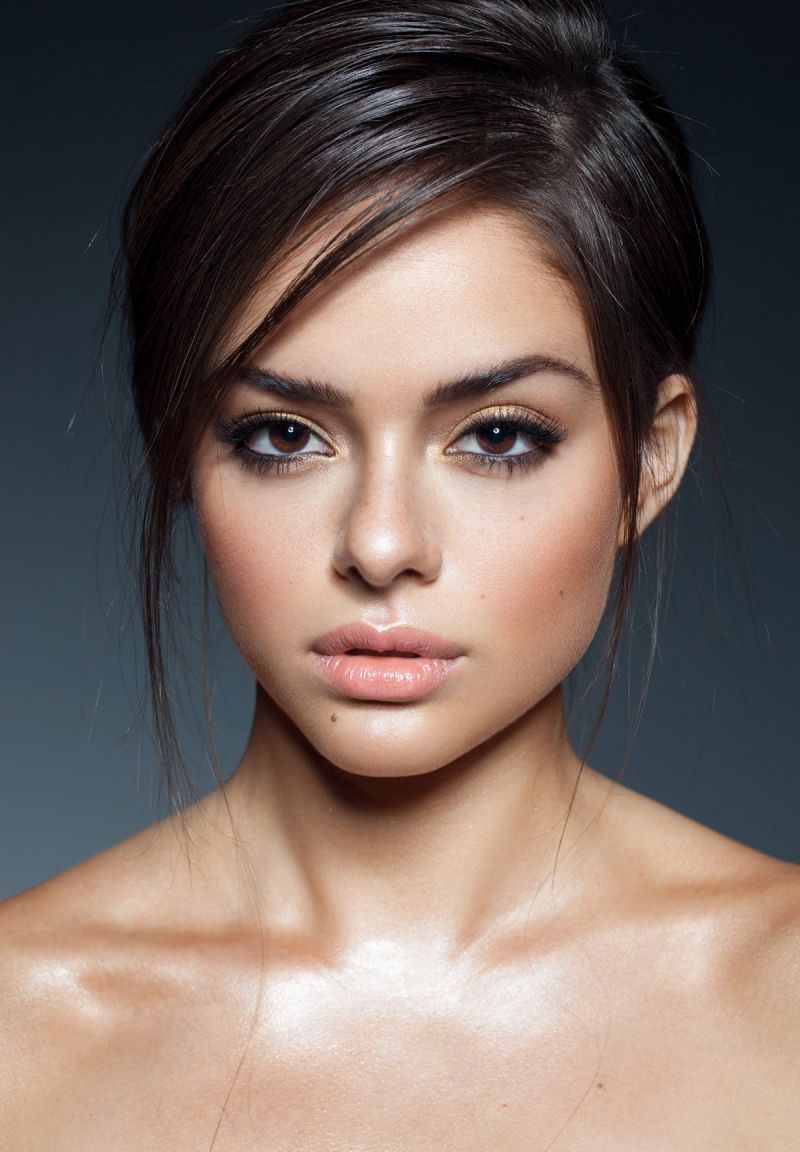
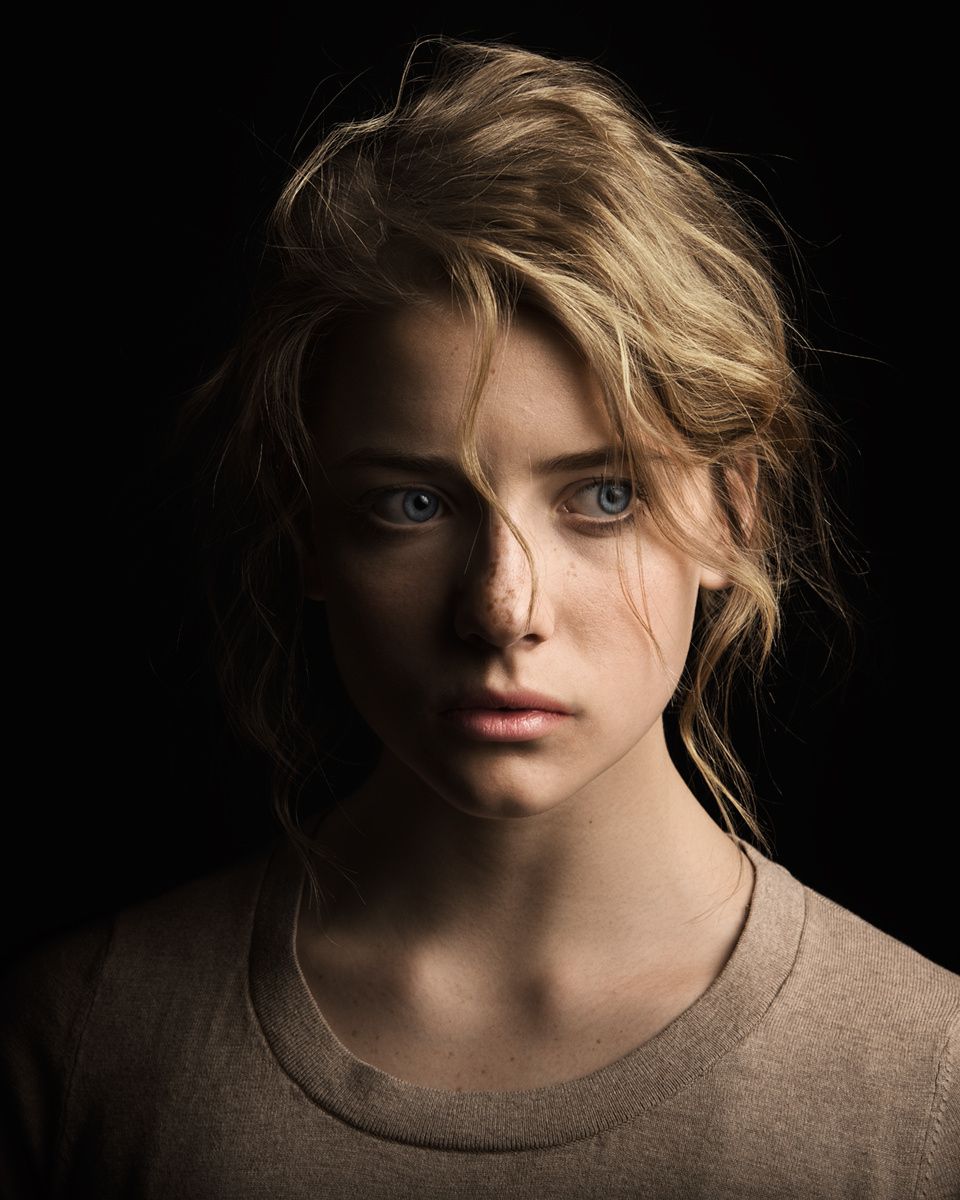
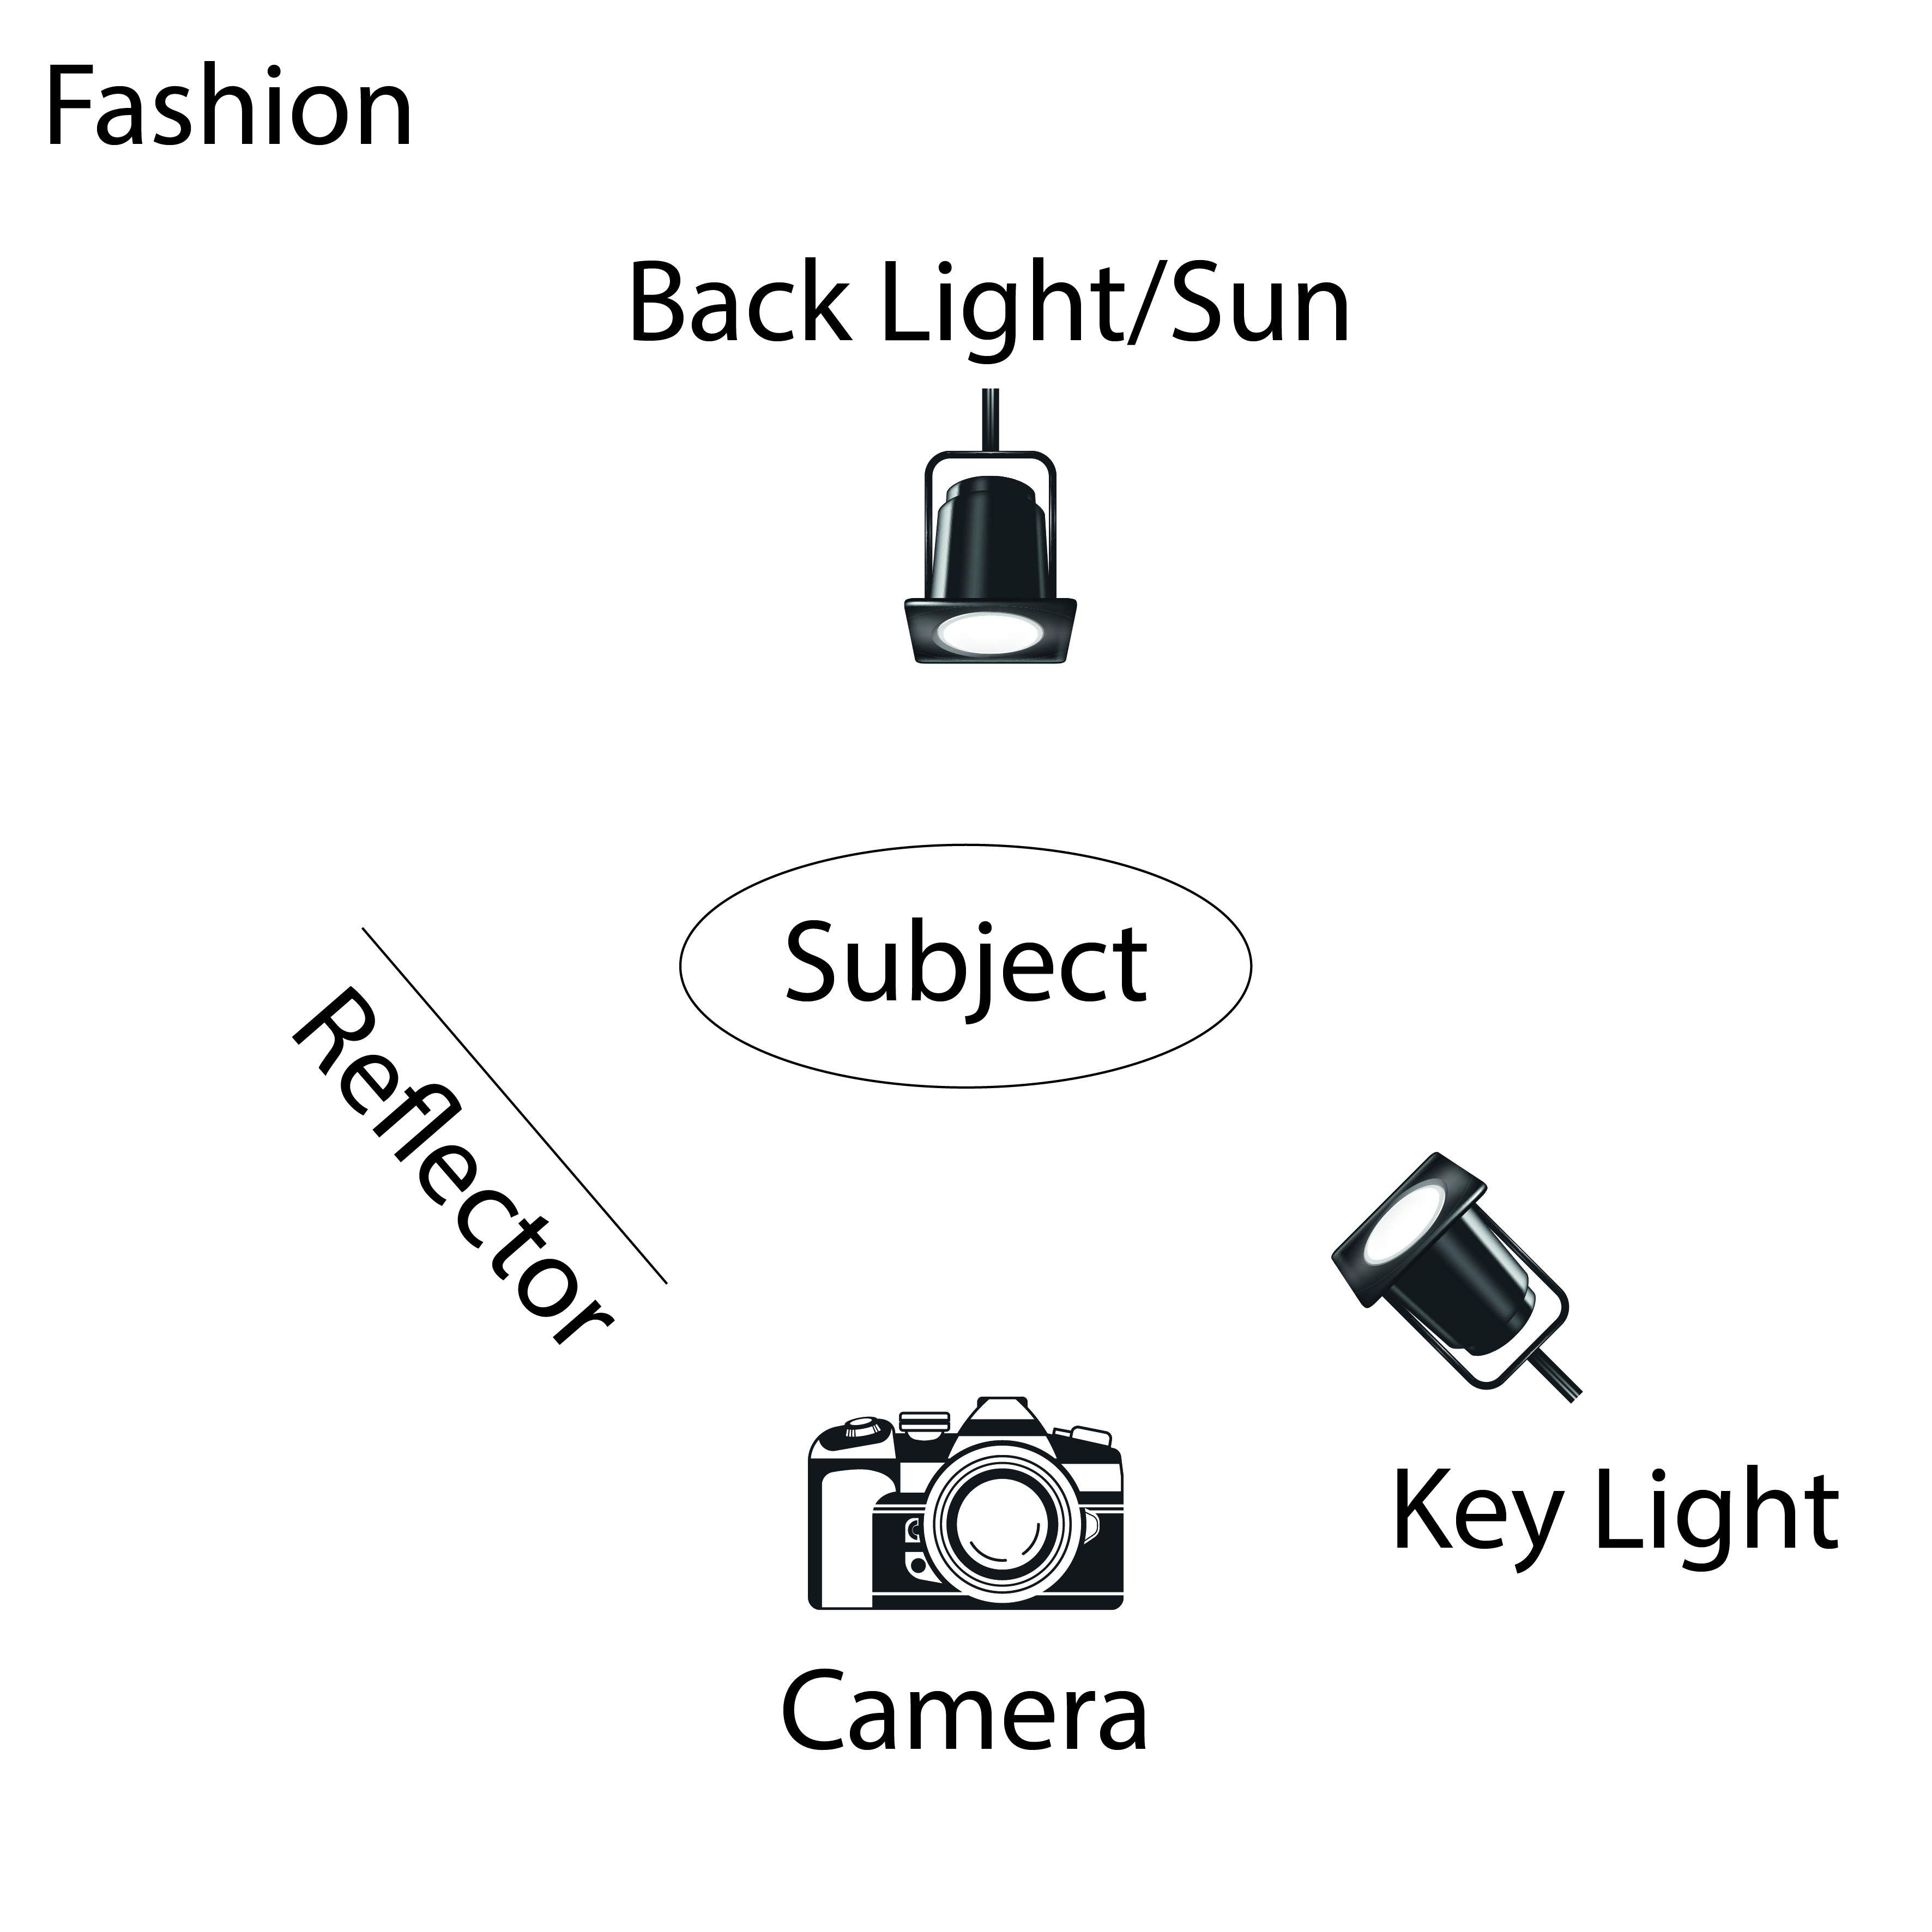
In a magazine or on the Internet, find one fashion shot, a beauty shot and a portrait shot and explain how you think the lighting was set up in each shot.
Question 3
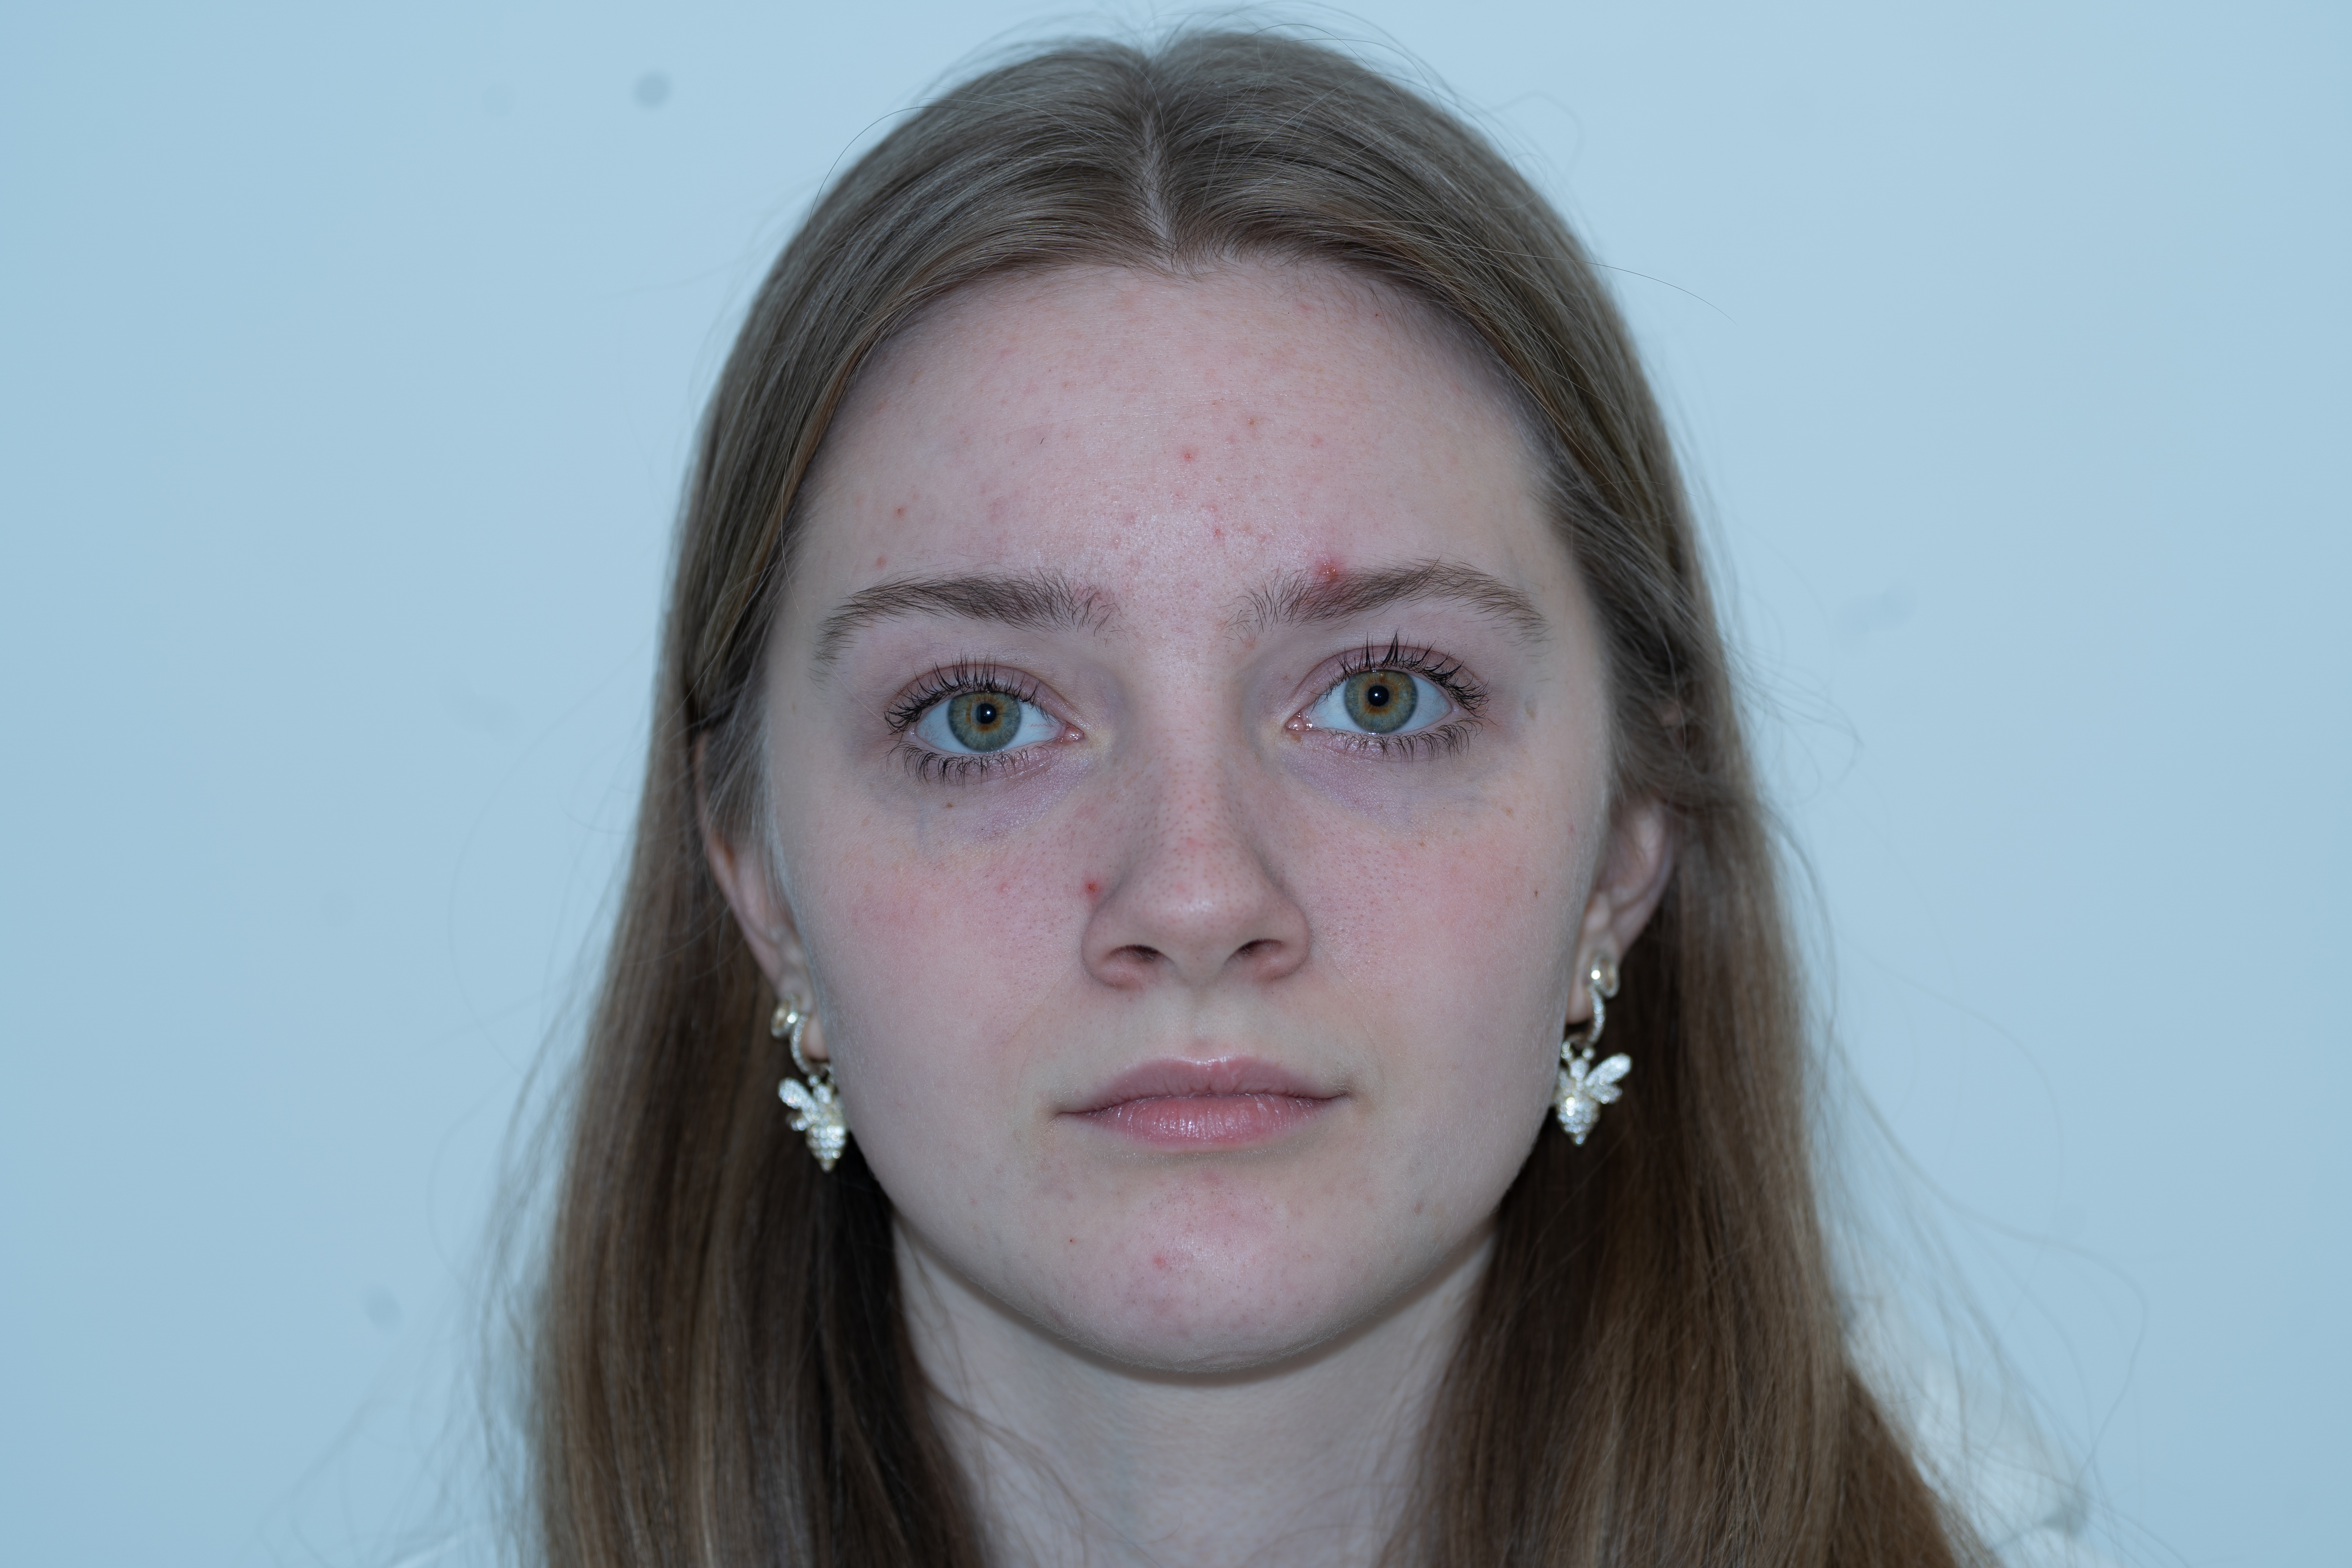
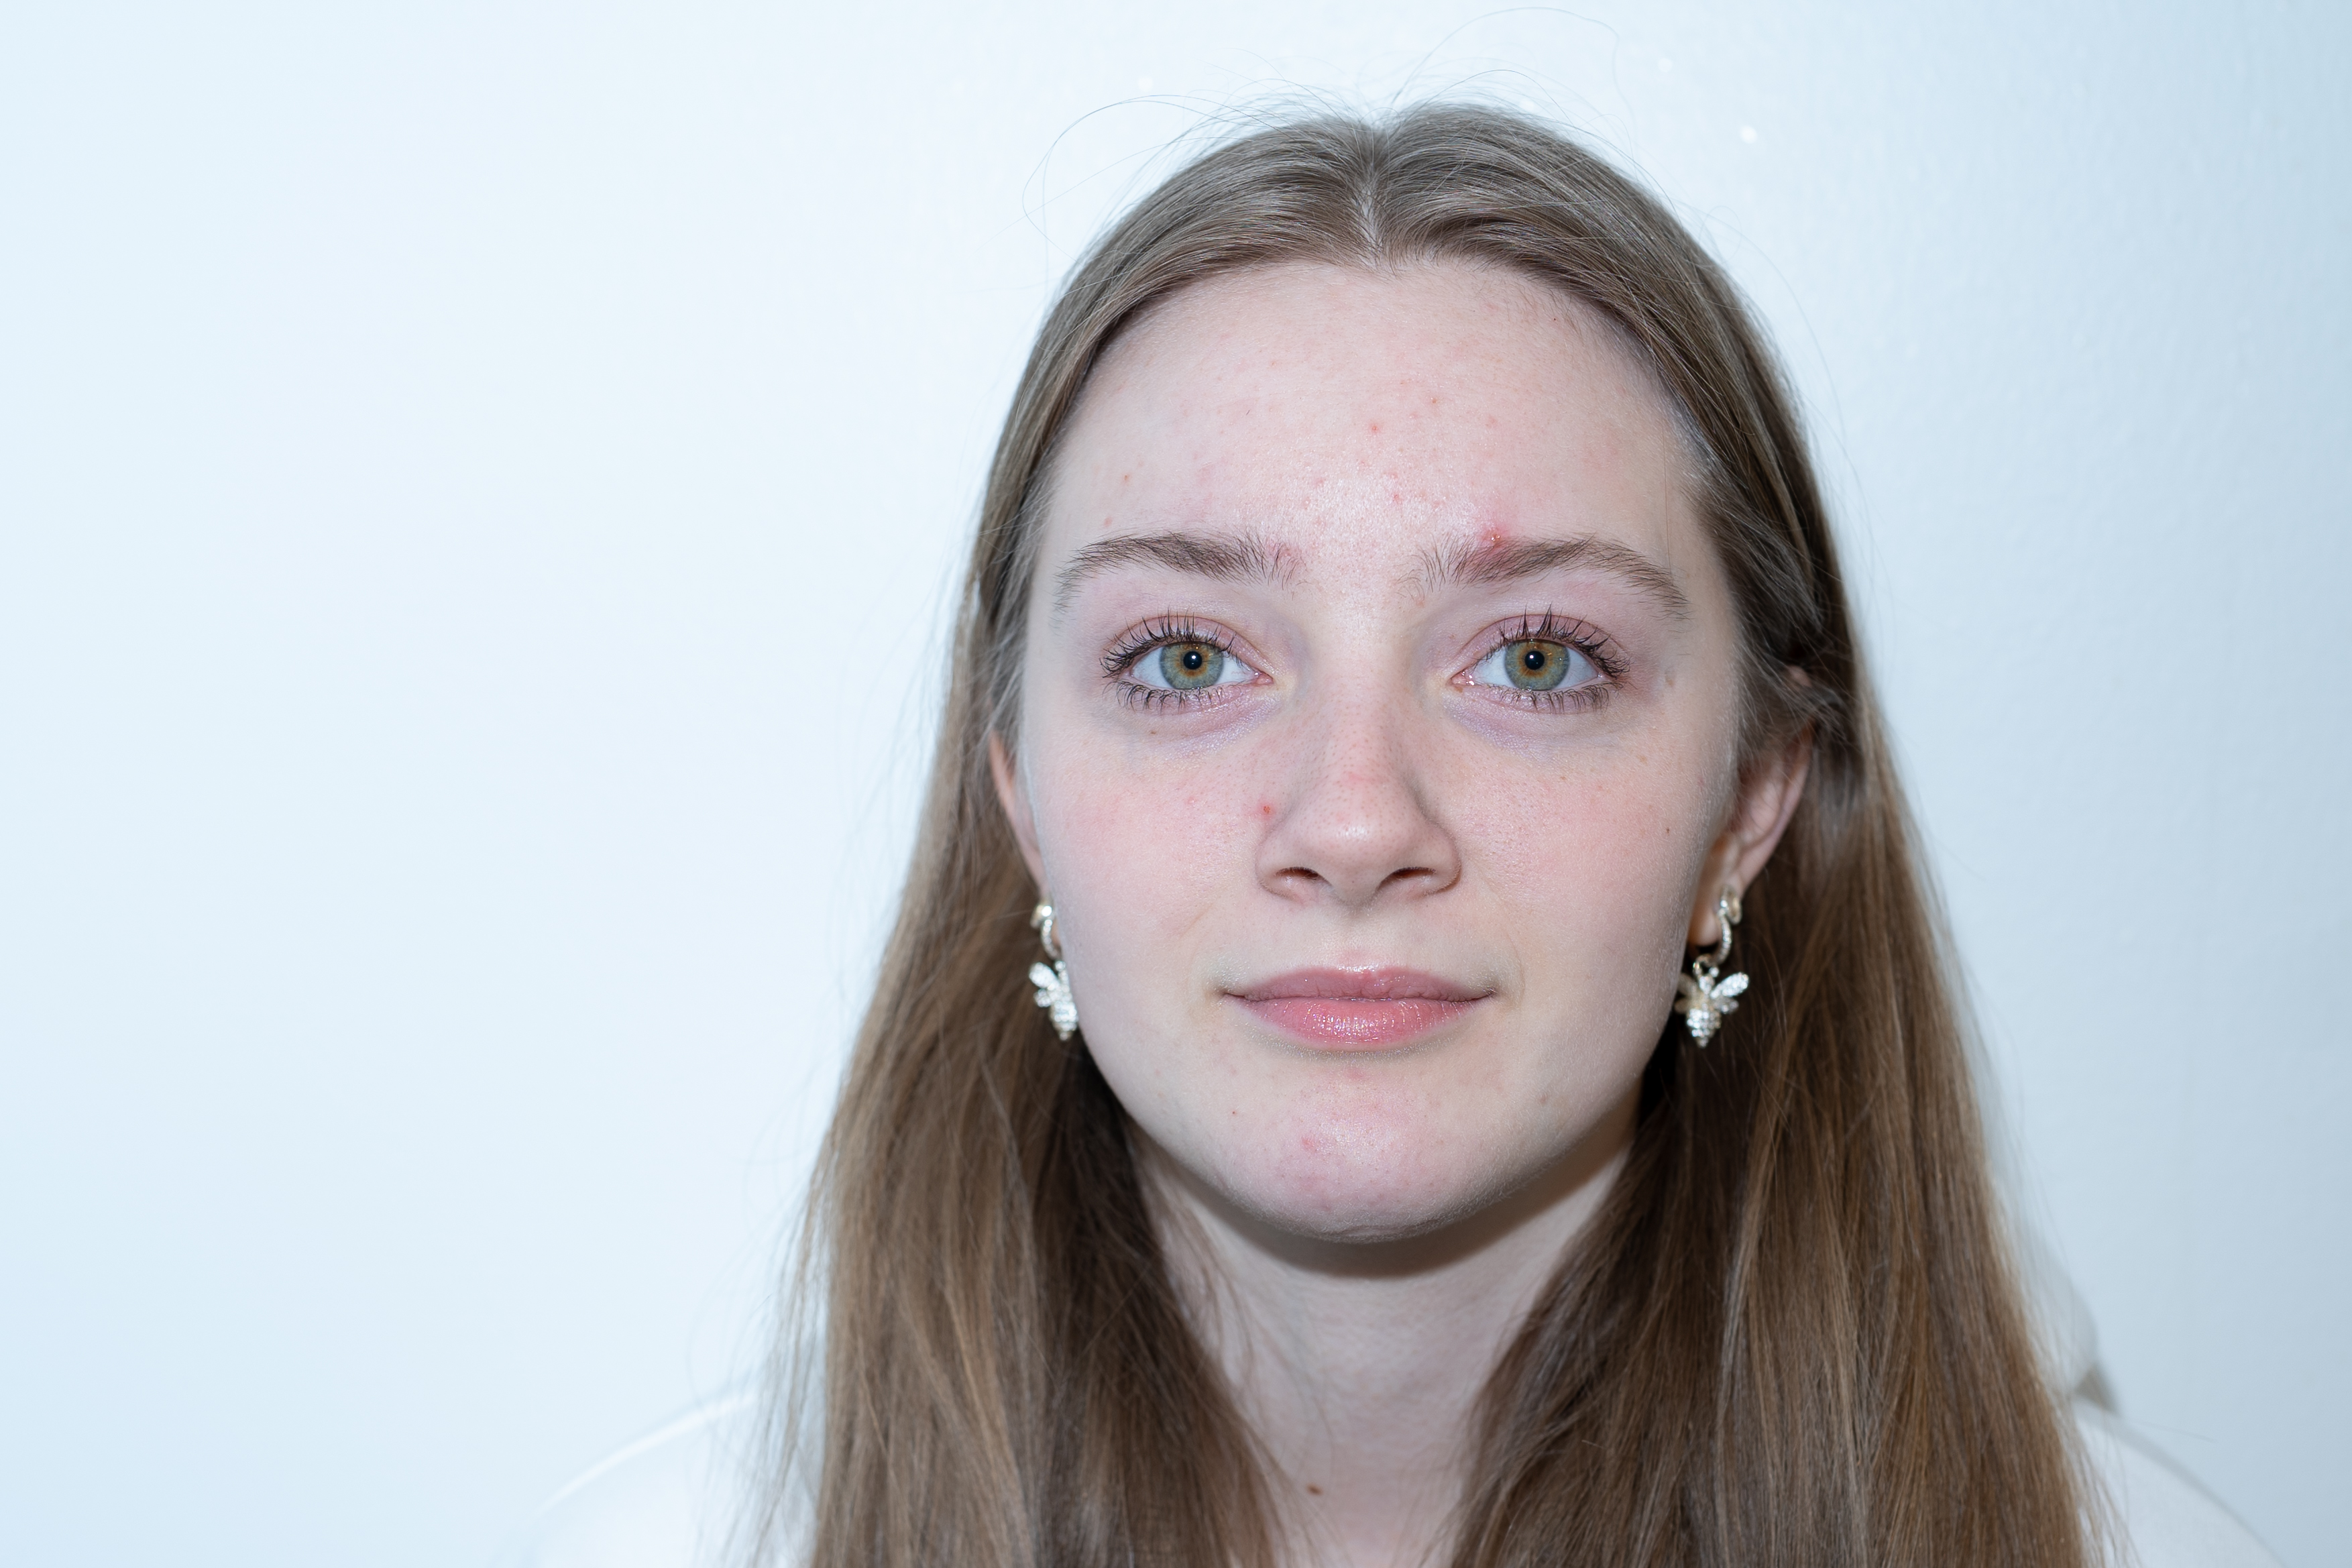
Take some portrait shots and pay specific attention to the lighting you use. Do one shot with soft lighting and one with more dramatic, harder lighting. It would be beneficial to hire studio lighting, but if you can’t, you may use natural light, reflectors and your camera’s flash.
Question 4
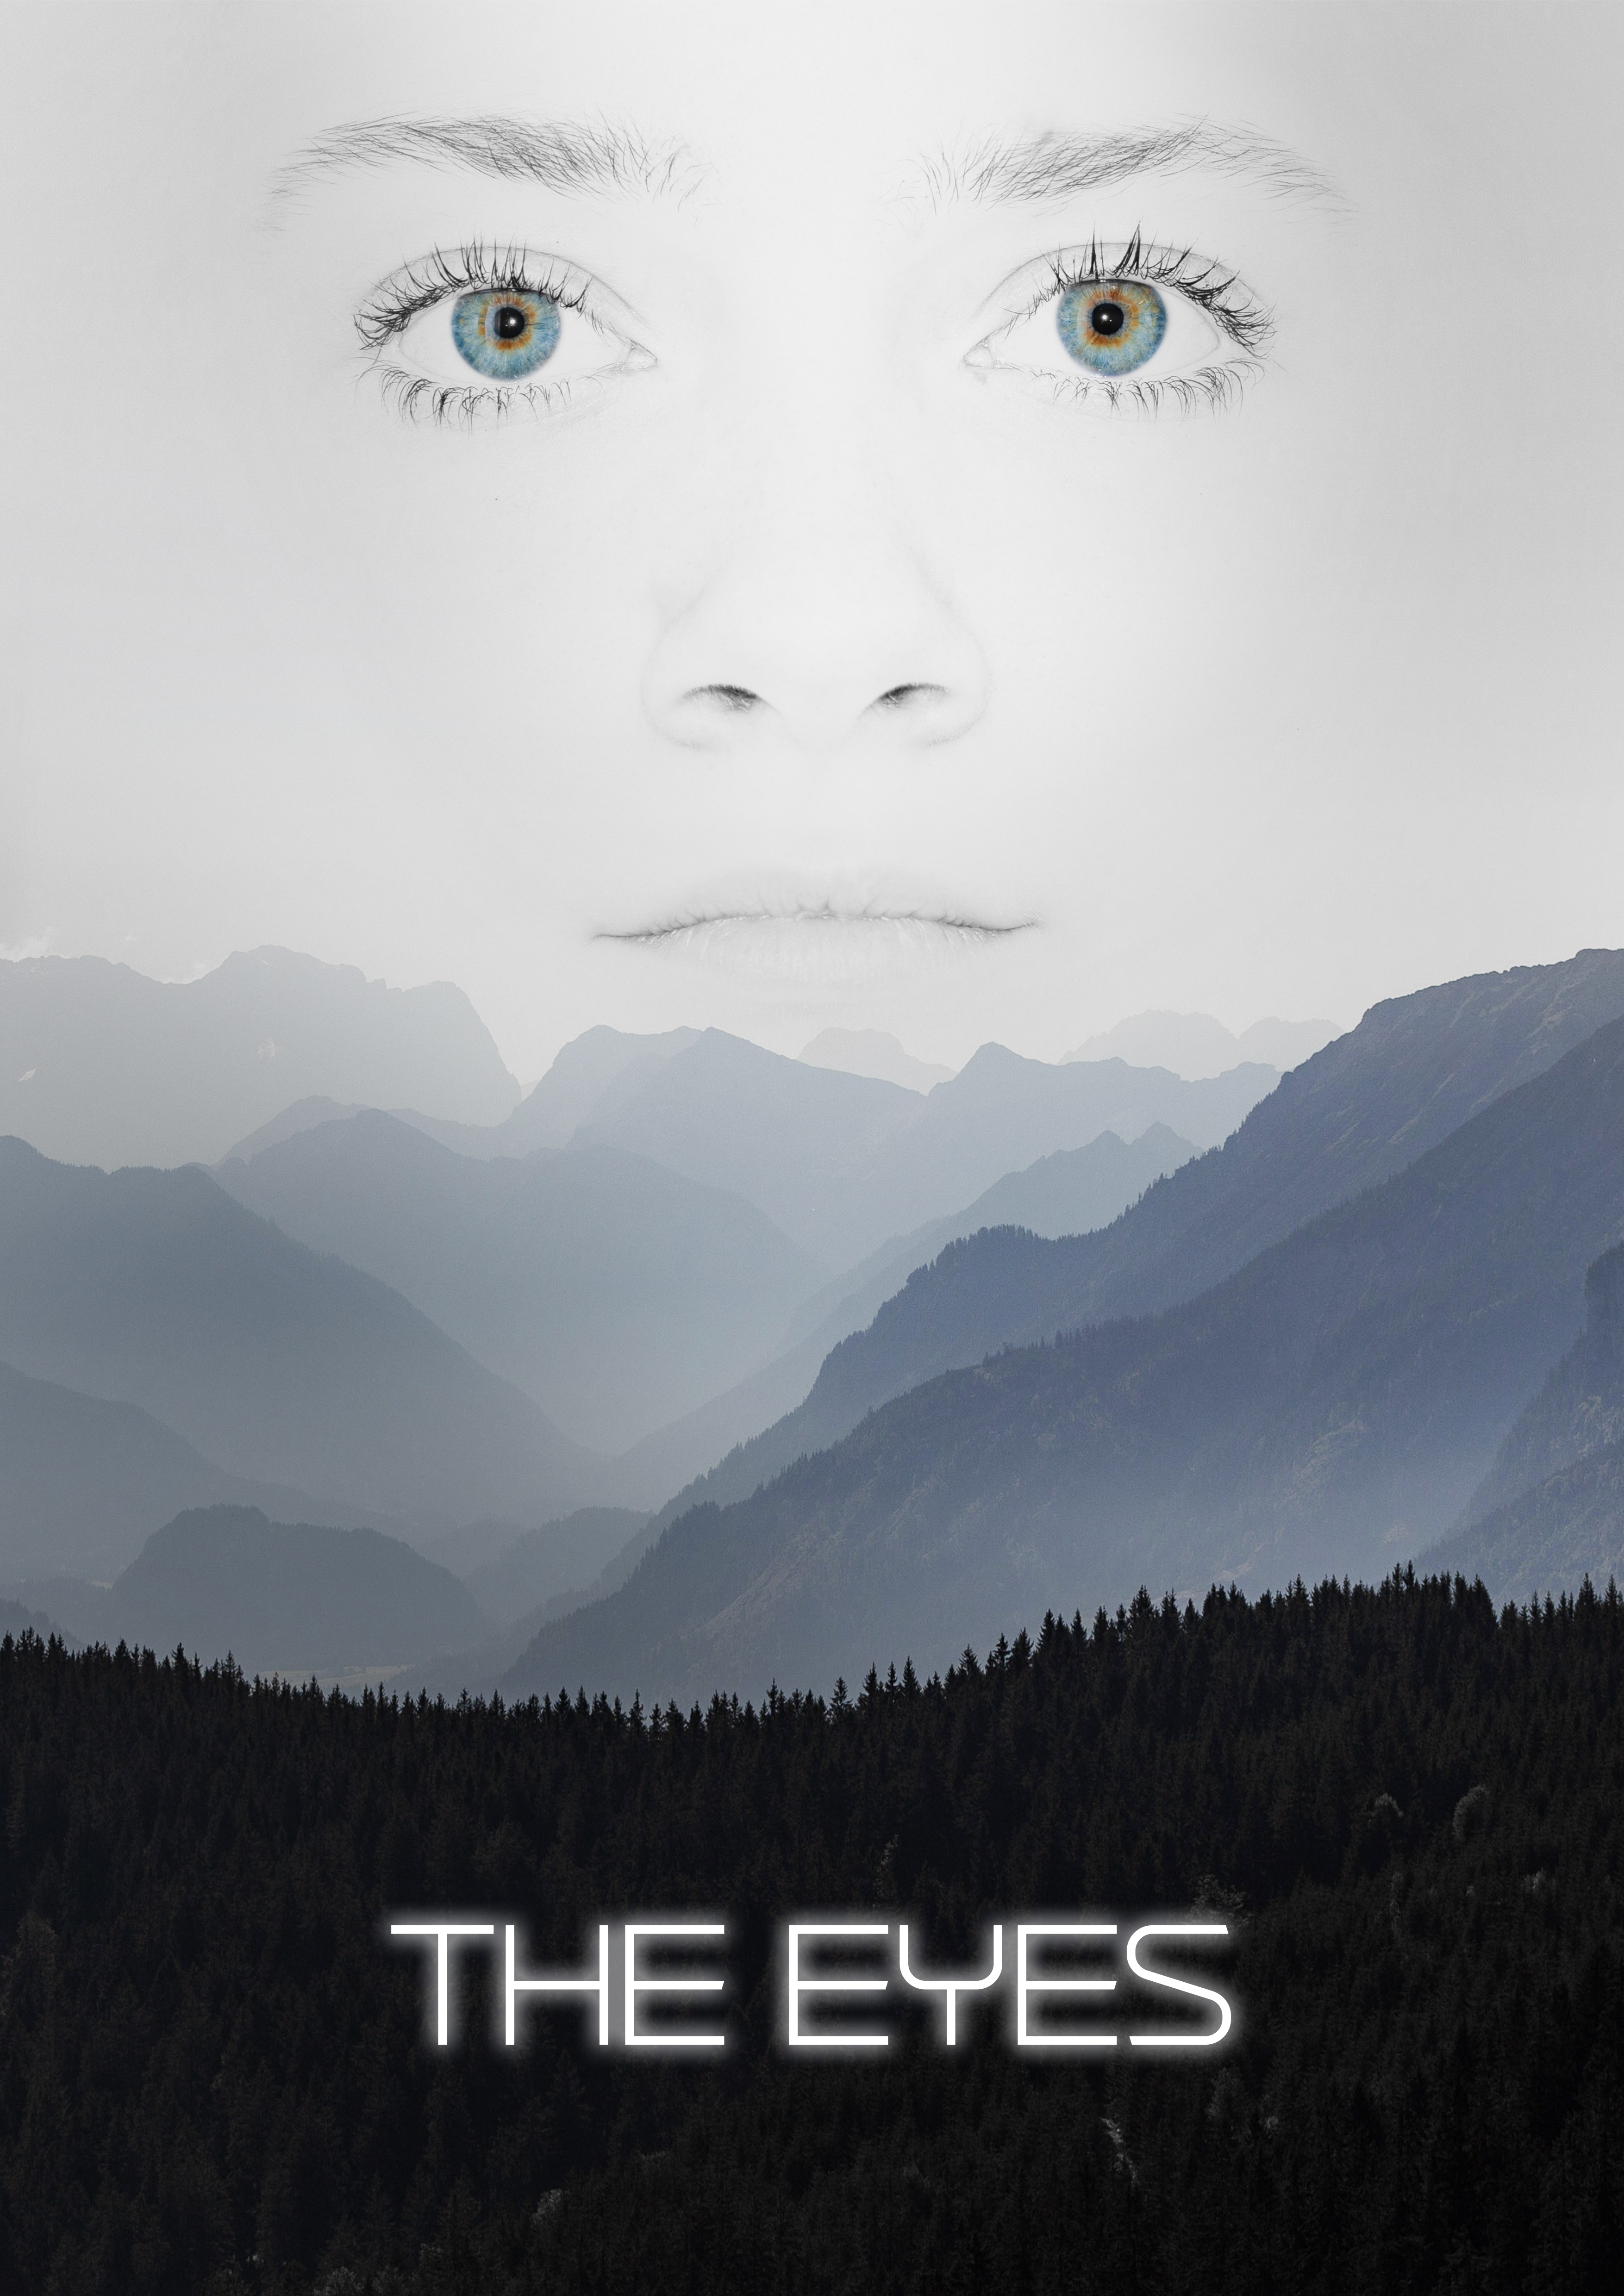
Choose a portrait photograph from the ones you took in Question 3. Create a unique movie poster for a fictional fantasy movie of your choice. Make use of different backgrounds and editing techniques you have learned.
Design a 5-page website or blog to promote your hometown (or any other place if you so choose). Present your design along with a strategy that explains the decisions you’ve made during the design process (keep the six steps mentioned in the lesson Web Design Process: Designing for Web (part 2) in mind). Remember, it’s important for us to see how you think, so explain why you decided to do things the way you did.
This is a front-end design lesson task. No coding or publishing is needed.
This academic week I’m a little behind on the schoolwork. I was sick for a week and a half, and after that I’ve been super tired and haven’t had any energy left after work. And that has also made me so unfocused! So, I have done the most important stuff, but I have some hours left on LinkedIn learning.
I’ve made the design on this LT, but haven’t done the written part of it. But I have it up on my bulletin board so I will come back and do that later on. Hopefully the next week or so, since we are starting on photography again I think I can manage to get the rest of this week done.

Copy the exact content from a homepage of a website of your choice. Now redesign this homepage in three different ways. Each design should evoke a different emotional response from viewers. You can choose what you would like these emotional responses to be.
Please upload this activity to your WordPress blog along with a short paragraph where you explain the look and intent of each of the three designs.
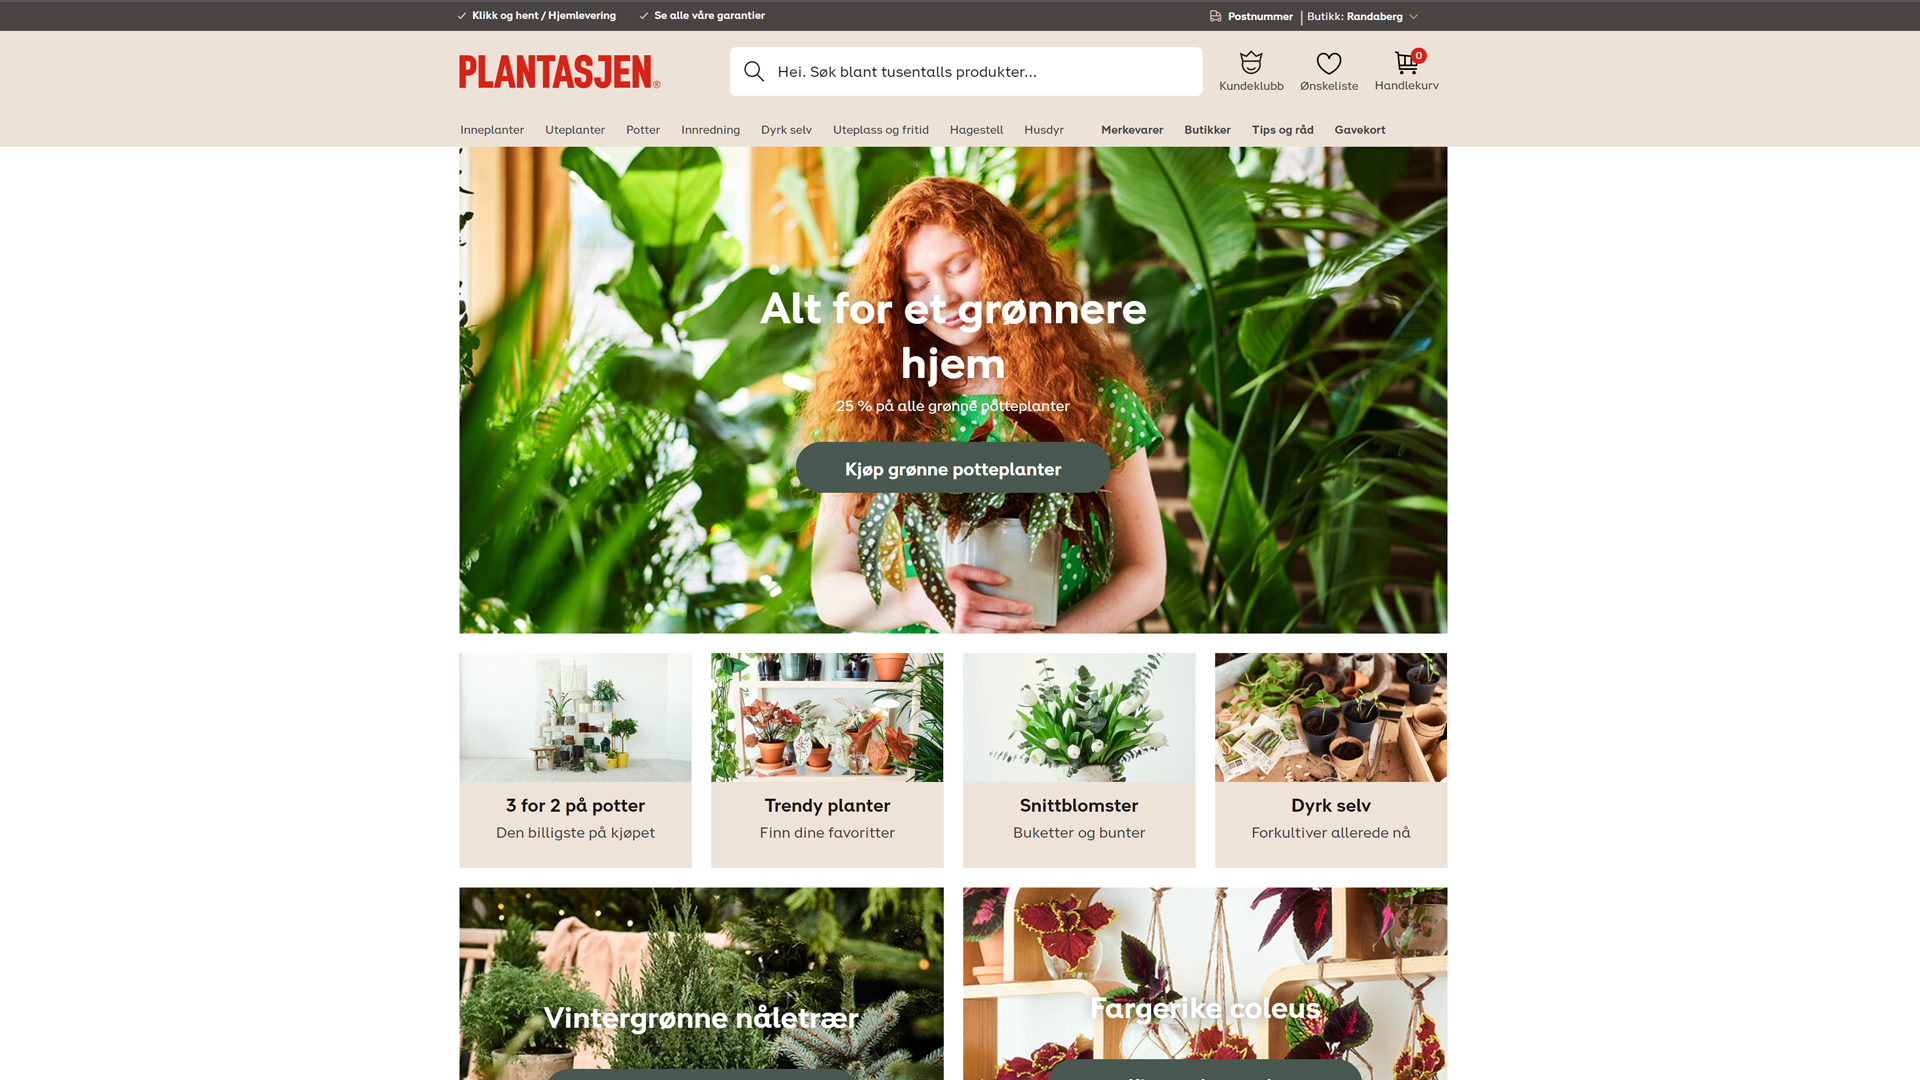
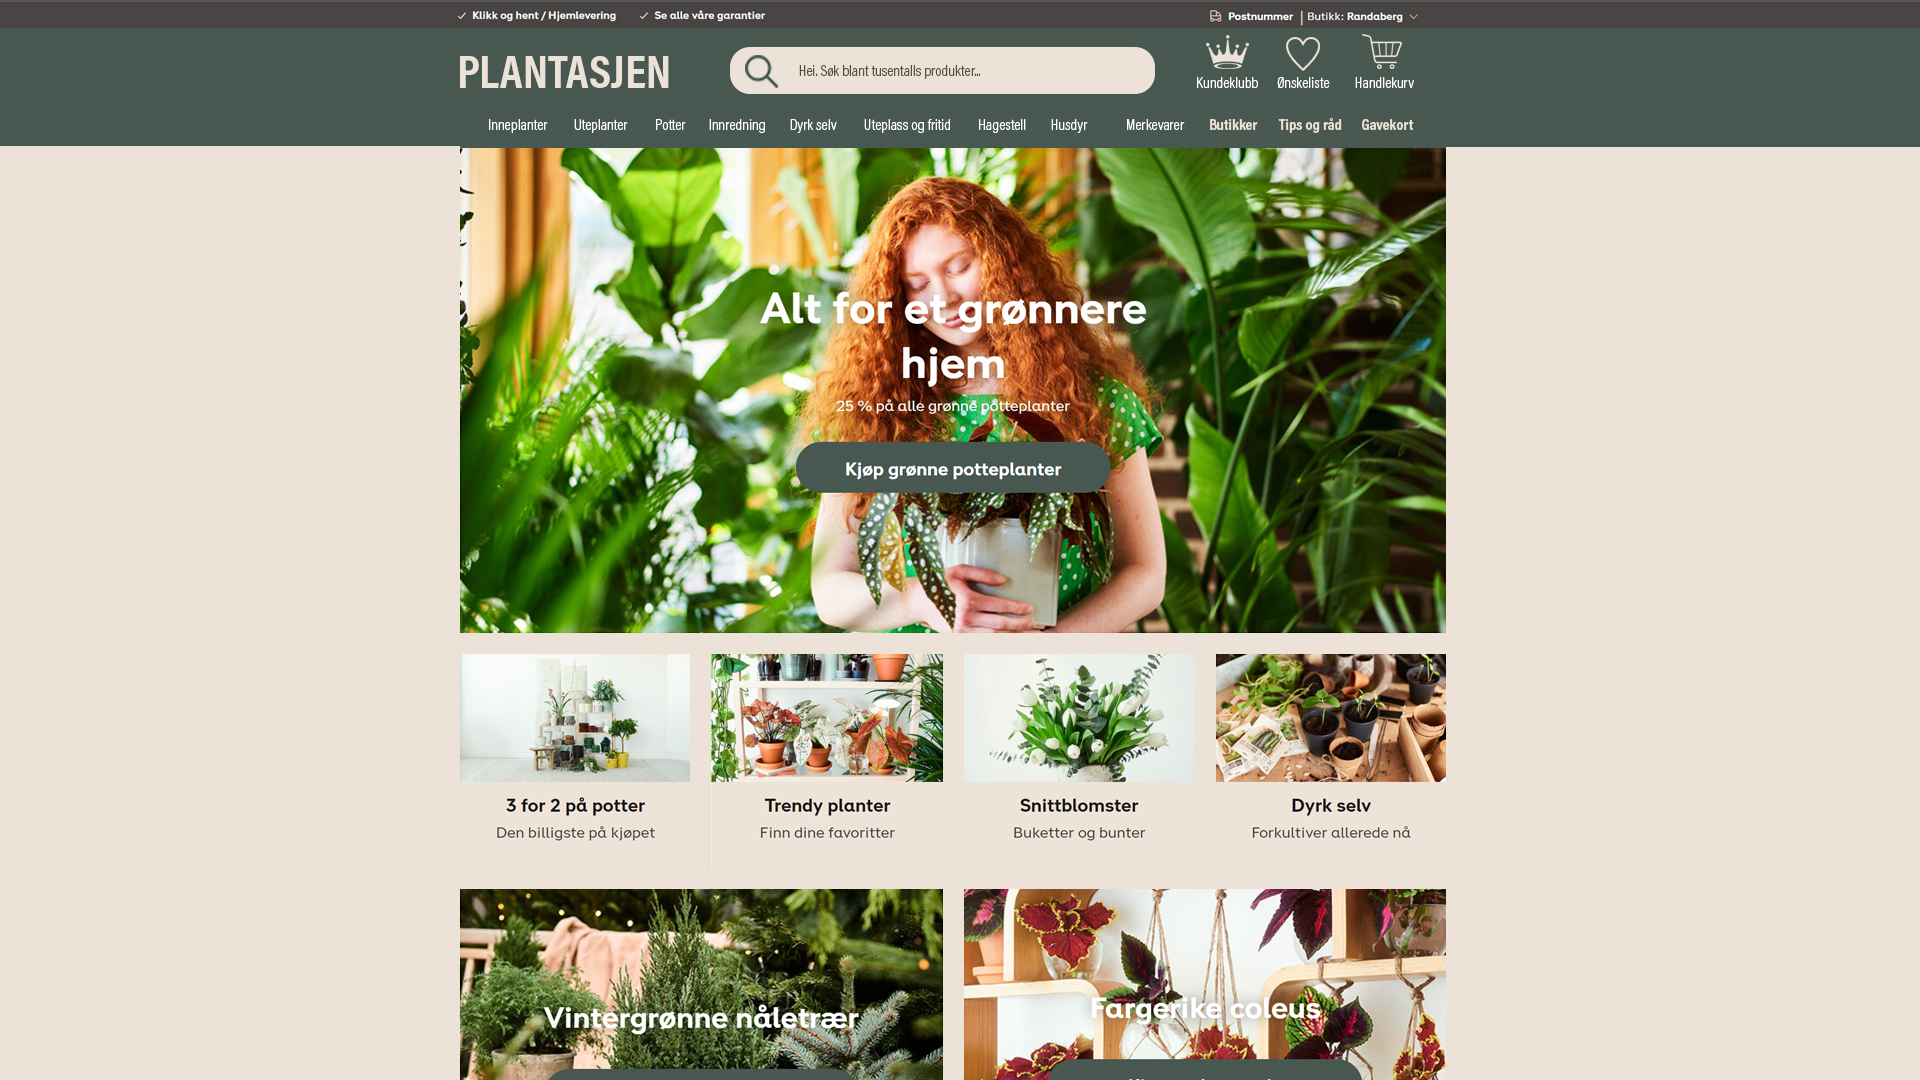
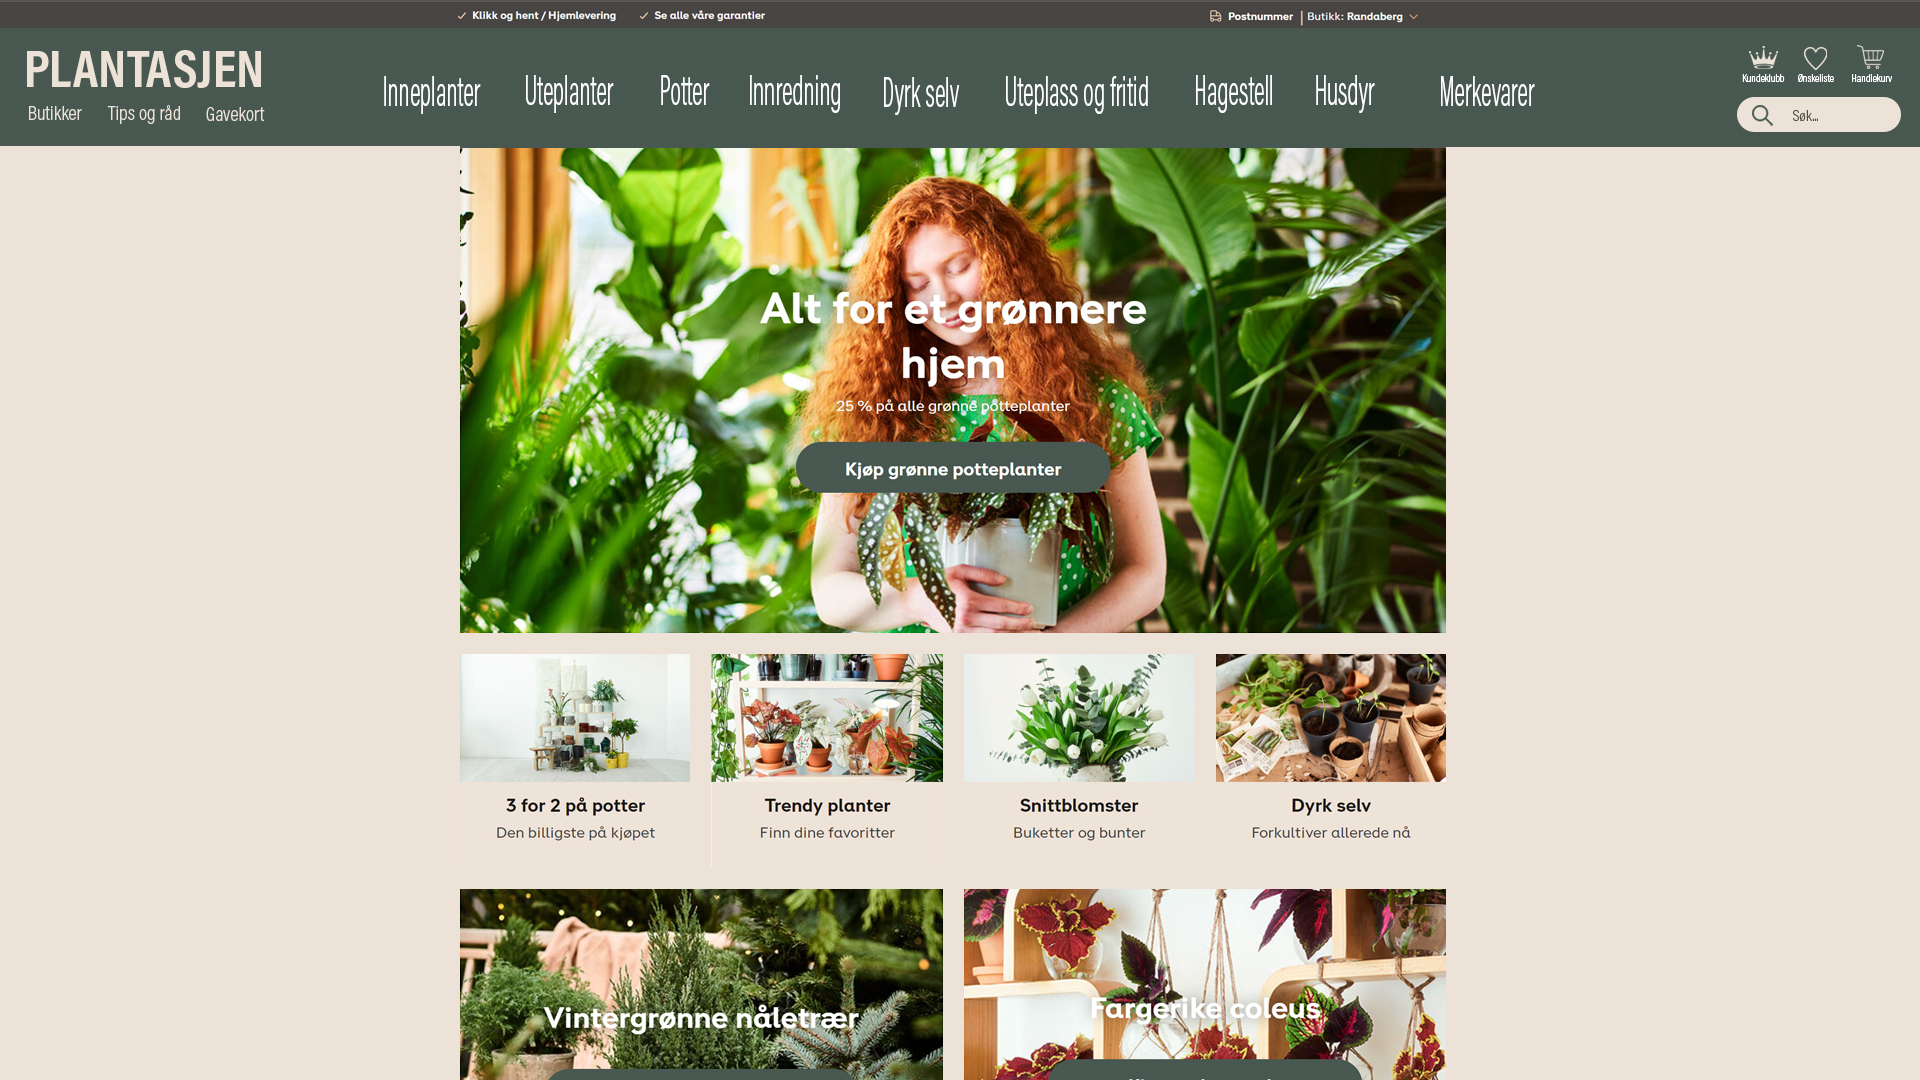
I chose to copy plantasjen.no and redesign this site. To be honest I didn’t used as much time as I should have done because I’ve been sick the last week and haven’t had energy to use a lot of time on it.
So here is the original design and the three redesign I made. I kept the colors that was already on the page. But I styled it three different ways with the colors.

This lesson Task is to acquire your own hosting service. This hosting service will be needed throughout the rest of your studies, and this Learning Activity is therefore mandatory.You are free to choose any hosting service in the world. If you find it difficult to find one, we recommend one.com.If you choose one.com, the monthly fee is low. The beginner plan is sufficient, and there are step-by-step guidances to setting up the account, creating e-mail addresses, connecting via ftp etc.By acquiring the web hosting yourselves, you get (depending the hosting service):
Consider your domain name very carefully. This cannot be altered. (You can of course sign up for other domain names and delete the one you have, but “getting it right the first time” saves you a great deal of trouble.)
I already have my tinahetland.com domene, but I have some problems with one.com with that domene. So I made one more just to do this task right. That new one is hetiart.no