GD2 – AW28 – Techniques & Advanced Motion Design

MA05

GD2 – AW27 – Motion Fundamentals
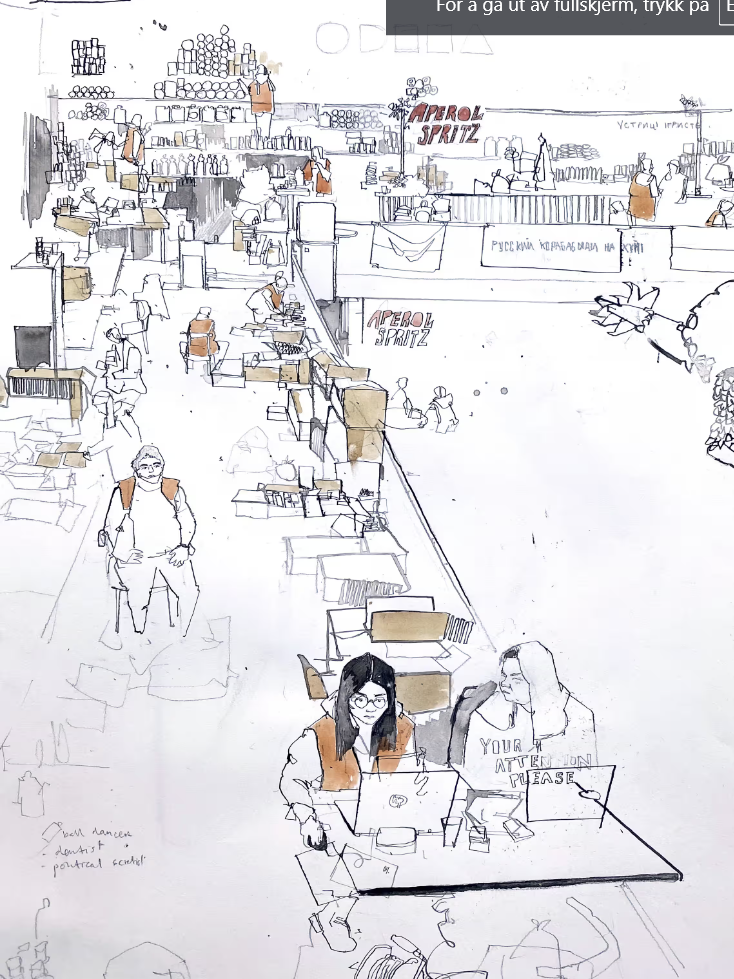
LT 4.1 Timing, spacing and easing

LT 4.2 Arcs, smears and squash and stretch

LT 4.3 Mass, weight and anticipation

LT 4.4 Drag, overlapping action, and follow-through and exaggeration

MA04

GD2-AW23 – Preparing for the Workplace

1.2. Lesson task – Setting up a portfolio

The task
Browse the Internet for various portfolio platforms and decide which option will work best for your needs. Here’s a list of current popular ones:
  • Behance;
  • Dribbble;
  • Adobe Portfolio;
  • Carbonmade;
  • Squarespace;
  • Coroflot;
  • DeviantArt;
  • Crevado.
After you’ve made your choice of platform, upload one or two projects you want to include in your portfolio.


I chose Behance to start making my portfolio. I’ve added two project for now.

Click the image to get to the portfolio

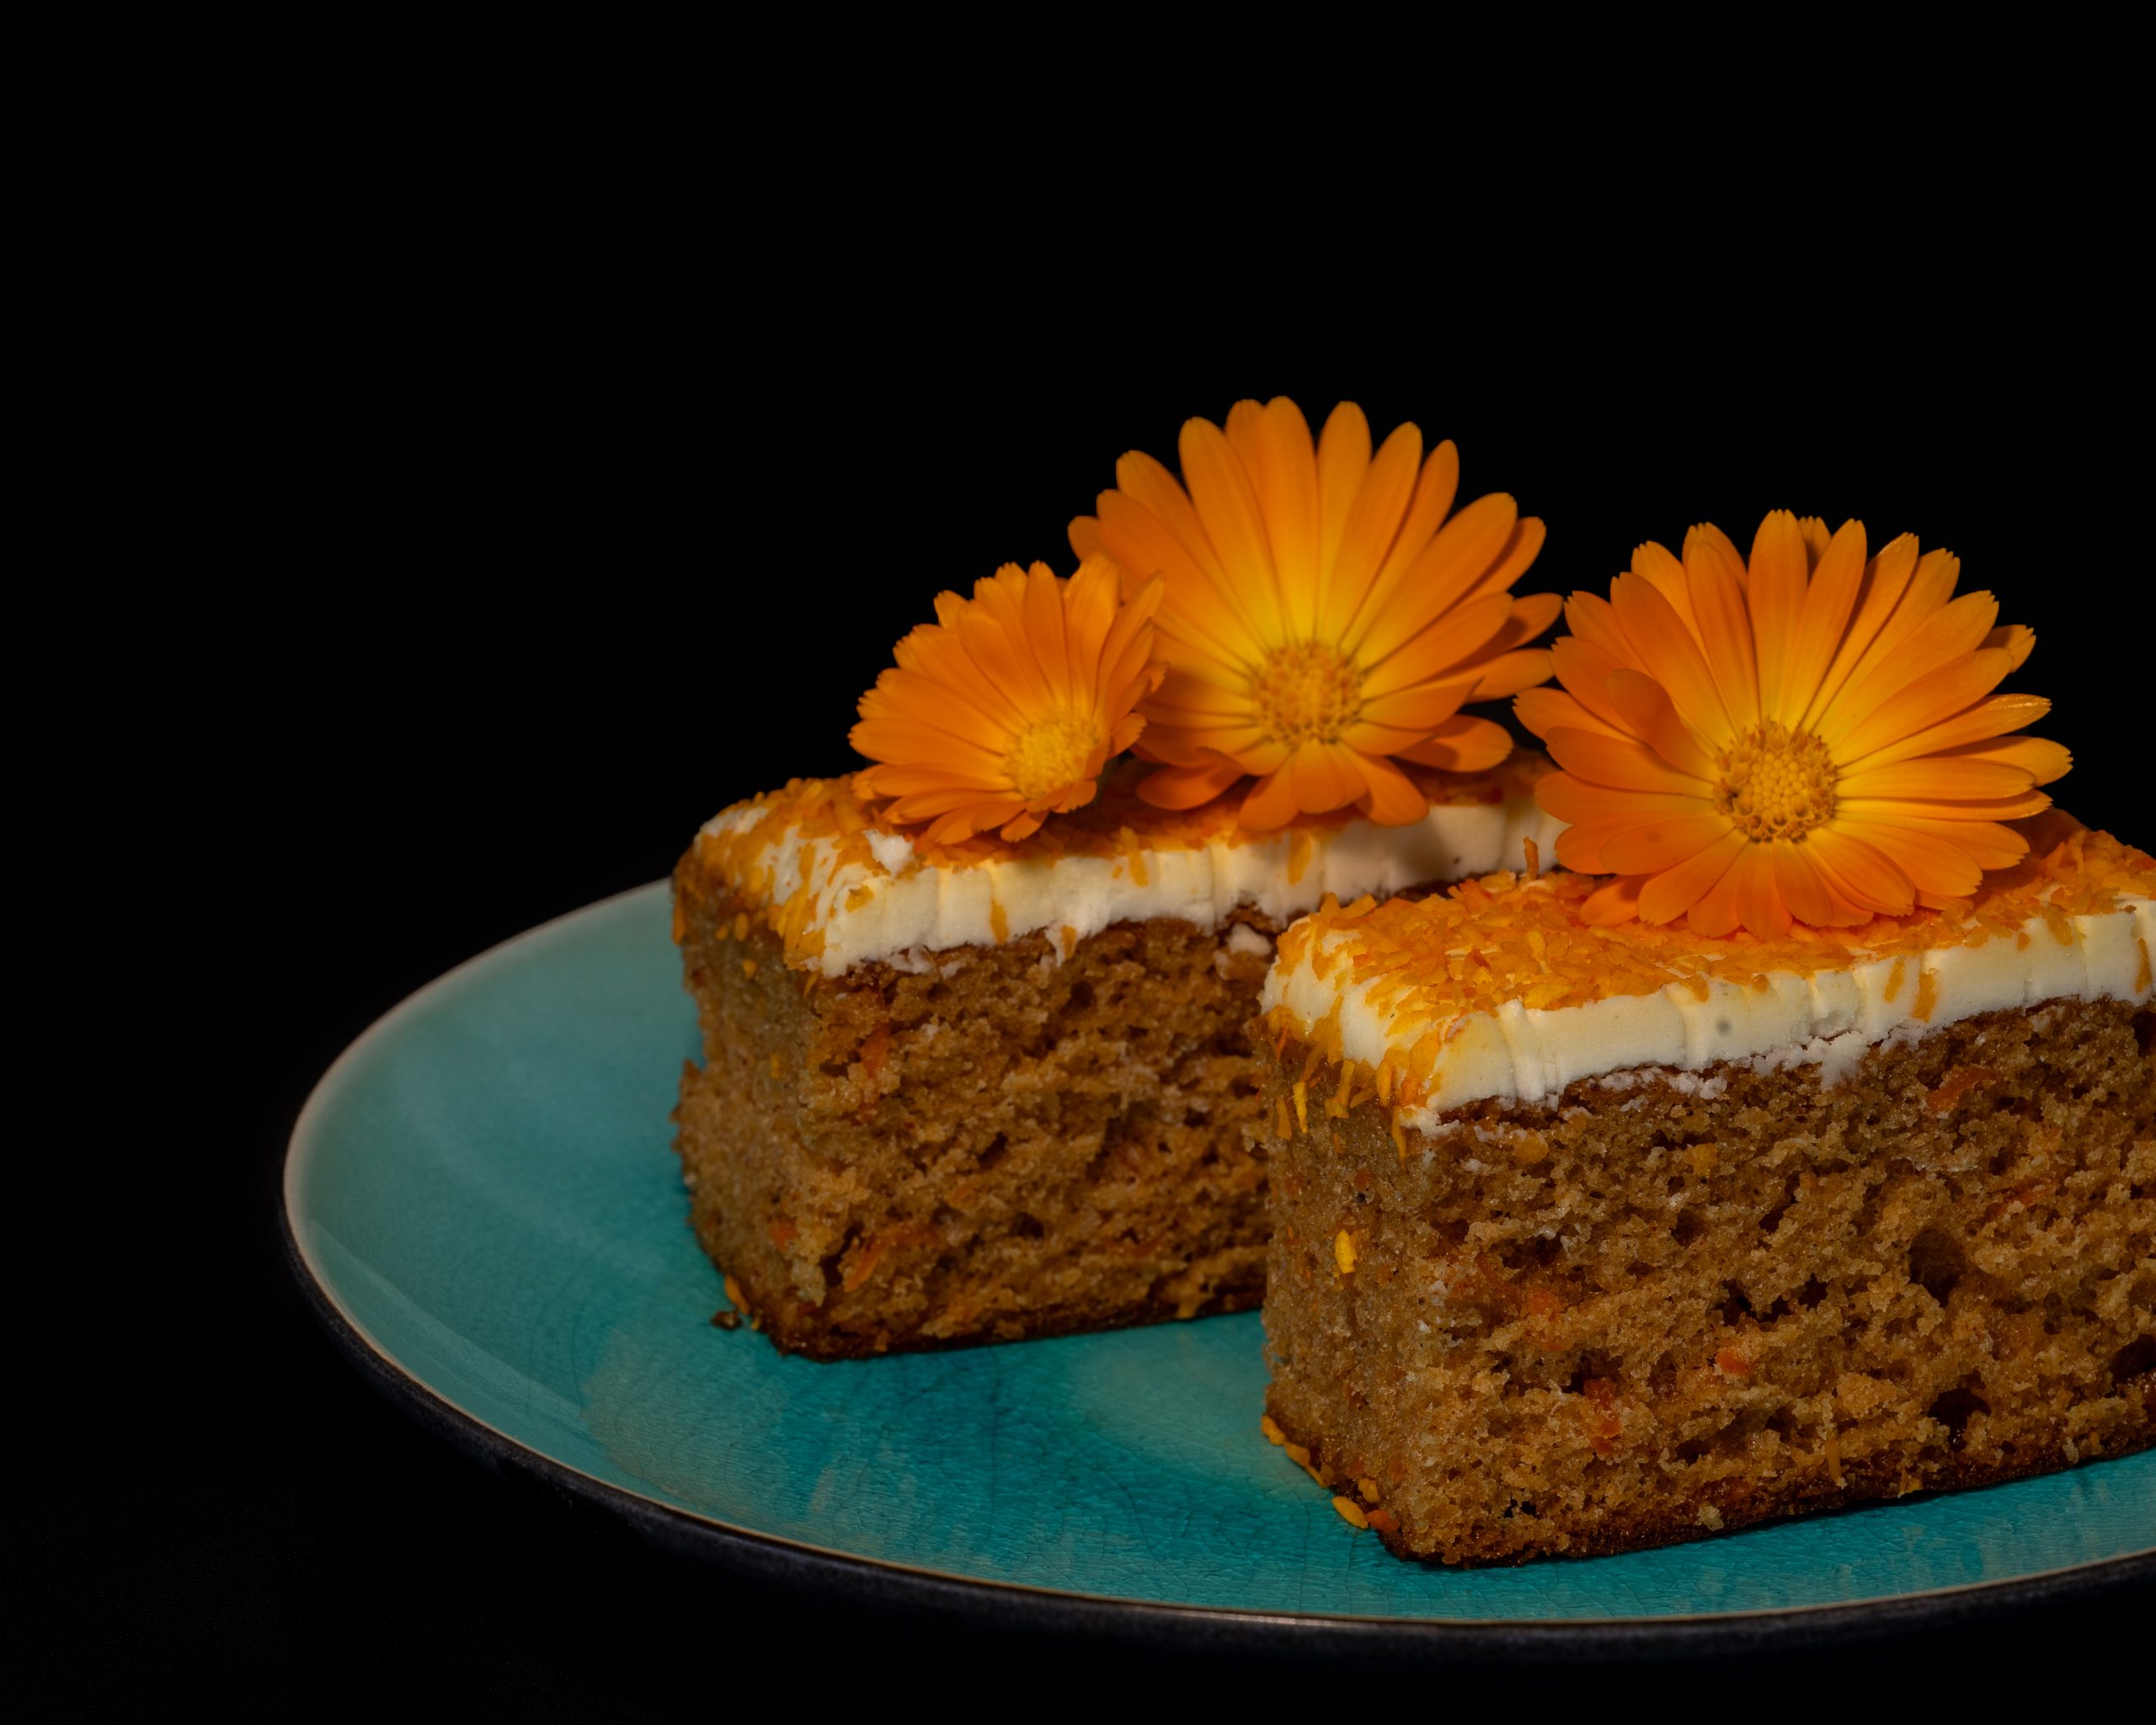
GD2-AW12 – Low-light and Creative Photography

LT – 2.1. Low-light photography

The task
 

You are required to take and edit a low-light image.

It can be a product photo, a still life or a portrait. Use the unique characteristics of low light to take a photograph with drama and impact. Try different compositions and angles that may enhance the mood.

Do:
  • Use a low ISO setting;
  • Use a small aperture;
  • Use a tripod and your self-timer or a remote/trigger;
  • Watch your focus, and use manual focus if needed.
     
Don’t:
  • Add too much light or expose too much;
  • Leave your VR/IS switched on if you are using a tripod.

LT – 2.2. Painting with light

The task
 
For this task, you are required to take and edit a PWL image.
You are required to use the unique look and feel of PWL photography to make a photograph that shows at least two different PWL techniques, e.g. torch light and a sparkler. You get brownie points if you make your own light source, such as an LED light wand.
You can create a product photo, still life or portrait. However, if you have a unique idea, try that. Experiment with different compositions and angles. Remember to use colours.
Do:
  • Use a low or medium ISO setting;
  • Use a small aperture to give you enough time for the light painting;
  • Use a tripod and your self-timer or a remote/trigger;
  • Shoot in Bulb mode if you need more than 30 seconds;
  • Watch your focus, and use manual focus if needed.
Don’t:
  • Add too much light or expose too much;
  • Leave your VR/IS switched on if you are using a tripod.

LT – 2.3. Intentional camera movement

The task
For this task, you are required to take and edit three ICM images.
Using the unique look and feel of ICM photography, you need to make a series of three artworks for a local art gallery. The idea is to sell the photographs as a set.
Use different ICM techniques, e.g. horizontal movement, camera turning, and vertical movement. Your photos should ‘read’ together, so you need to ensure they work together when placed side-by-side.
Do:
  • Find a subject or scene with enough variation in colour and contrast.
  • Use a low ISO setting.
  • Use a small aperture to give you enough time for the camera movement.
  • Watch your focus, and use manual focus if needed.
Don’t:
  • Use a tripod.
  • Move too little or the effect may just look like a mistake.

LT – 2.4. Double and multiple exposures

The task

You are required to take and edit three images. You can be as abstract as you like. Look for interesting subjects or scenes with enough variation in colour and contrast.

Add a short artist statement of two or more sentences for each.

  • Photo 1: Double exposure
    You need to shoot and edit one double-exposure photograph.
  • Photo 2: Multiple exposure
    Create a multiple exposure consisting of a least three photos combined into one final image.
  • Photo 3: Mirror montage
    Create a mirror montage.

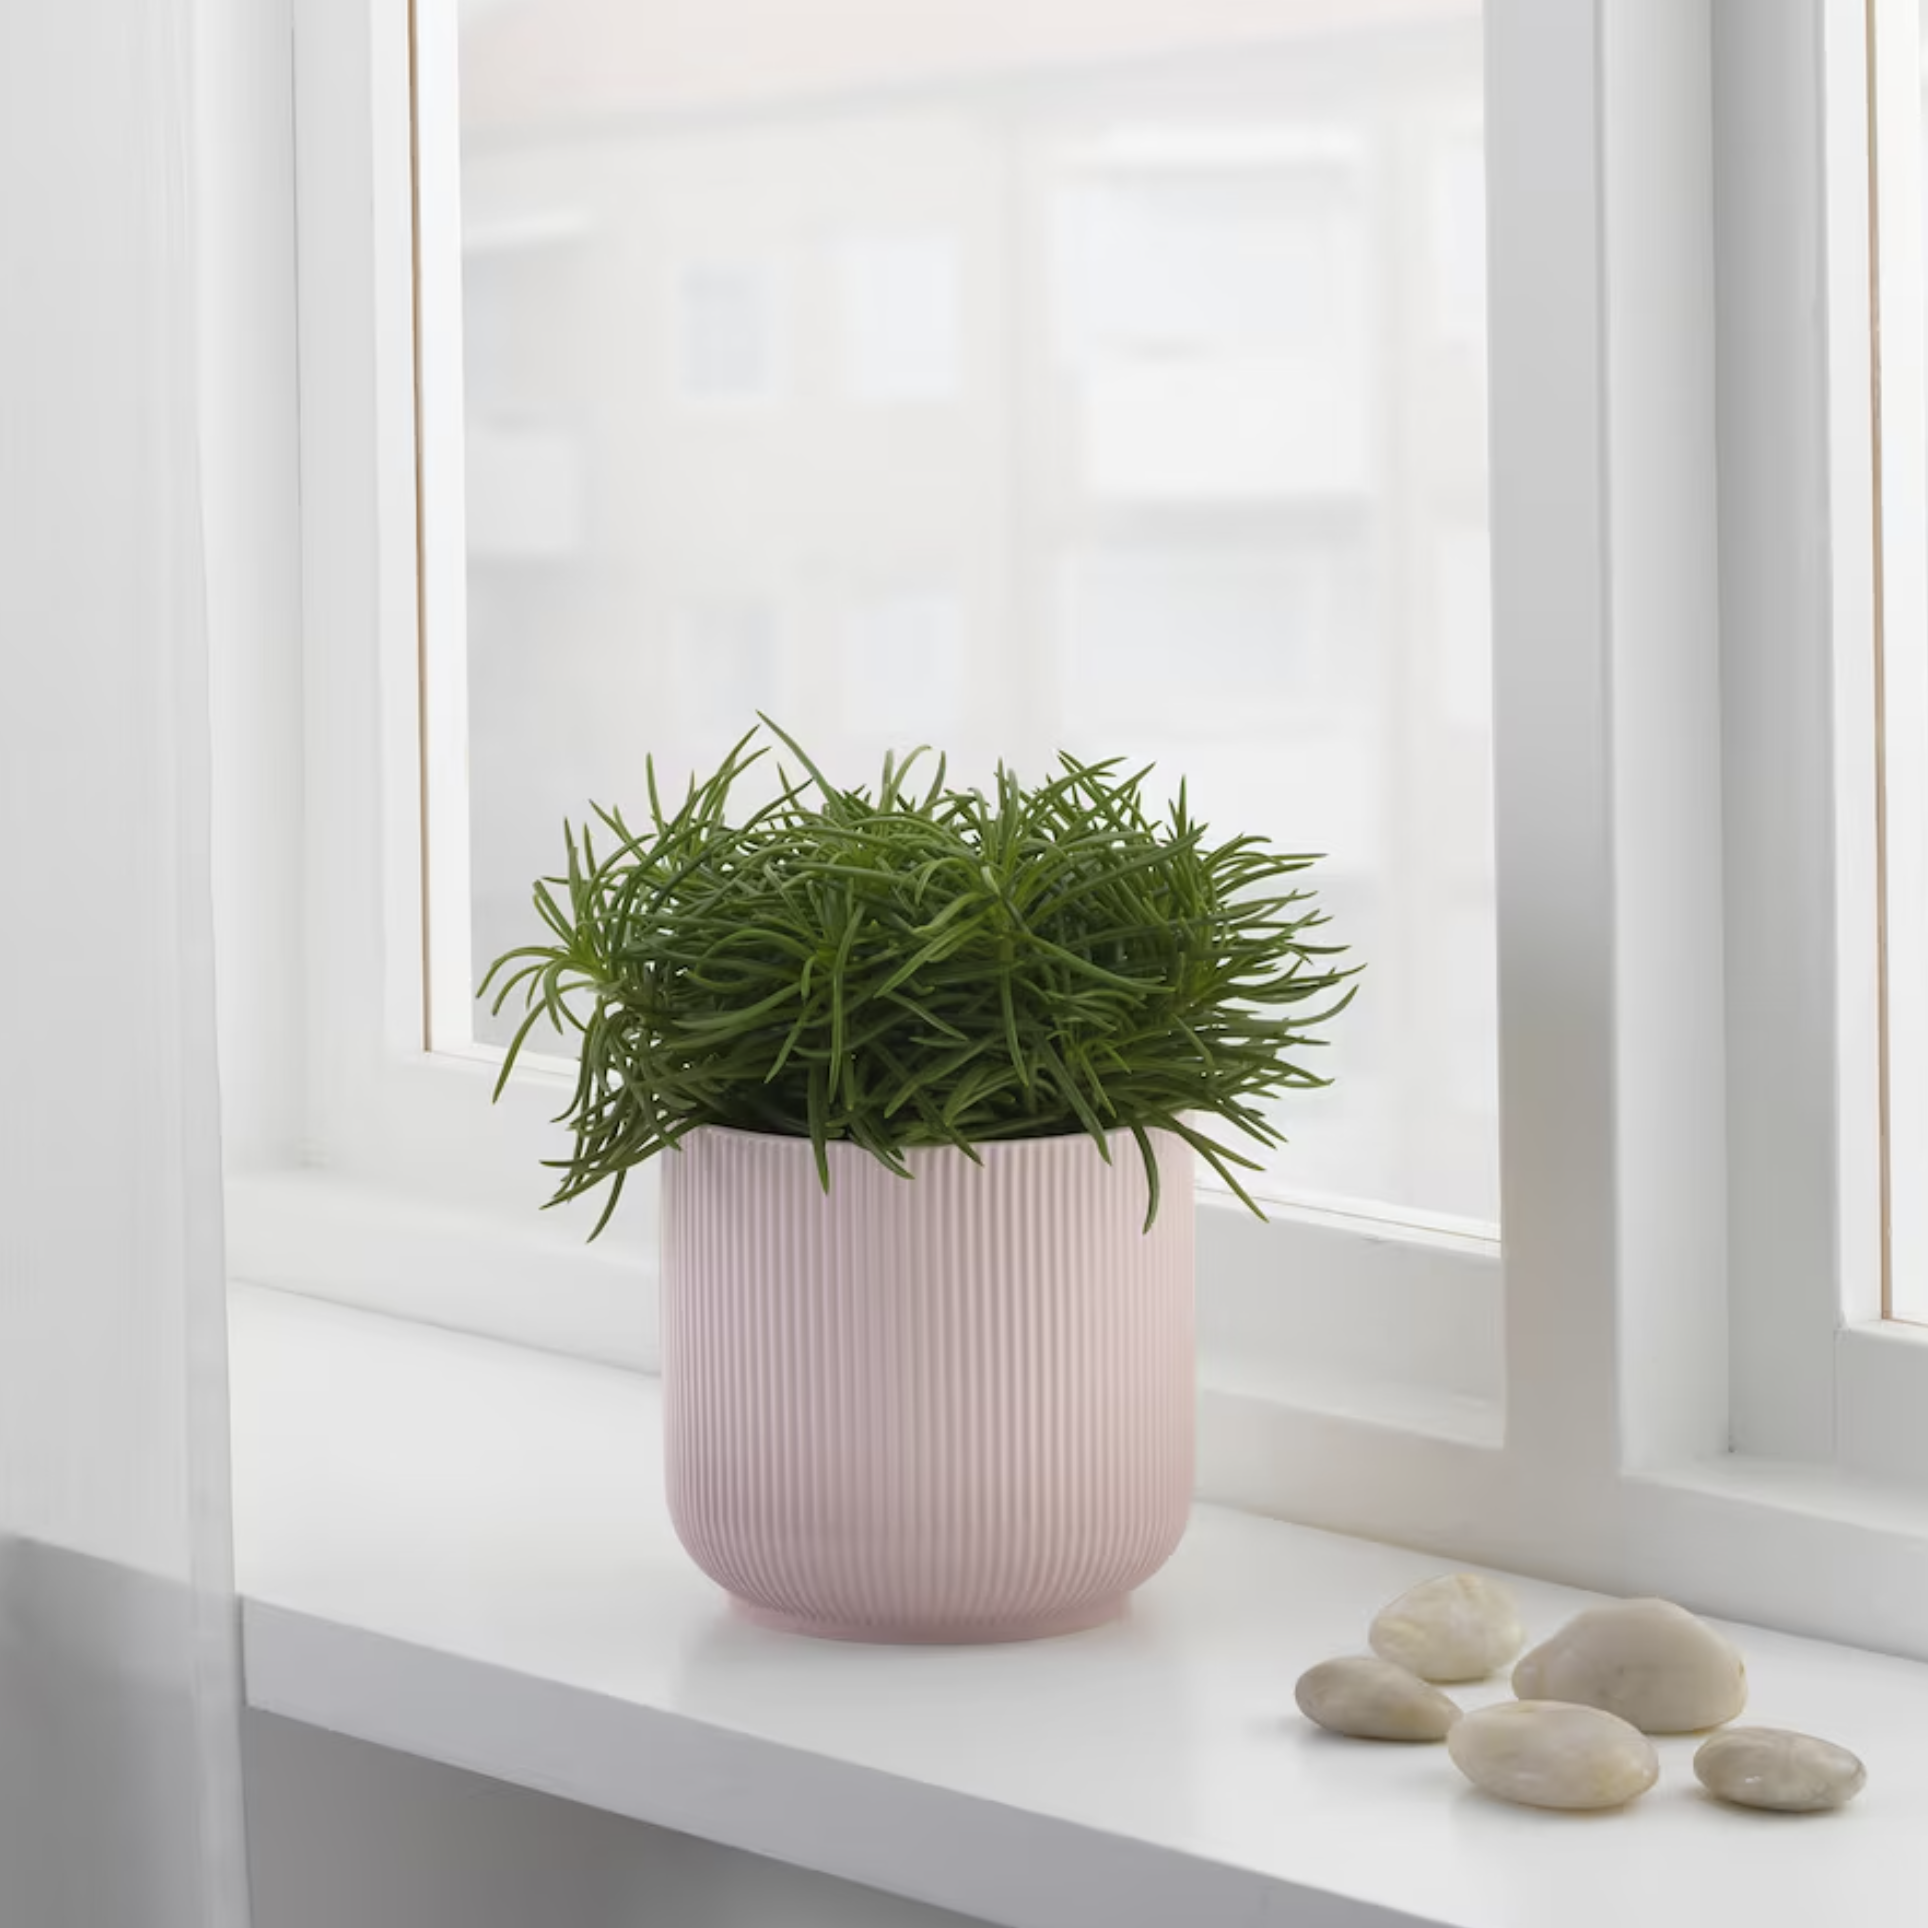
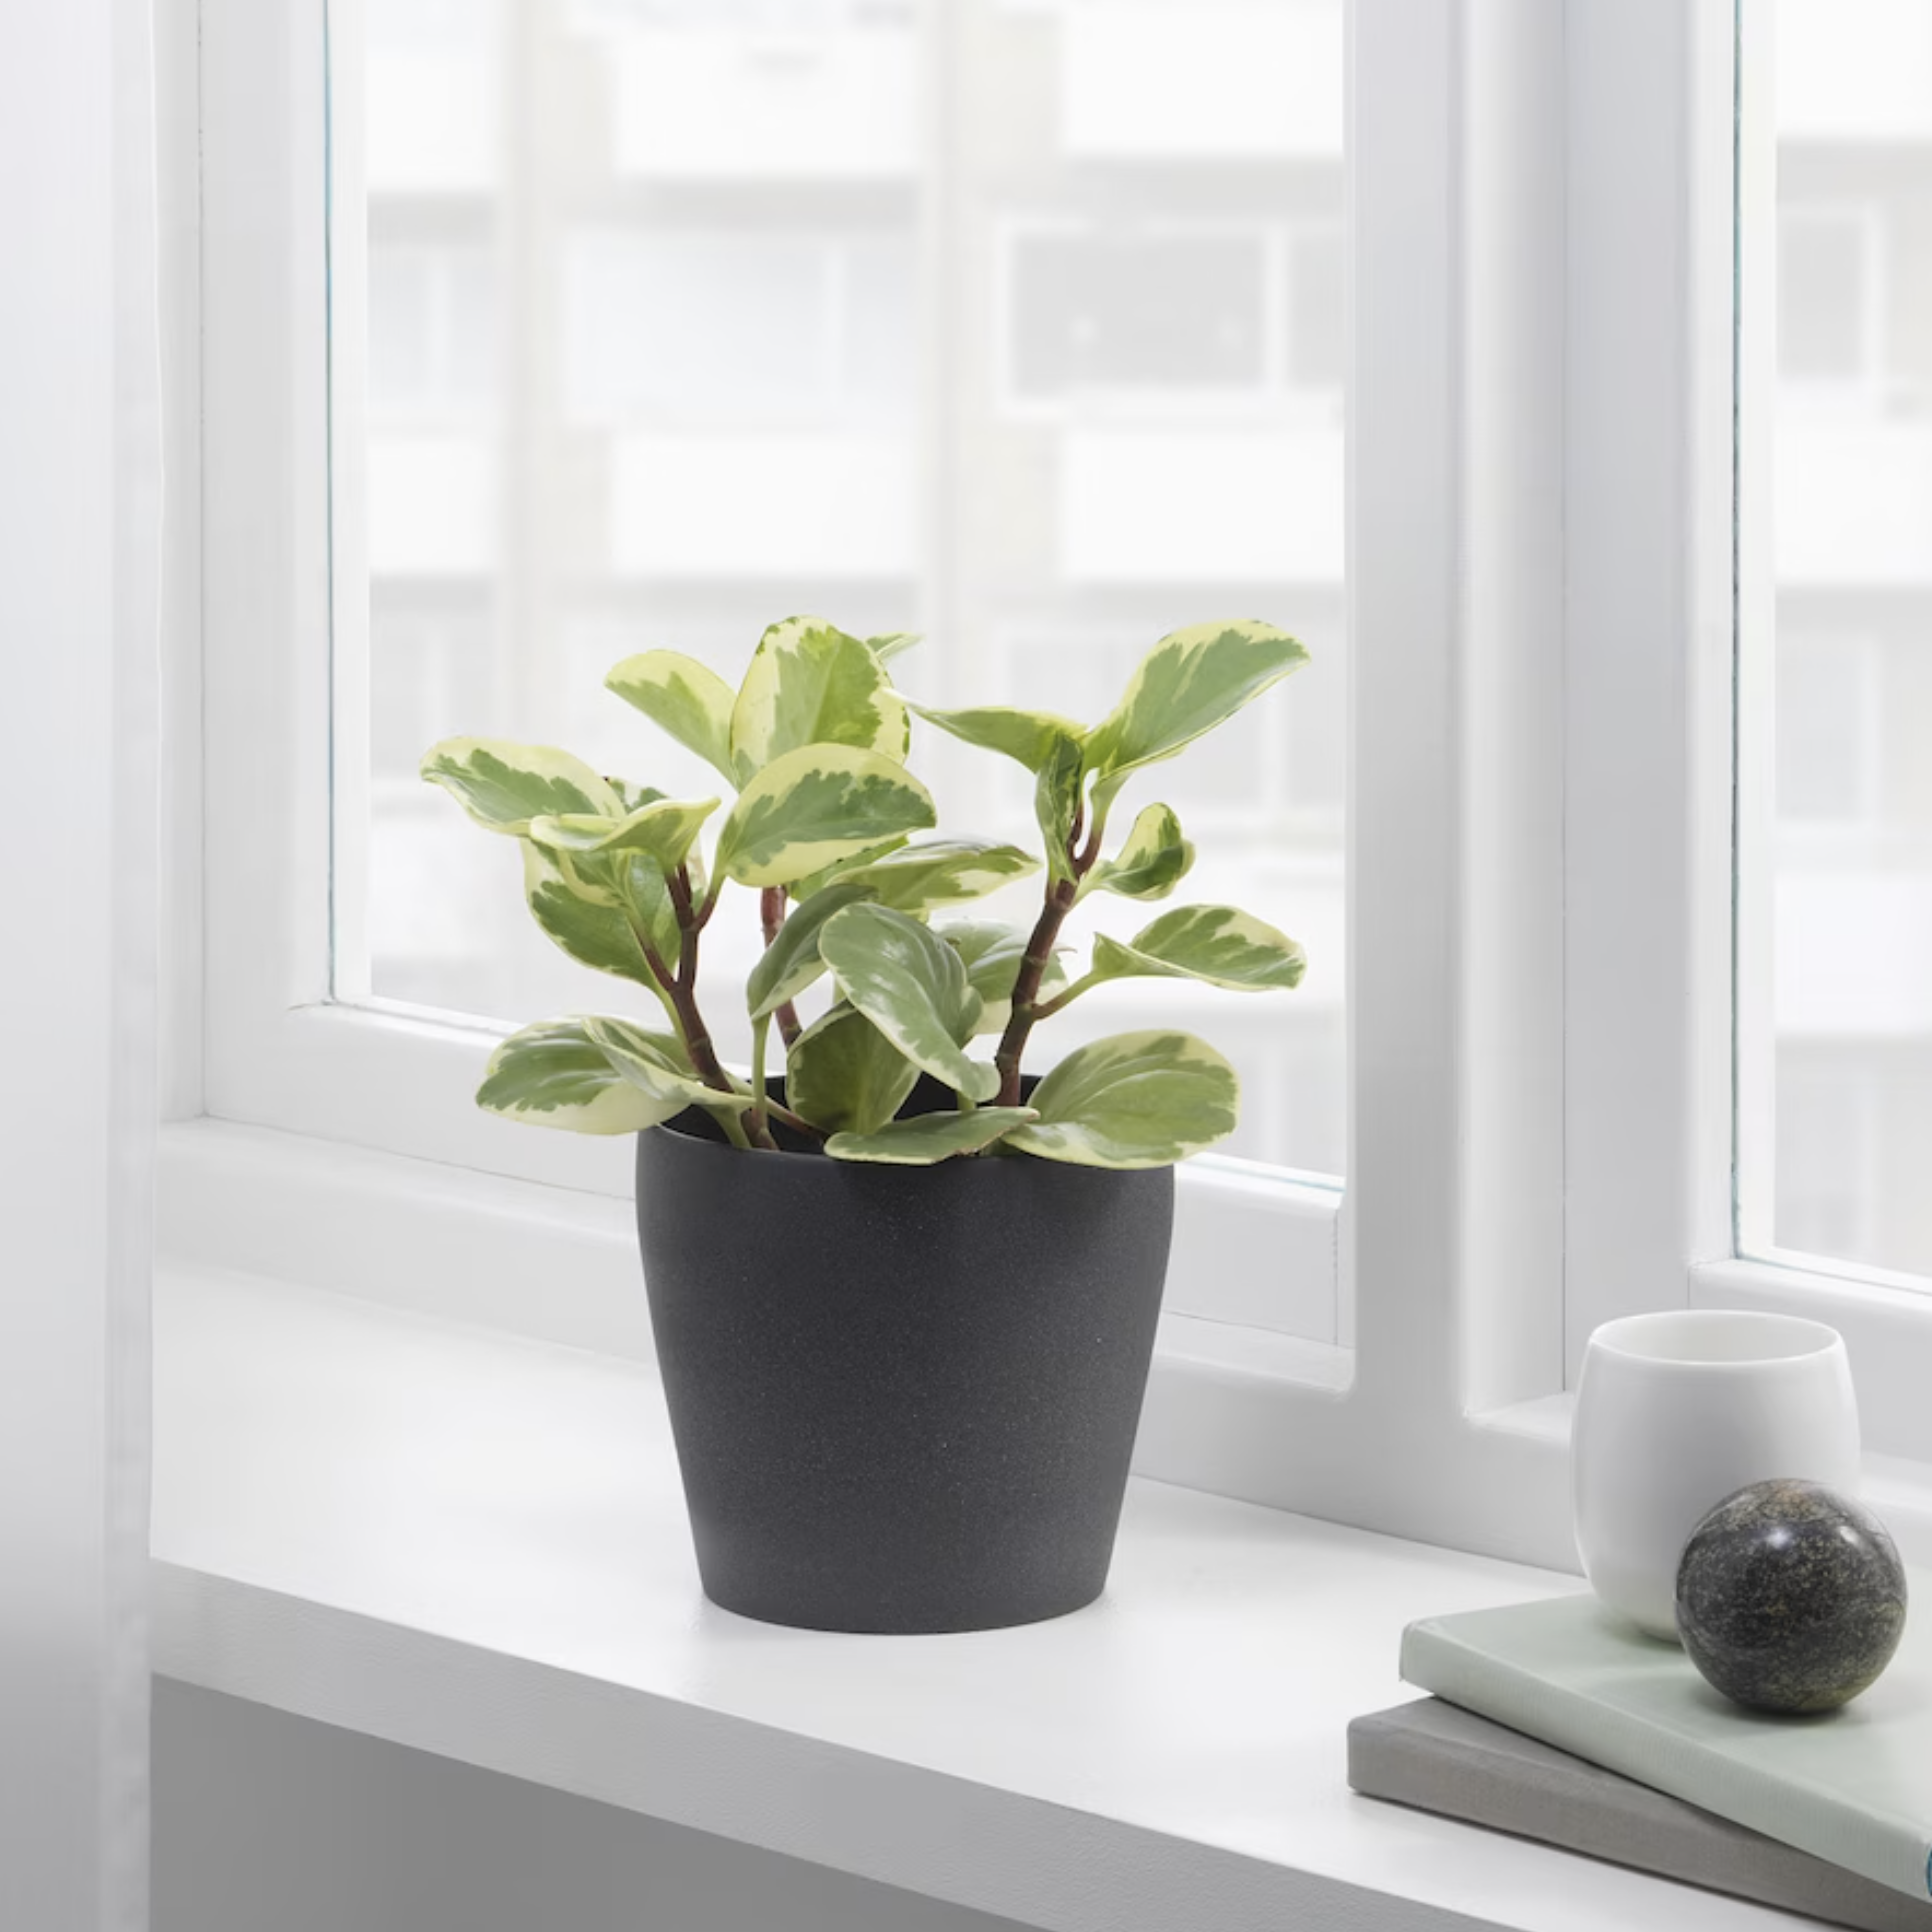
?! GD2-AW11 – Product, Food and Still Life

LT – 1.1. Product photography

The task
You are required to take and edit a product image for IKEA.
Do some research on the IKEA website and create a simple mood board with sample photographs from products on the website, showing the style you are imitating. Your final image must meet their online store’s look, feel, size and resolution.
 
You may shoot any suitable product of your choice, as long as you can envisage it fitting in IKEA. You can choose if you want to photograph the product on a white background or in a lifestyle setting.
Plan your shoot well. Ensure that any label or logo on your product is well lit and sharp.
 
Post your final photograph along with the mood board.

Moodboard

Result

1.2. Food Photography

The task

For this task, your client is a local chef that needs a dark and moody food image for a magazine article in which he will be featured.

Plan your image well. It must be in the editorial style. Ensure that focus and composition lead the viewer’s eye to the main subject. Although rules are meant to be broken, the rule of thirds and, in particular, the use of power points can help with this.

Tight crops and all the other design elements, such as lead-in lines and the use of negative space, will add to a strong composition. Edit your image to the best of your ability.

Remember, your image is all about storytelling. Have fun!

LT – 1.3. Still life photography

The task
For this task, you’ll create a still-life image with a strong artistic style of a small collection of items. The items must have a common theme or symbolic meaning.
The final image will be used in a poster for an art exhibition in your hometown called: 17th century Stilleven.
 
You can use window light, artificial light, or a combination of the two.
 
Add a short description where you elaborate on the theme or symbolic meaning and your intentional placement of objects to create the desired composition.
Be creative and have fun!

1.4. Automotive photography

The task
For this task, you are required to take and edit a lifestyle automotive image.
 
Let’s pretend you are an aspiring influencer and have been spotting nice cars in your neighbourhood. Shoot lifestyle images of a car of your choice and design your first Instagram post.
 
Post your four best images and the final Instagram post.

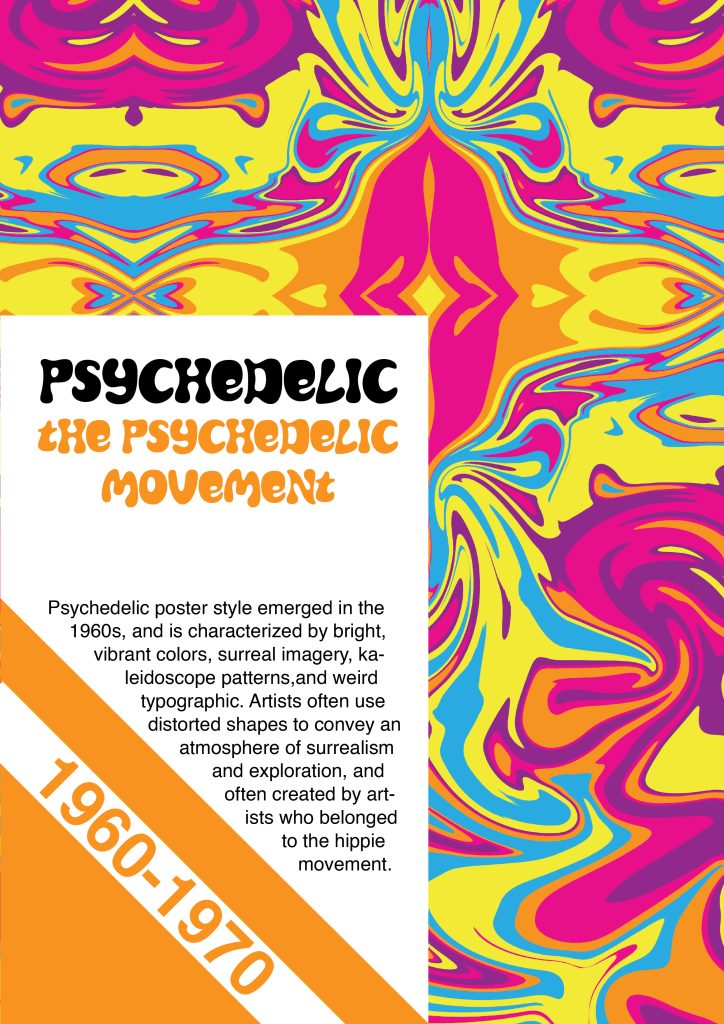
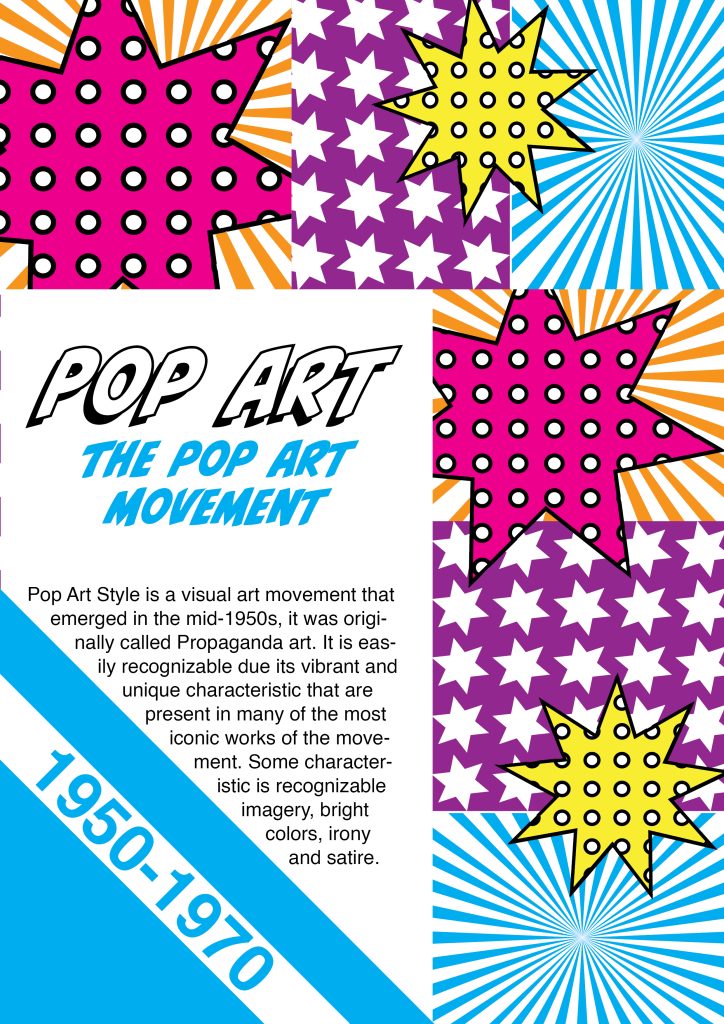
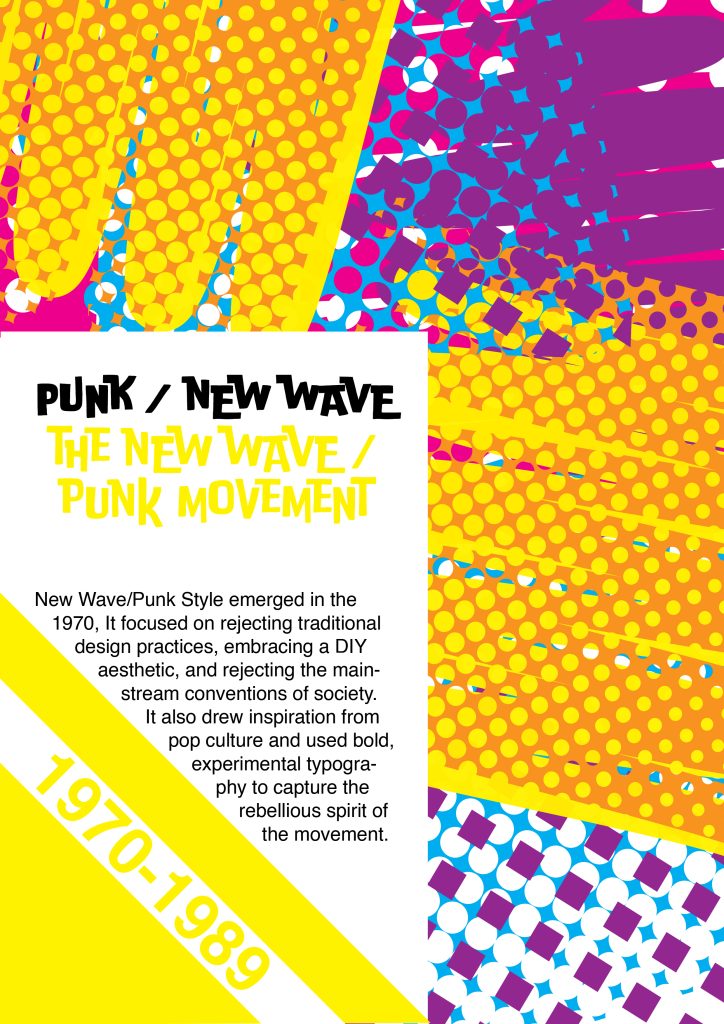
!? GD2-AW09 – Graphic Design History: The Age of Information

LT – 2.1. Modern design in America 

The task

Part 1

Explore social media and the Internet to find examples of conceptual illustrations that aptly describe a complex political, social or cultural idea. See if you can find examples of:
  • publications that address global issues and so-called wicked problems; and
  • publications that address national issues (like your local newspaper for example).
Write a sentence or two about these illustrations and publish them on your WordPress blog. Remember to give credit to the publication and (if possible) to the illustrator.
 

Part 2

Today you’ll design a psychedelic poster. You can use this poster in your leaflet for the course assignment.

Here is a handy Photoshop tutorial in two parts on how to create a 1960s psychedelic poster (but feel free to do it your own way):

LT – 2.2. Postmodern design

The task

Today you’ll design a Pop Art-style poster. You can use this poster in your leaflet for your course assignment. The subject doesn’t matter – it’s completely up to you.

The article below will show you various examples within the style – don’t be tempted to use an existing Canva template! The idea is for you to understand and appreciate how to use this style in modern-day graphic design.

Instead, look at the examples showcased, take inspiration from them, and apply them to your design. There are many YouTube tutorials as well – explore and have fun.

LT – 2.3. The digital revolution

The task

Today you’ll design a poster where the New Wave/Punk style is evident. You can use this poster in your leaflet for the course assignment. Again, the poster’s subject doesn’t matter; it’s your choice.

Read the article below where Emily Gosling talks about how the ‘New Wave Graphics are the most influential designs you’ve probably ignored: the slippery, unashamedly pop-leaning genre changed everything – graphics included’. The article features wonderful examples of the genre you can use as inspiration.

LT – 2.4. Challenges ahead

The task

Find a graphic designer from history you’ve never come across before. Someone less known to the public that you feel needs some acknowledgement. Write a short paragraph (three to five sentences) about them and why you find their work inspiring and important.

Choose one or two of their works to add to your paragraph.

AW25 – Web Design Process 3: Development – Part 2 – LT – Coding Basic

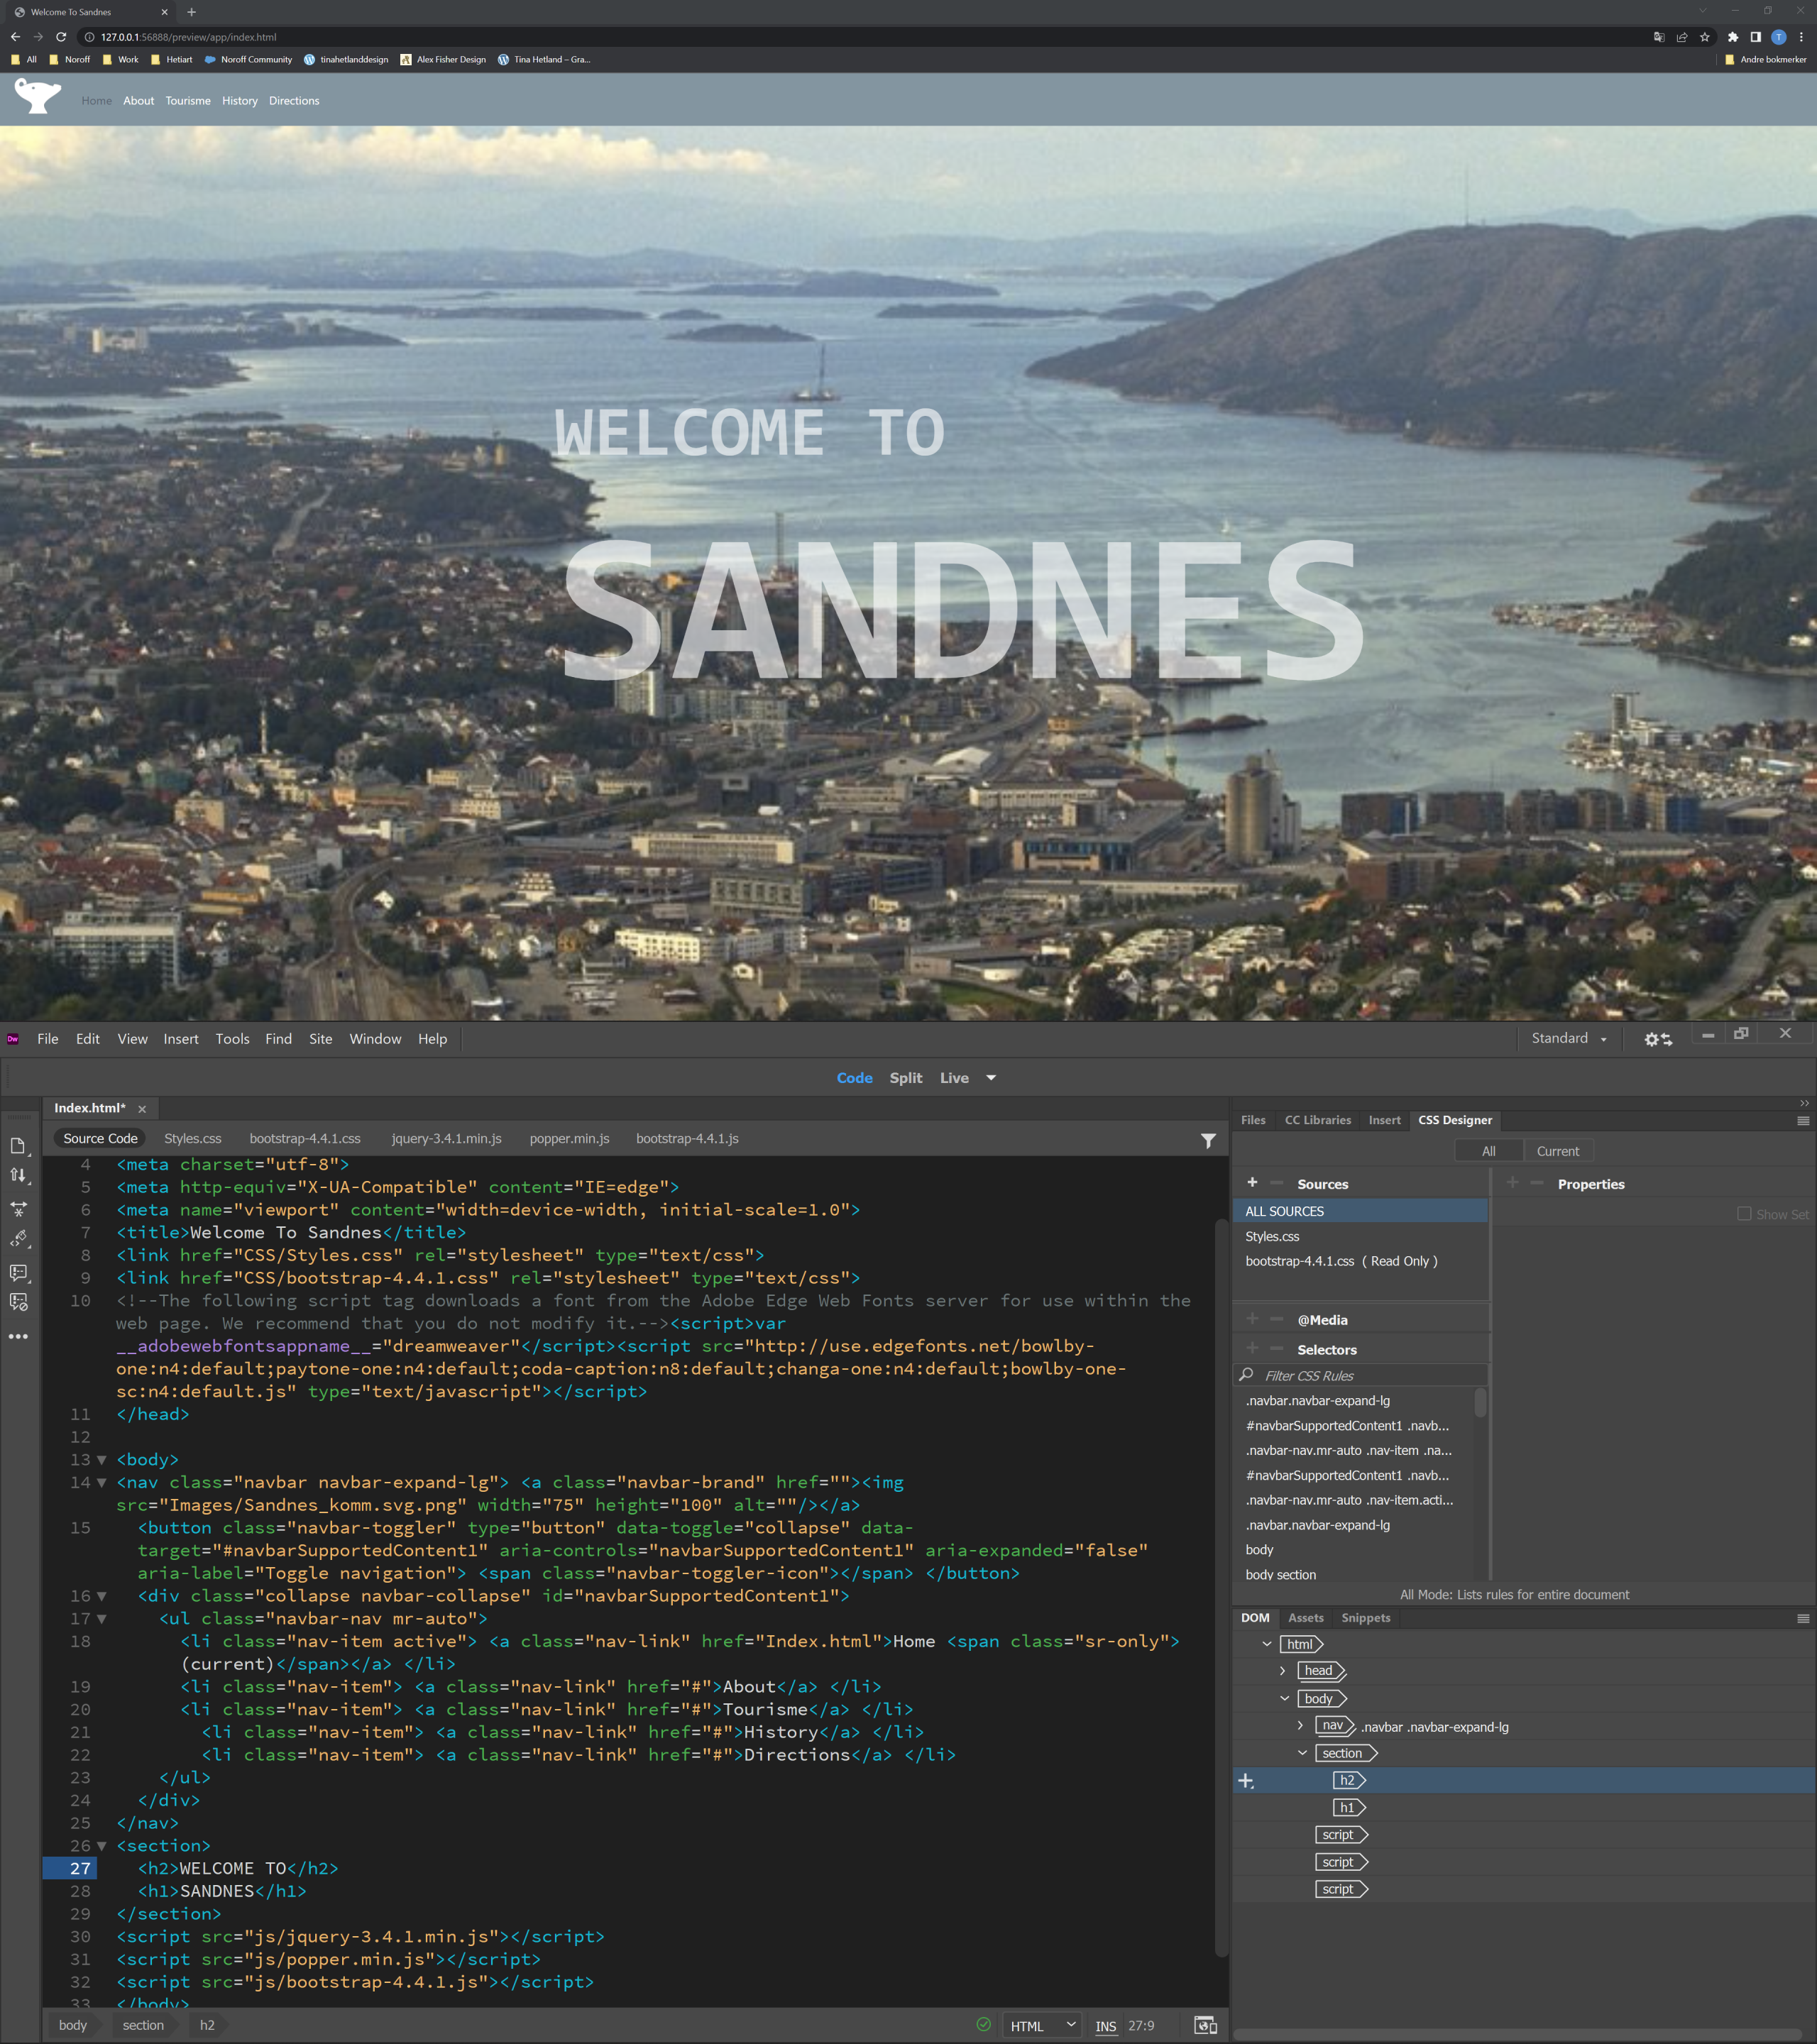
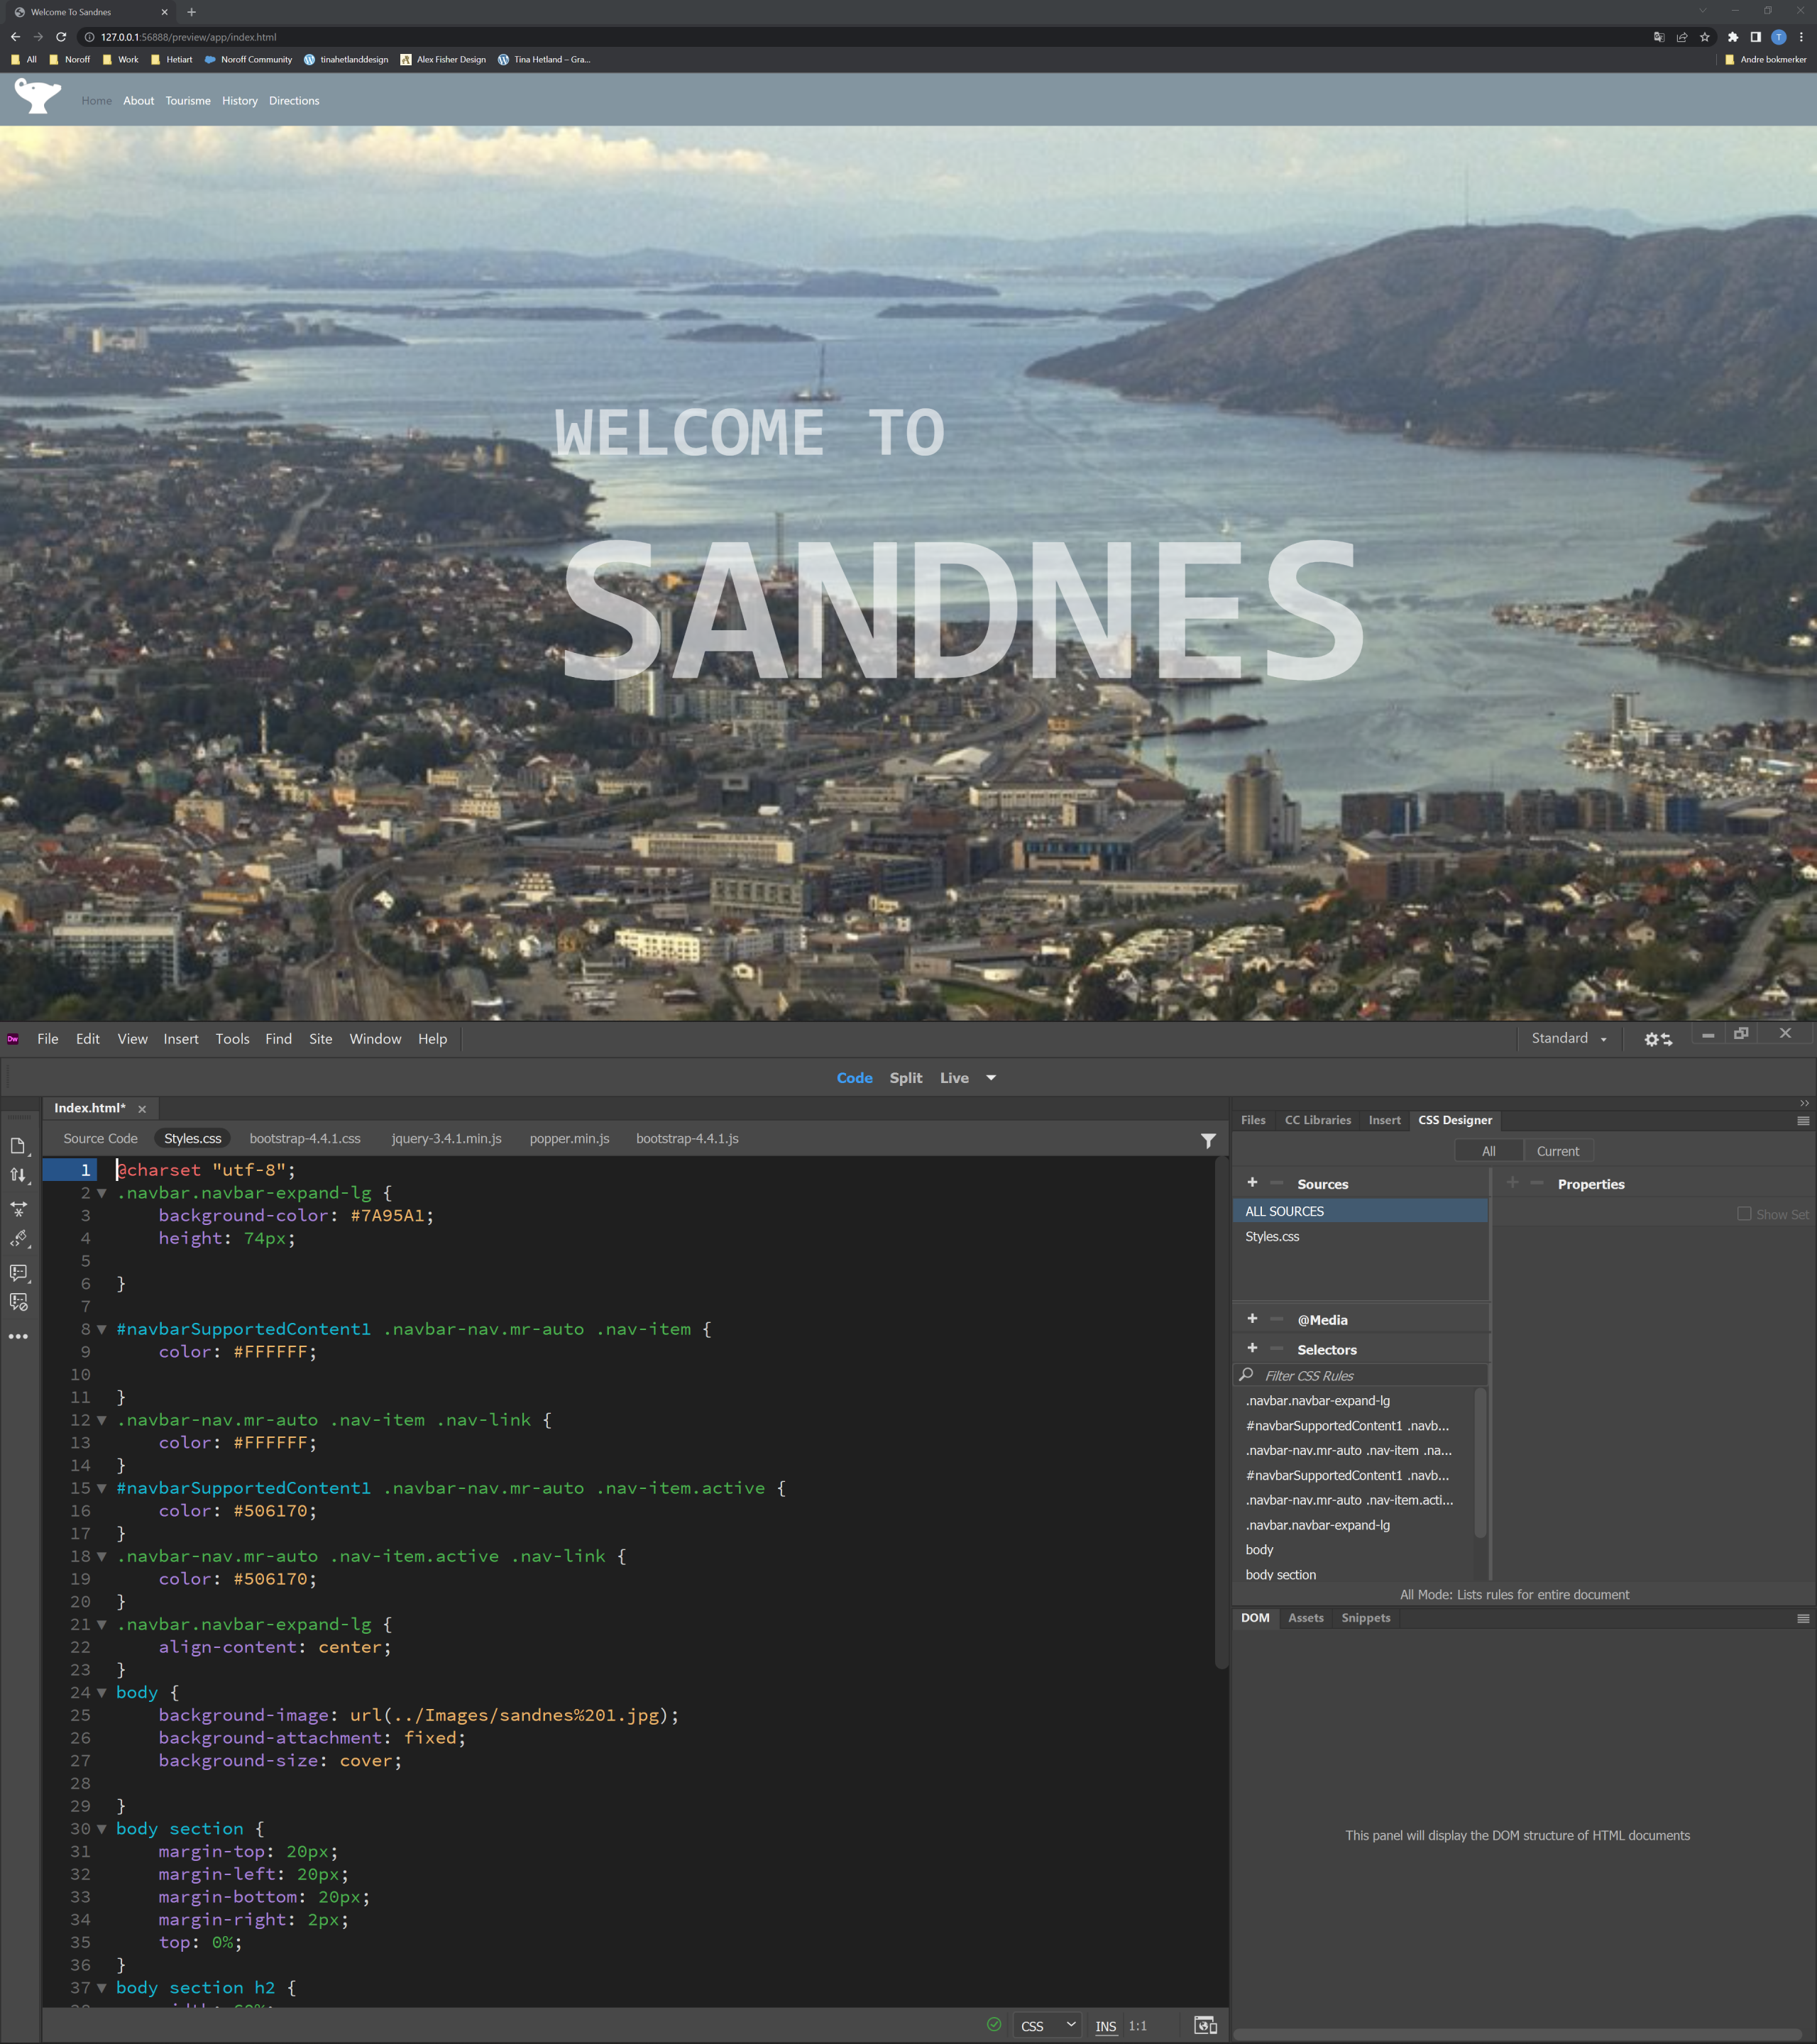
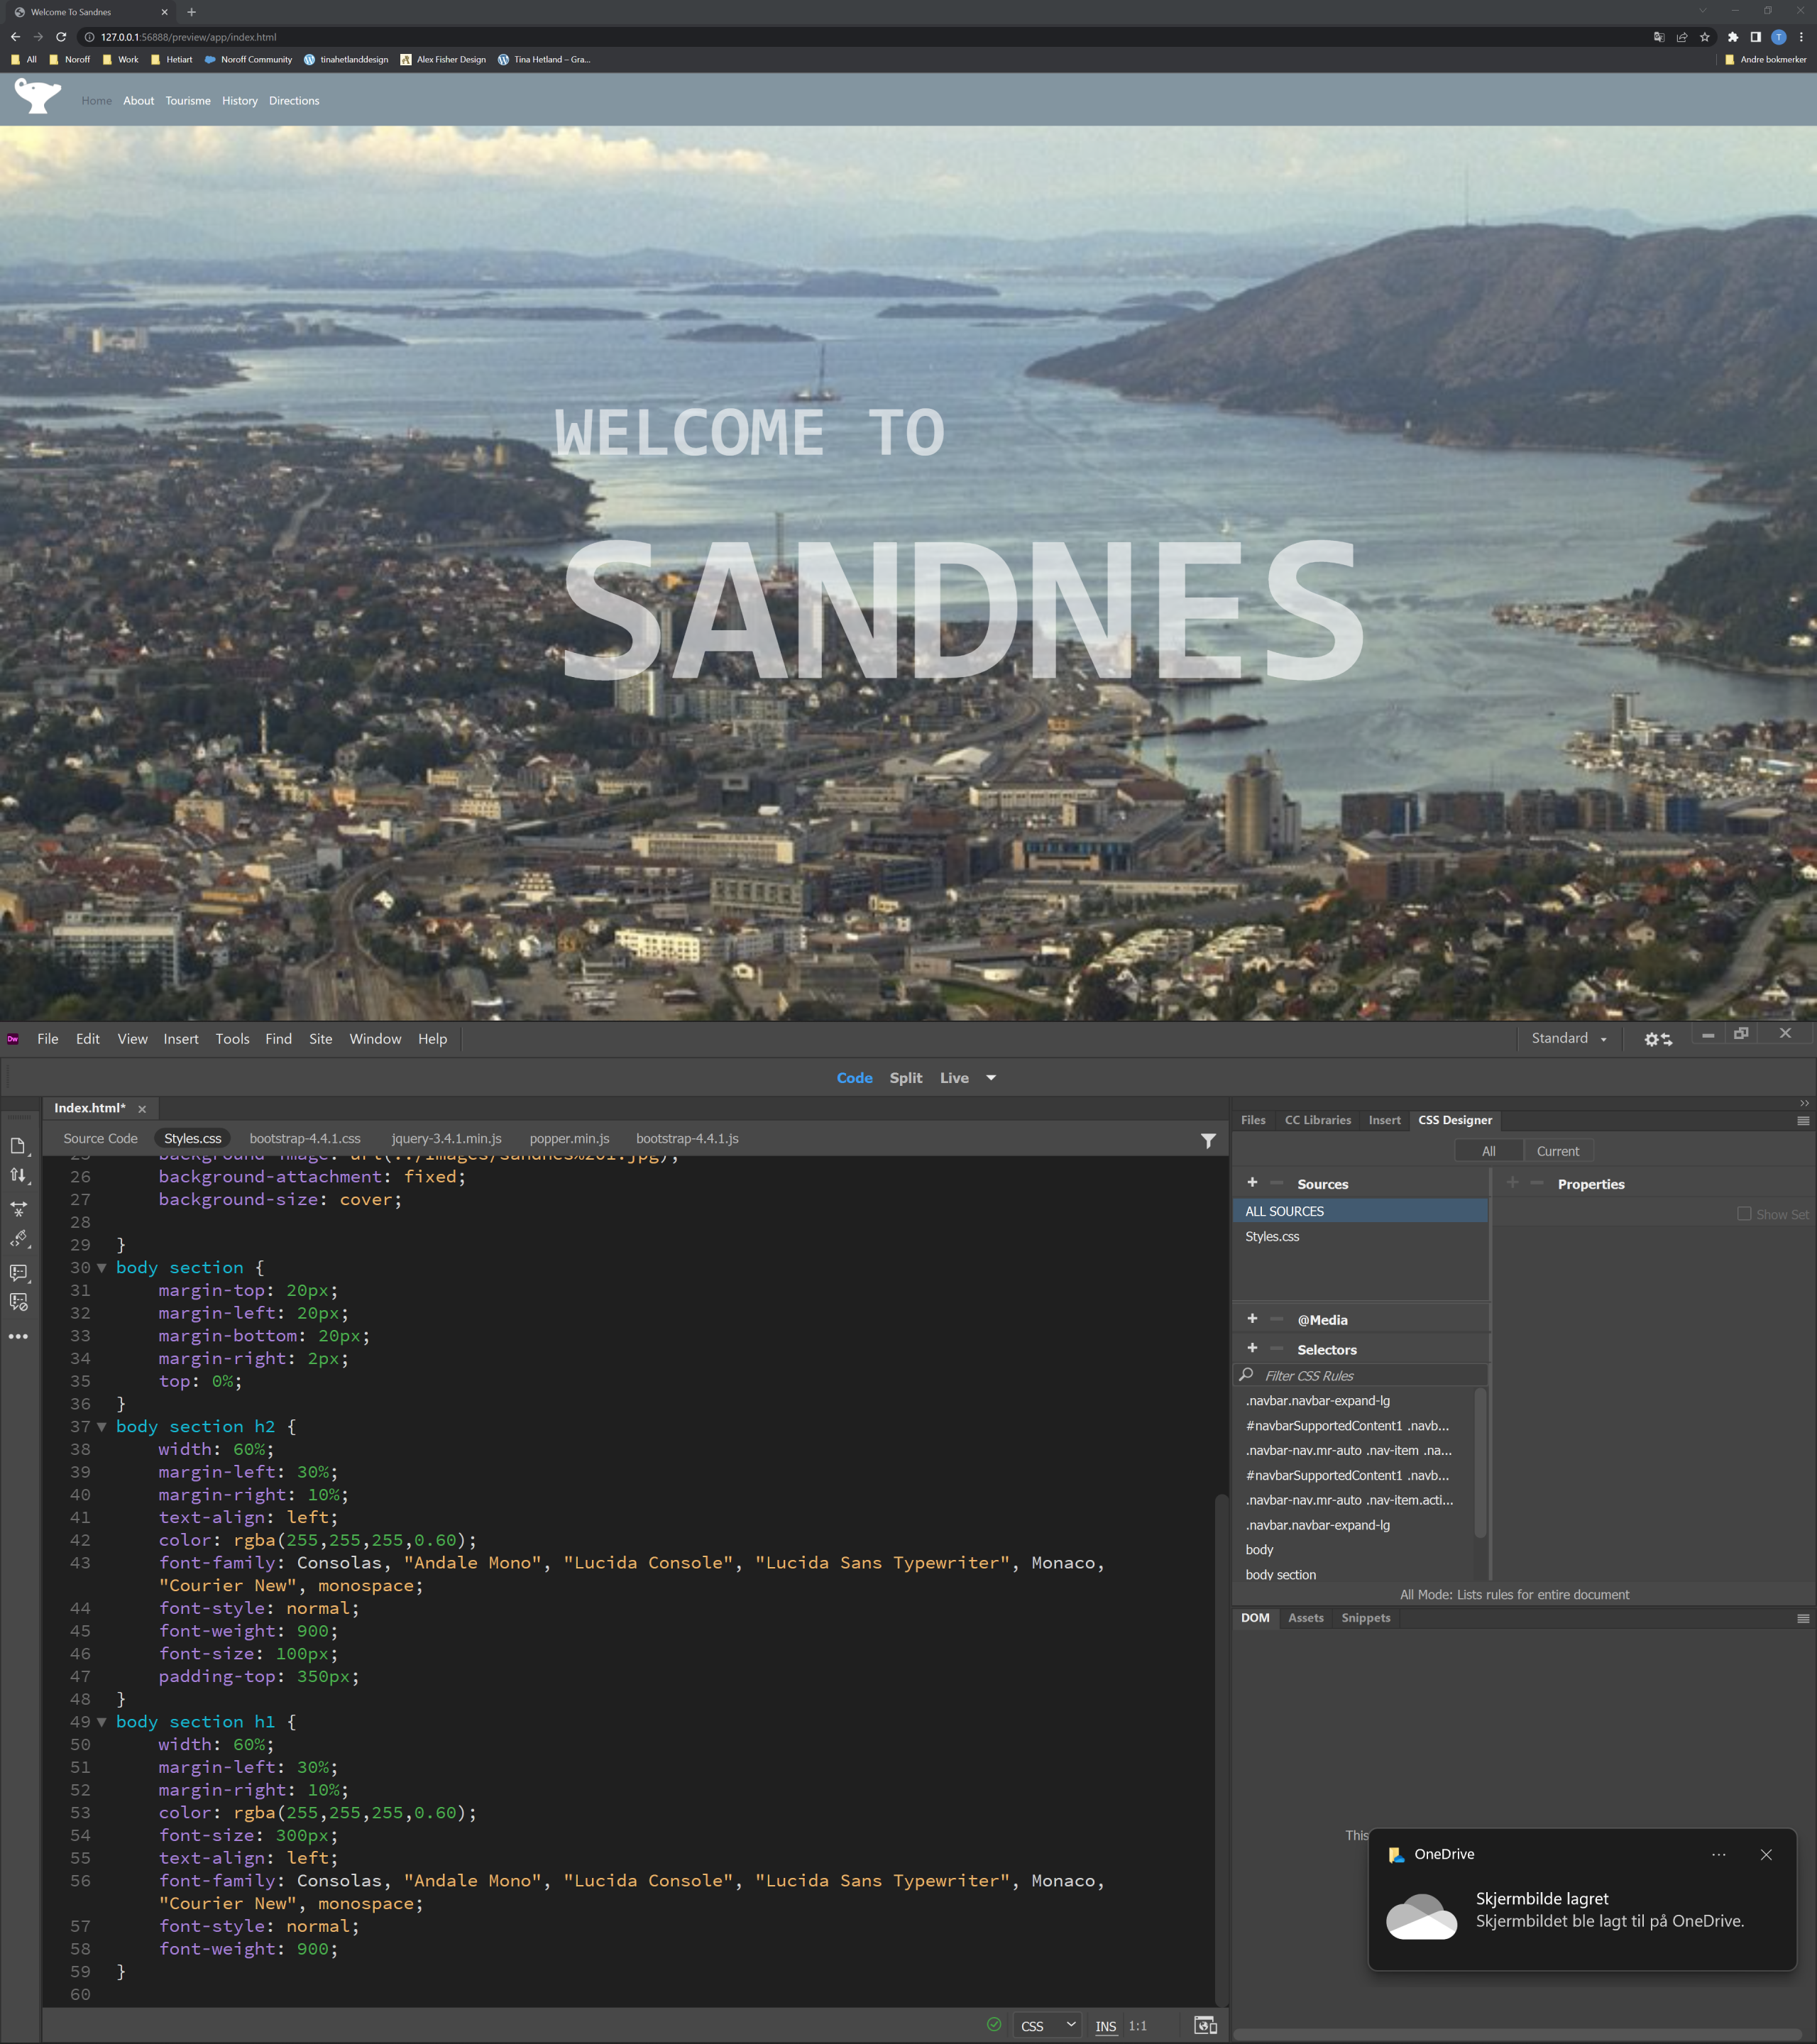
Take the basic website you have designed in your previous two Lesson Tasks in this module (Lesson Task – Put Thought Into Your Design and Lesson Task – Planning the Structure) and convert that into HTML and CSS code.

This will help you understand the importance between the design and the programming phase and how they work together.

Don’t stress if you can’t get everything right, just do as much as you can.

So I only did the index/home page, I really like web design and I’m looking forward to learn more and get the hang of it. It’s alot to take in but it’s fun and a lot of new things to learn.

AW24 – Web Design Process 3: Development – Part 1 – LT – Planning The Structure

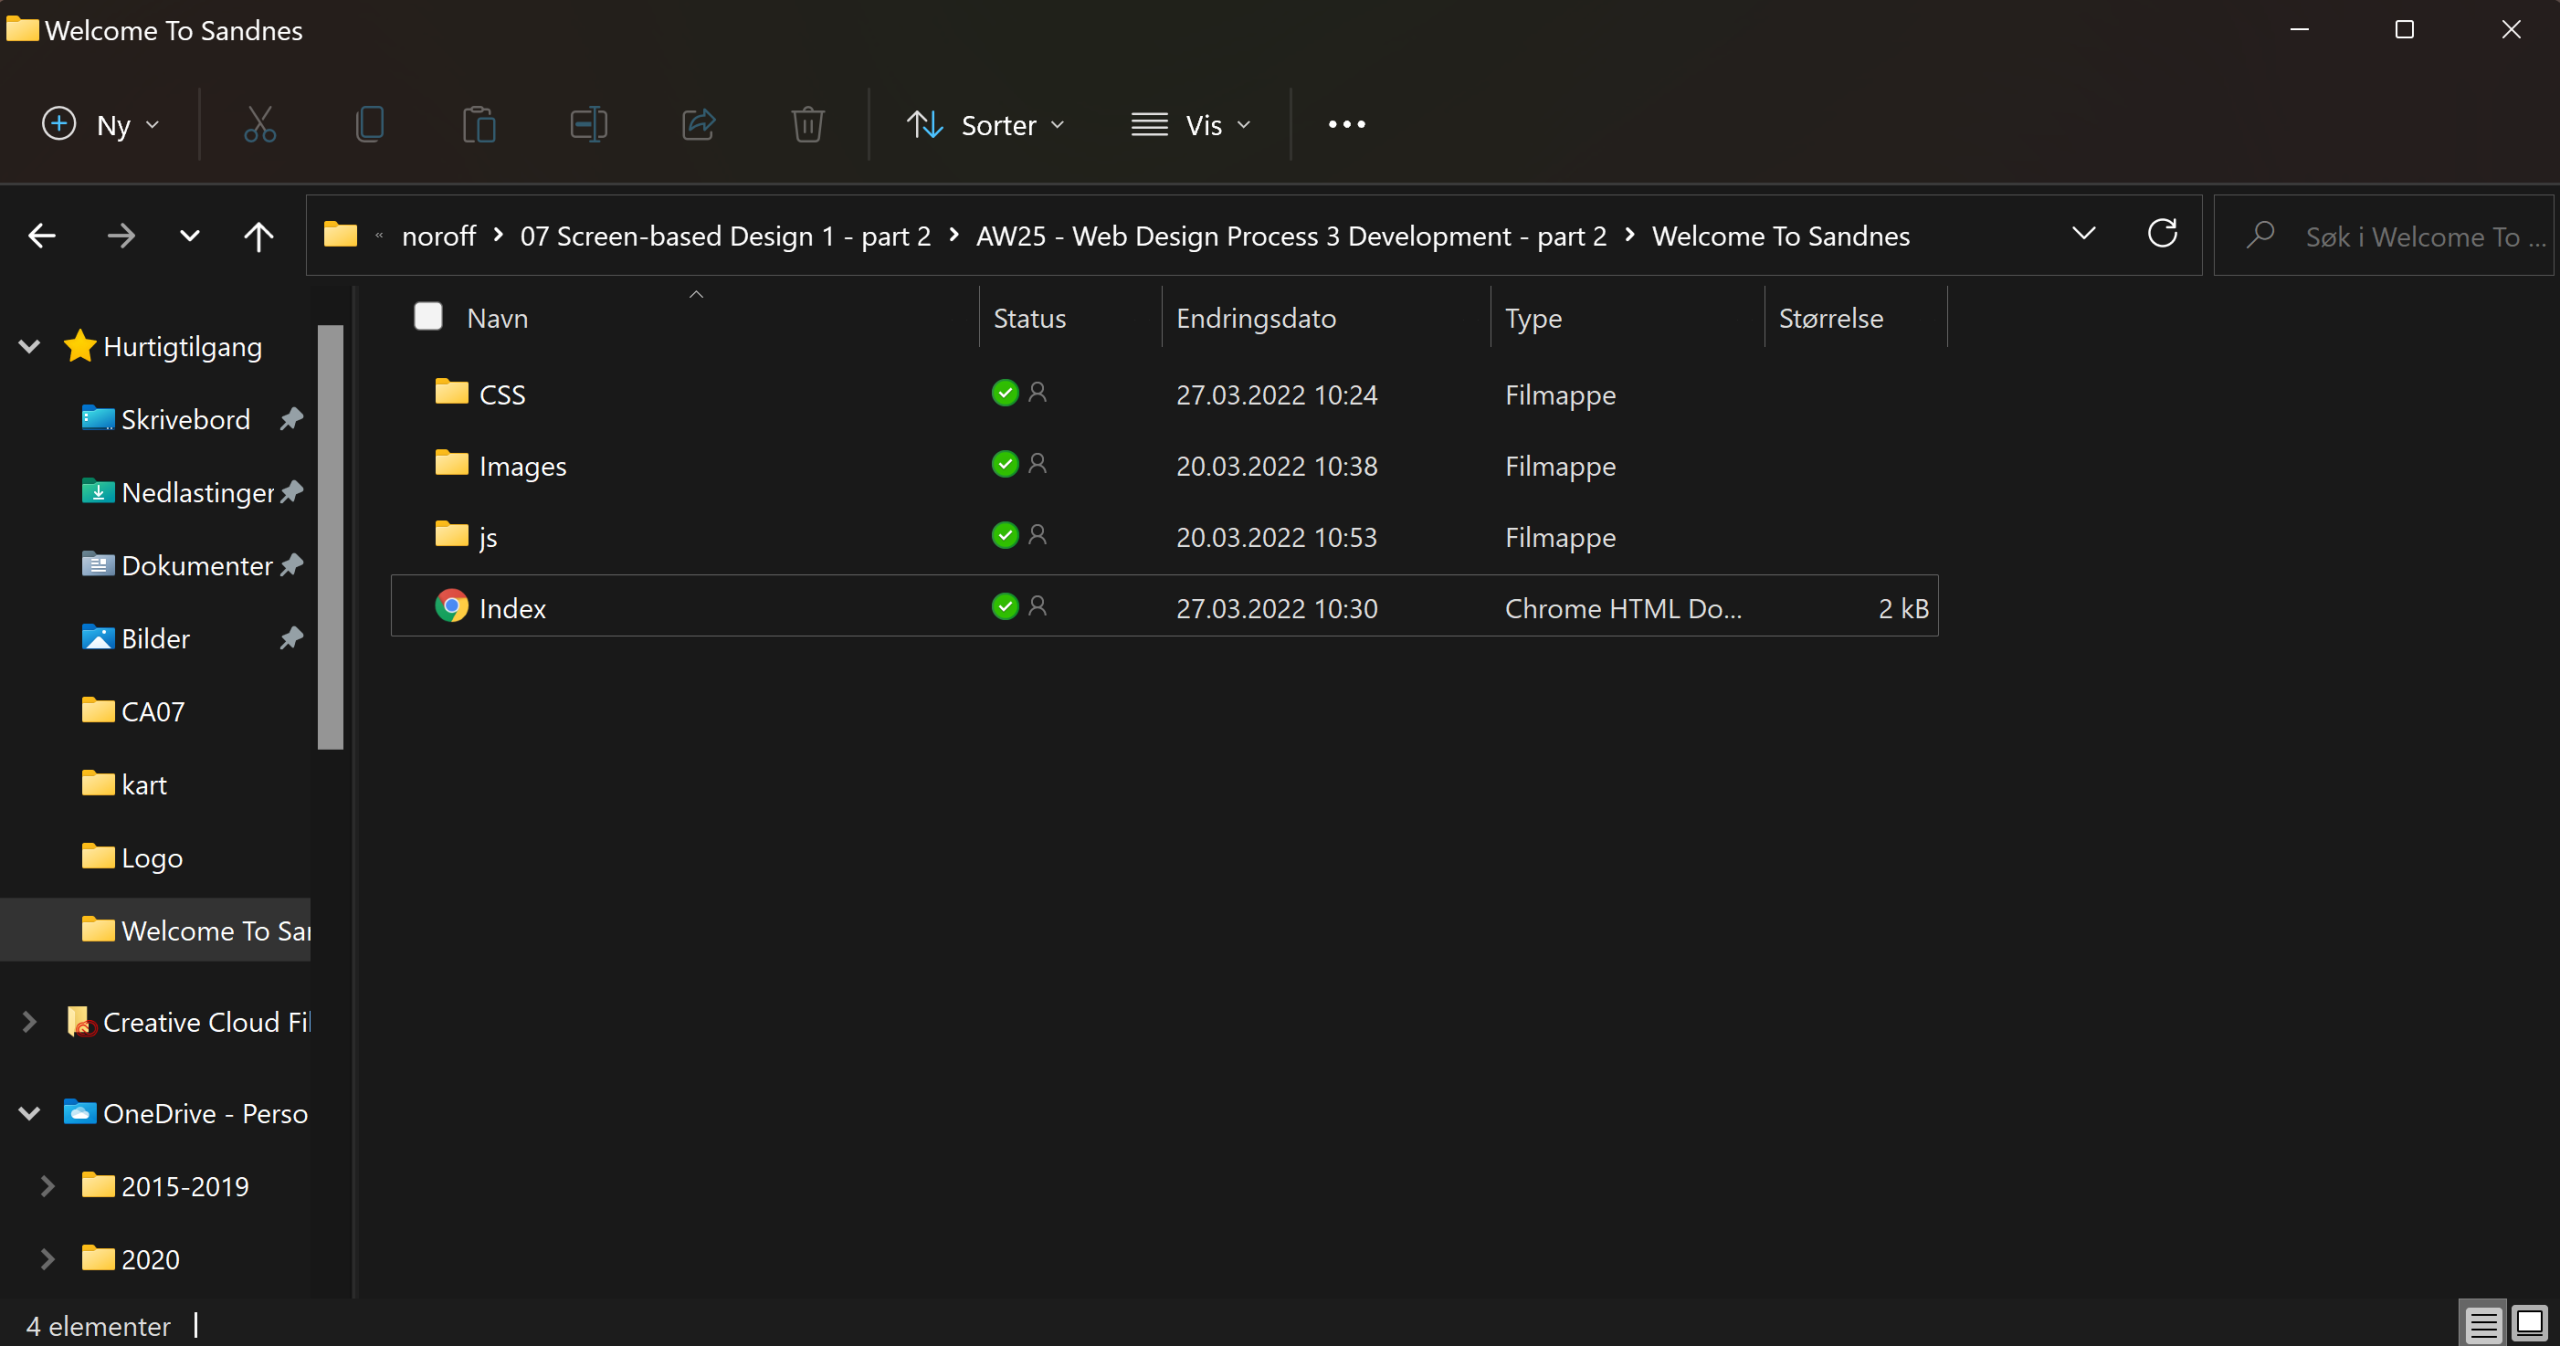
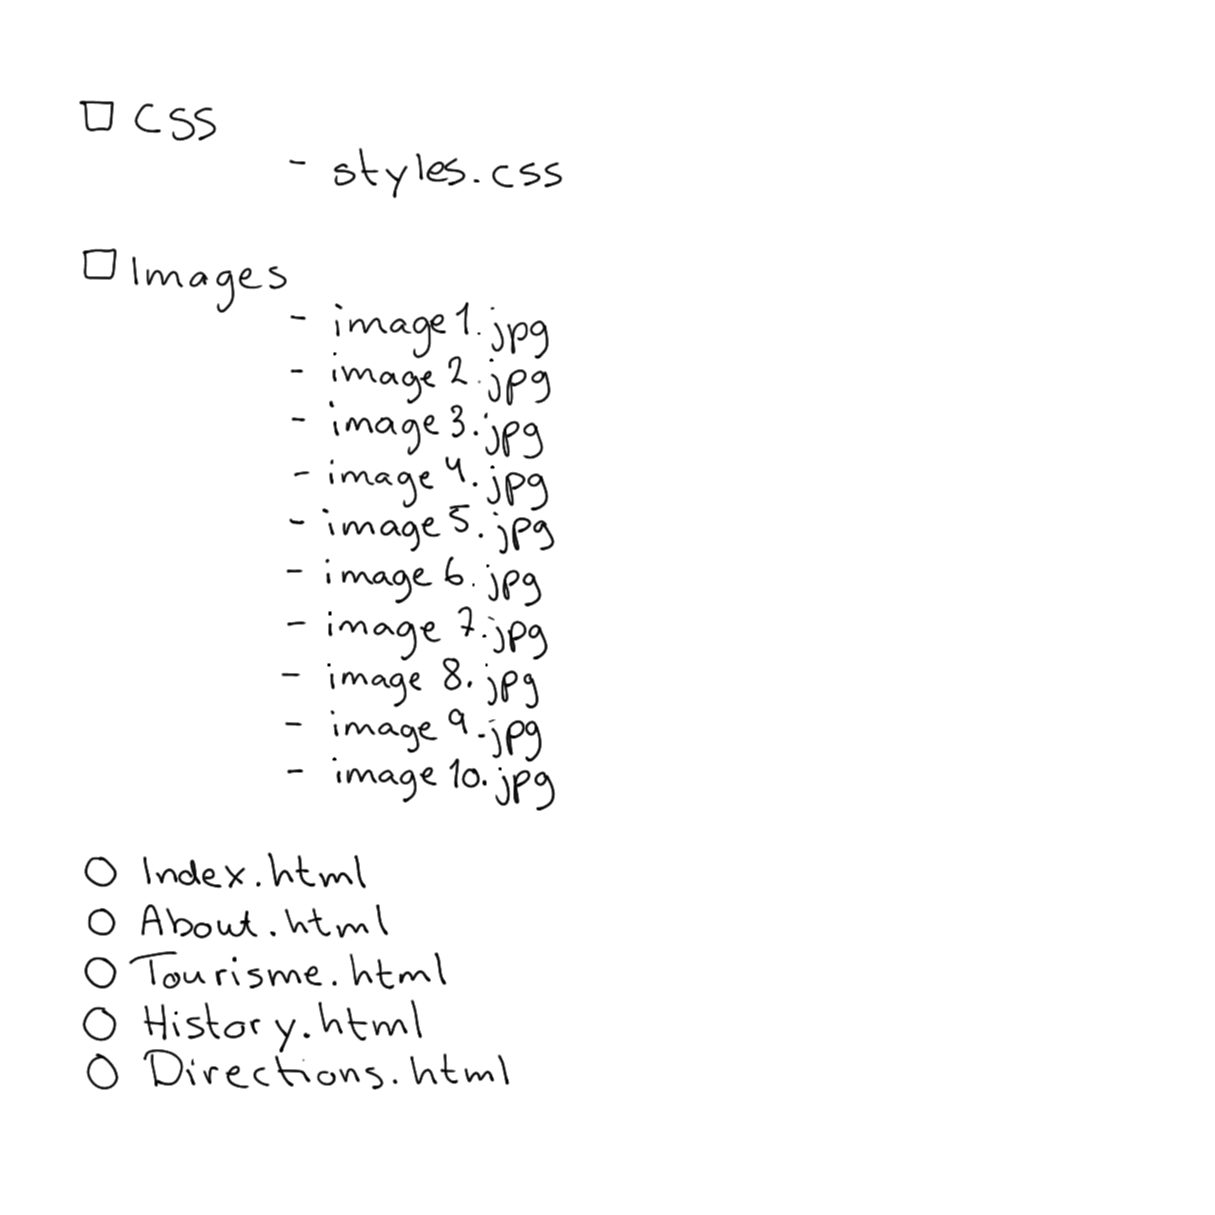
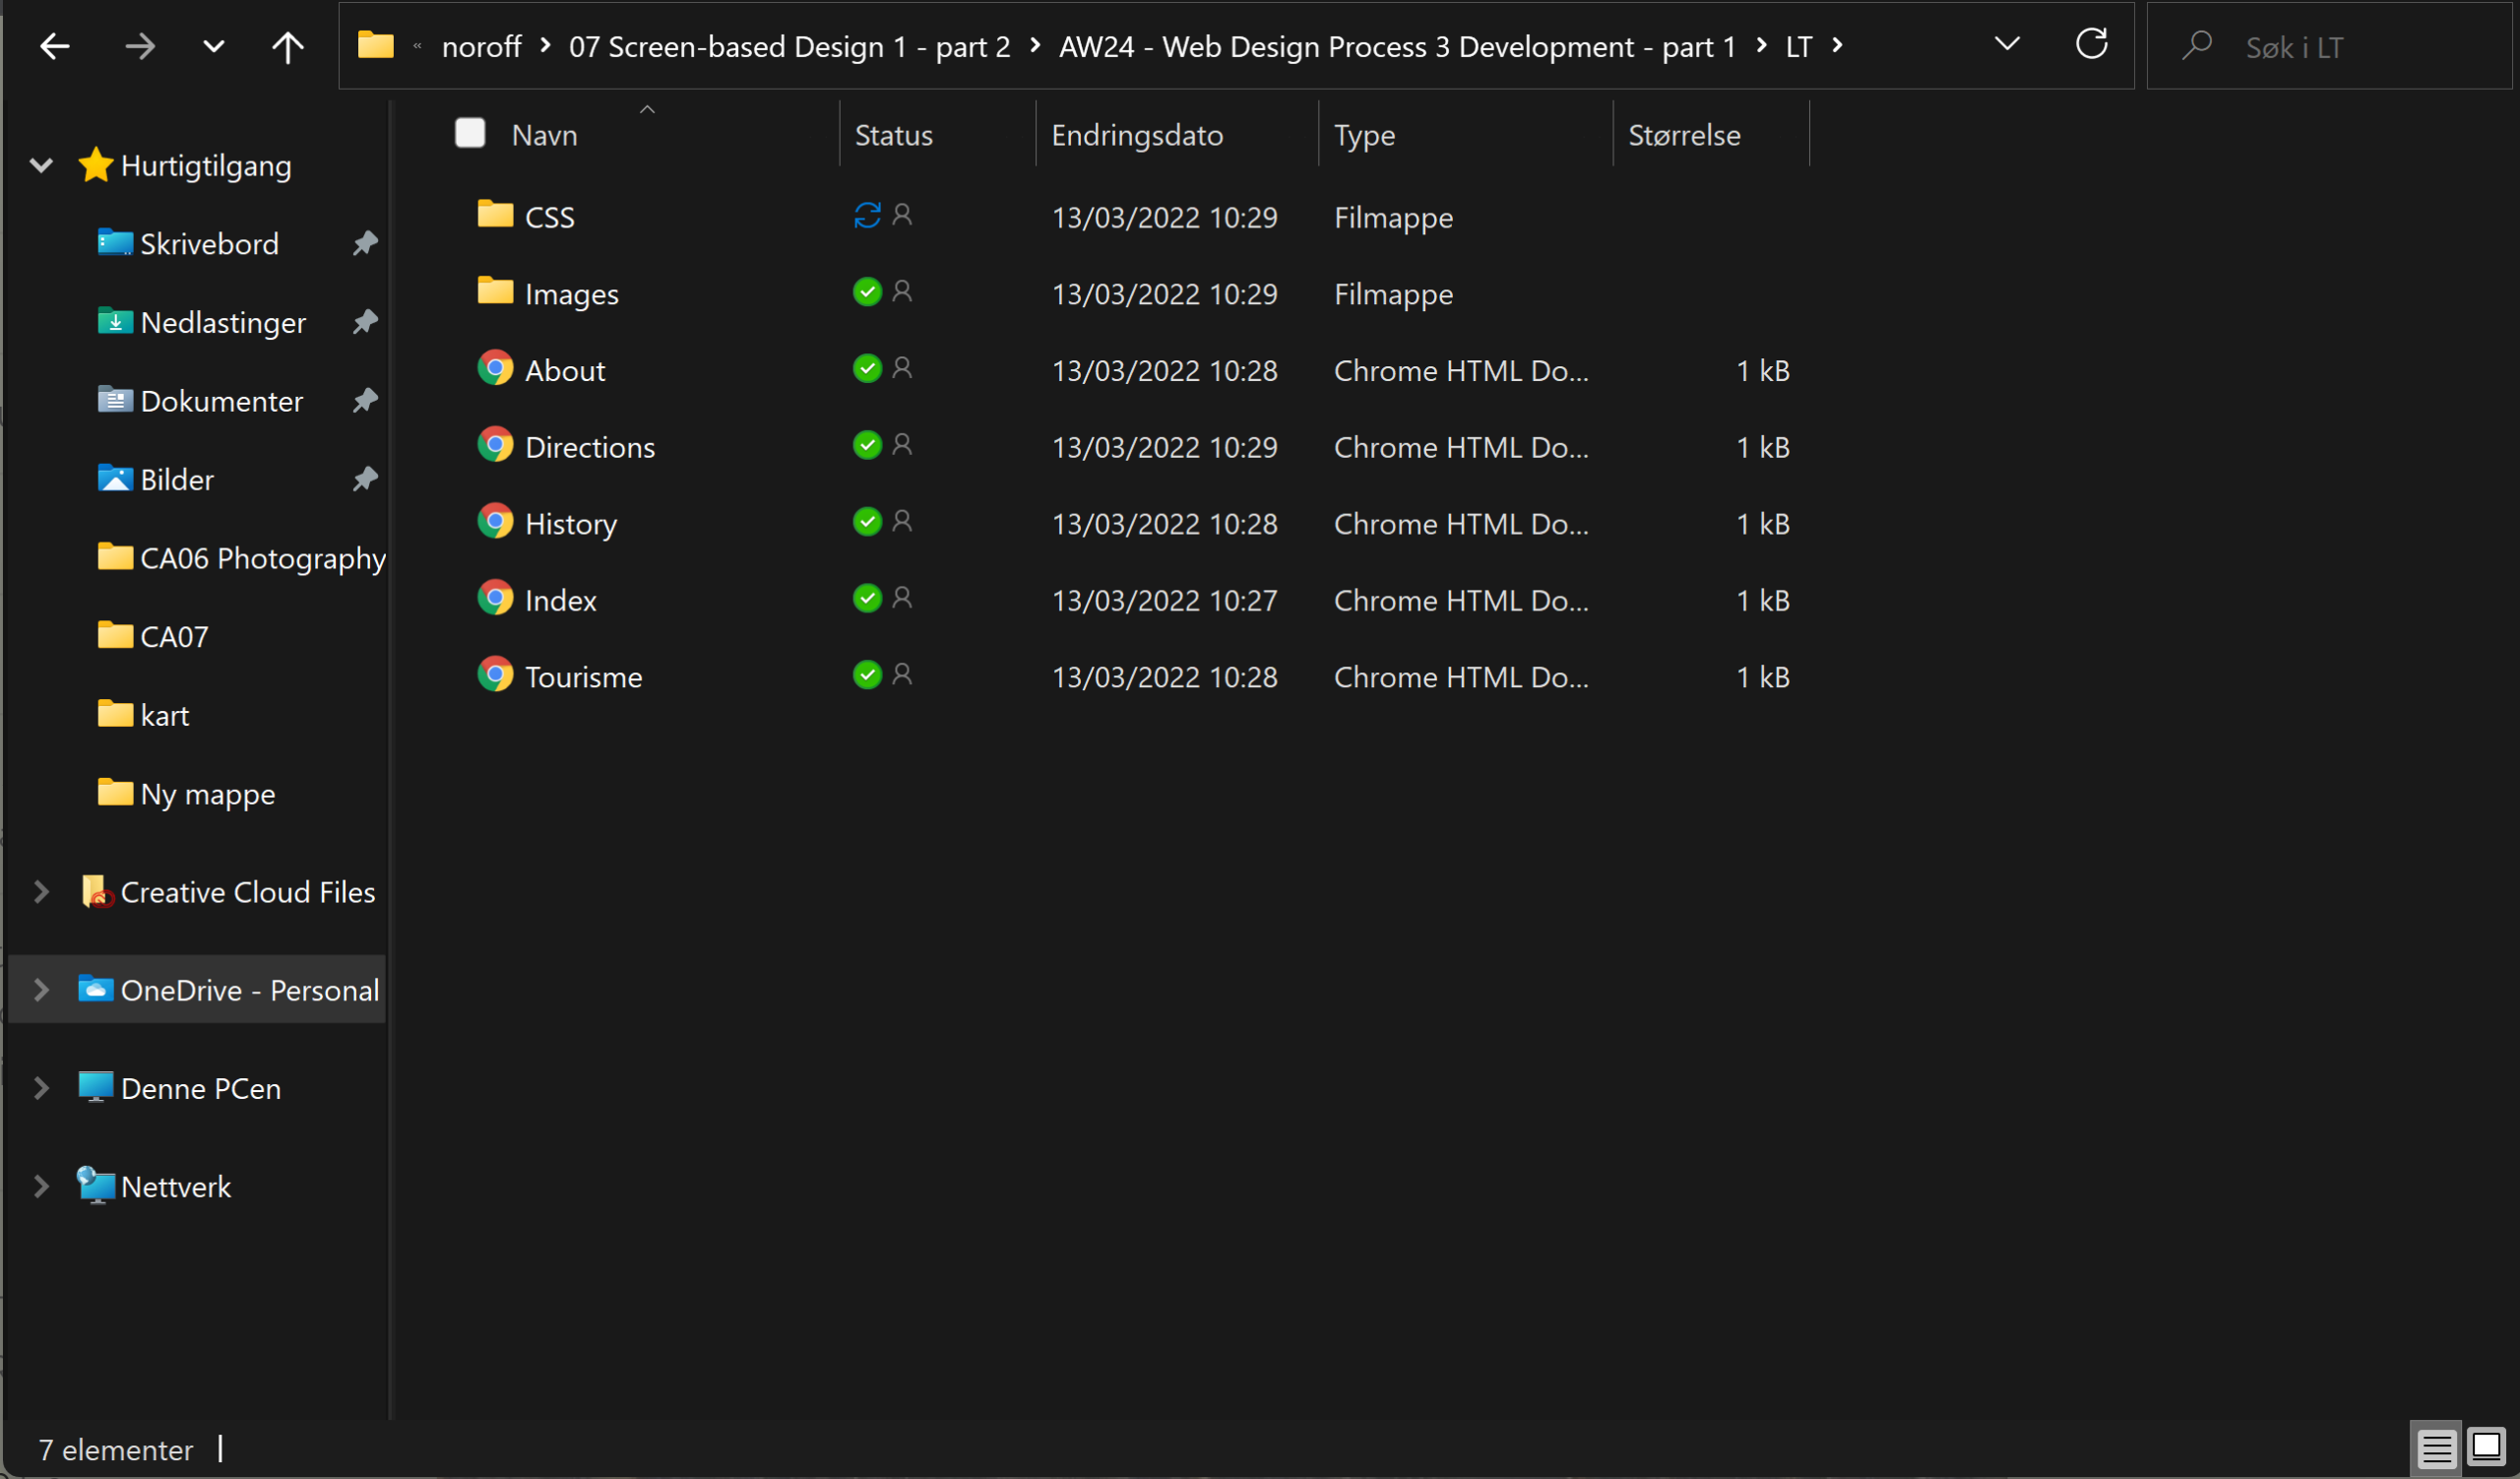
Create the structure of your web page (from Lesson Task – Put Thought Into Your Design) in terms of HTML files and folders. You need to set these up so that you are ready to code your website.

First use a pen and paper to do your planning; then do it on the computer when you are sure of your structure.

Please upload this activity to your WordPress blog. Remember to scan (or photograph) and include your initial planning that you did on paper.